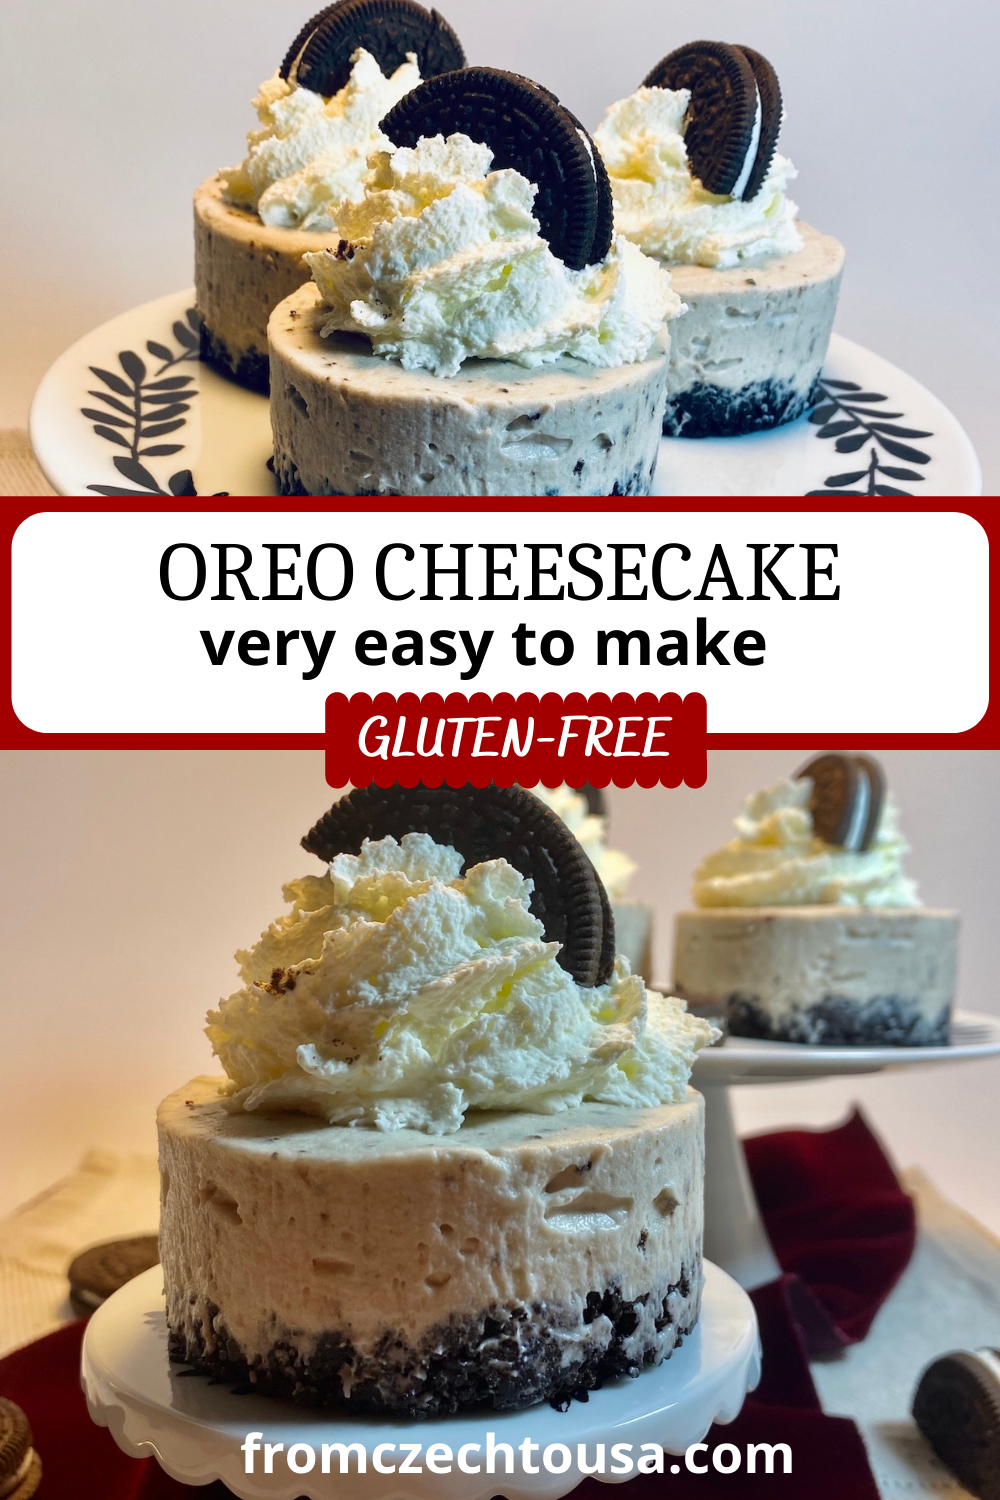
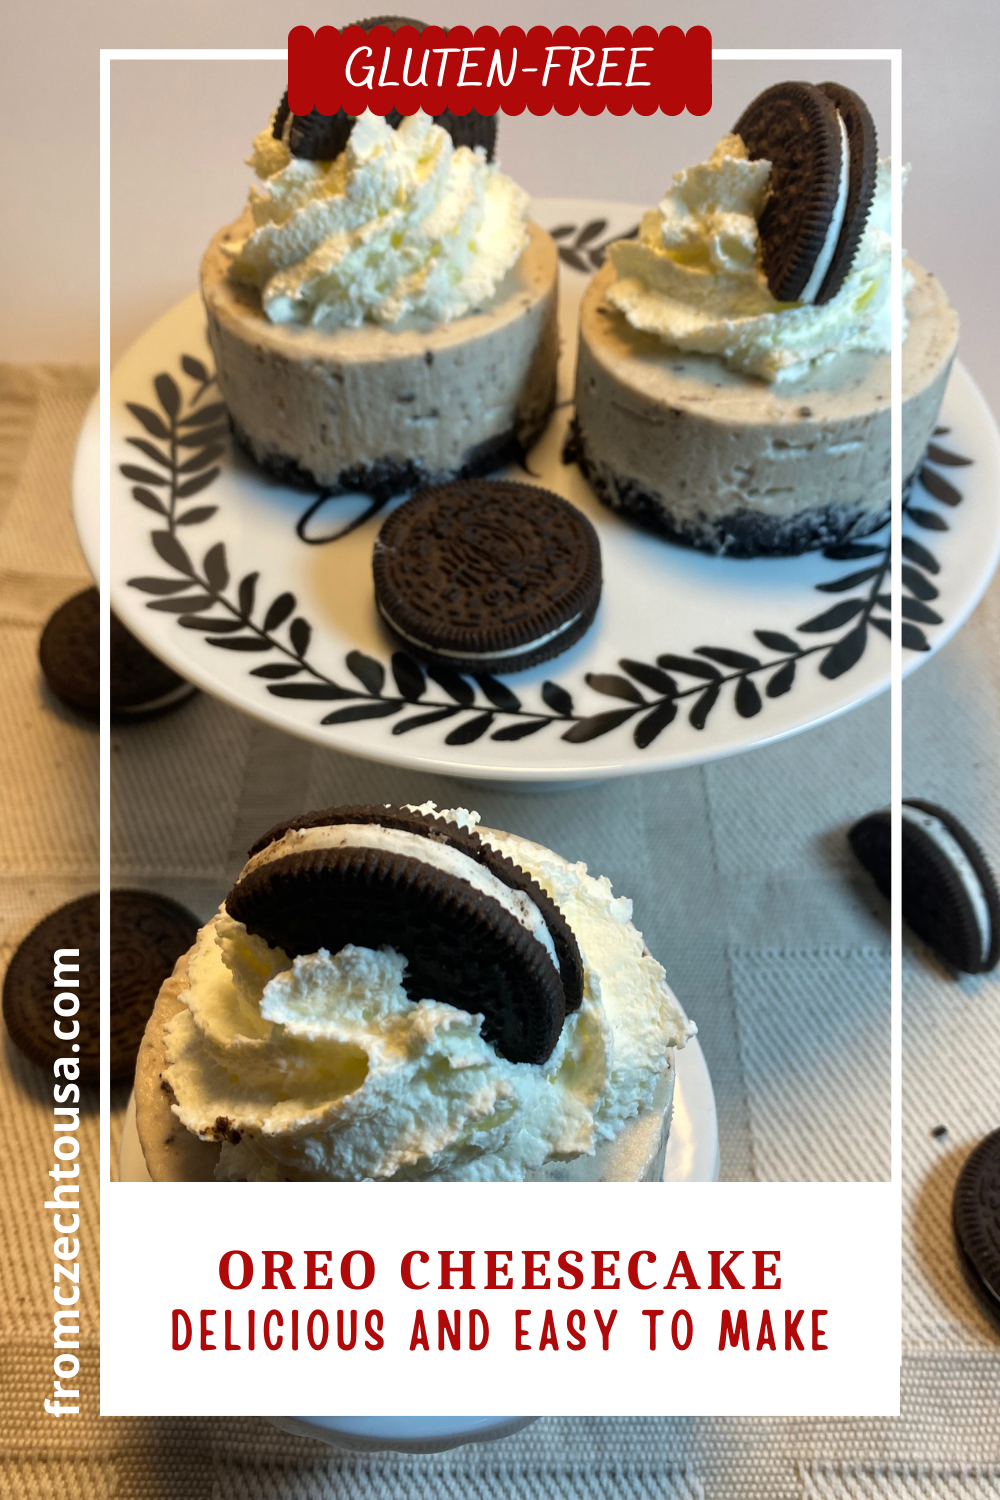
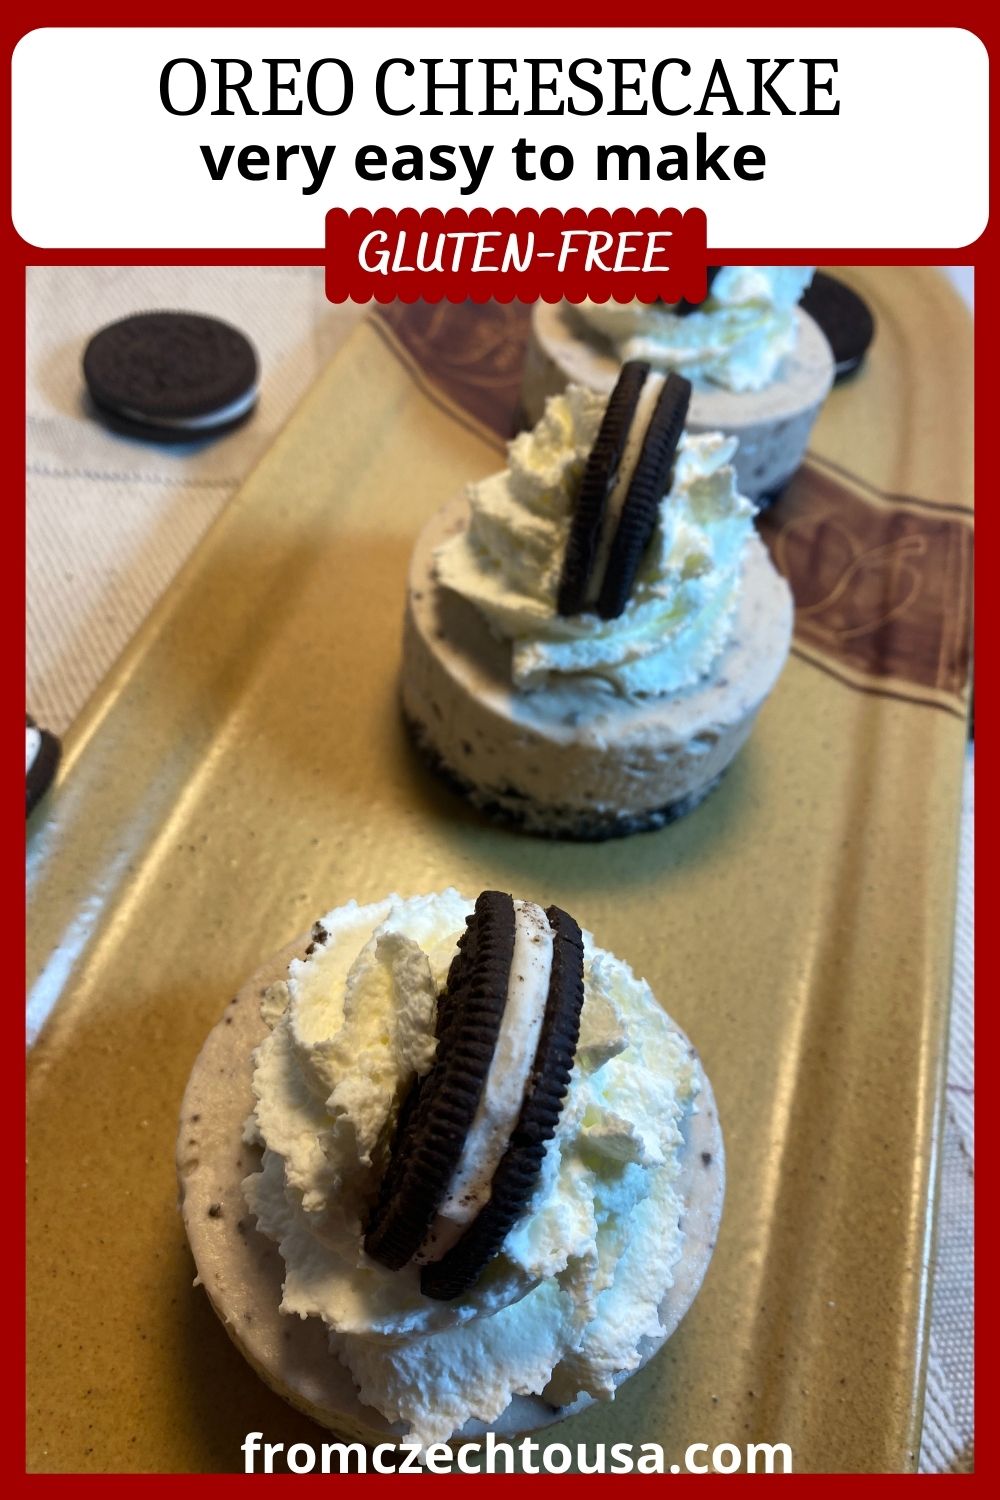
Everyone’s favorite cookie is the star of this show! No-Bake Oreo Mini Cheesecake is a cool and creamy dessert with a crisp Oreo crust and a rich cookie-filled cheesecake base. It comes together in 30 minutes, no oven required! This cool, Oreo-filled dessert is one of our favorites to make during the summer months when we don’t want to turn on the oven.
I get asked often what my favorite dessert is. I have many favorite desserts, but cheesecake and chocolate are definitely at the top!!! The cheesecake was even my cake for a reception at our wedding. My sweet mother-in-law surprised me with three-tier cheesecake!
Do not be intimidated!
If you’ve ever been intimidated by the thought of making Oreo Cheesecake (or any kind of cheesecake), don’t be. This recipe is simple and easy and, perhaps best of all, there is no water bath required. It is NO_BAKE cheesecake, after all.
I provide plenty of tips on how to assemble your cheesecake and make sure it comes out perfect.
Looking for perfect summer dessert?
You will love this delicious, Gluten-Free Oreo mini cheesecake. Summer is all about easy, cool recipes. Living in Georgia, we are always looking for quick and delicious desserts, don’t require overheating the kitchen, and are nice and cool.
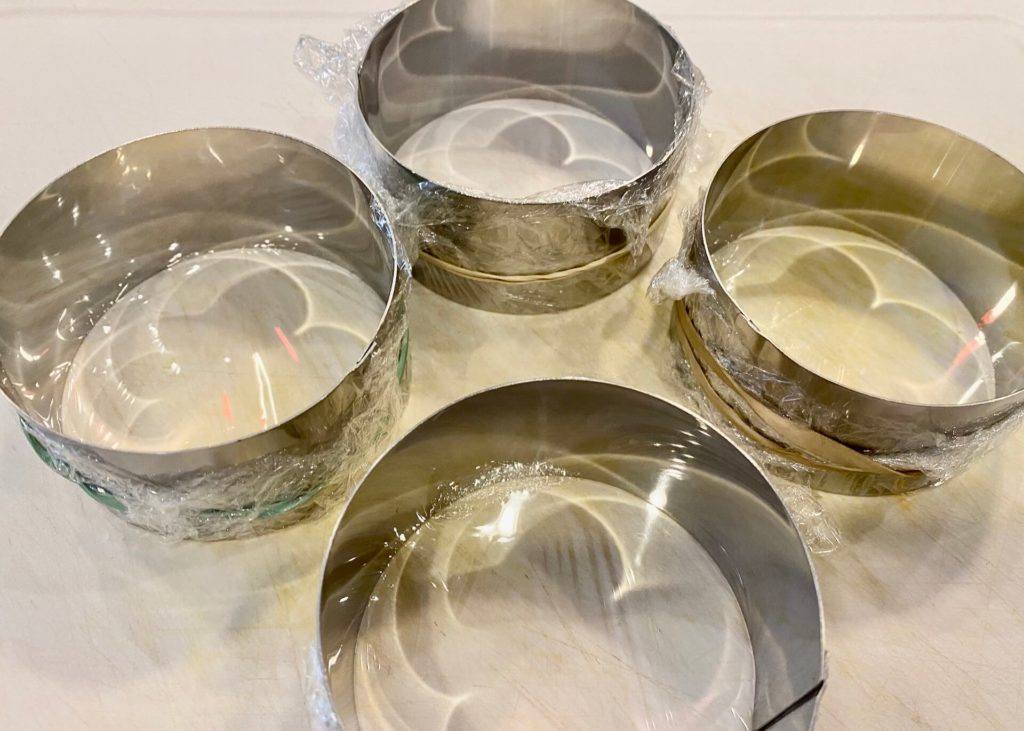
You probably can make it in a cheesecake pan, but I like bite-size desserts, so I usually make my cheese in ring molds or muffin tin. It is all about your preference. It looks cute as well. If you are looking for sturdy molds. You can get them here. I have tried many flimsy ones and these are truly the best.
Let’s get baking:
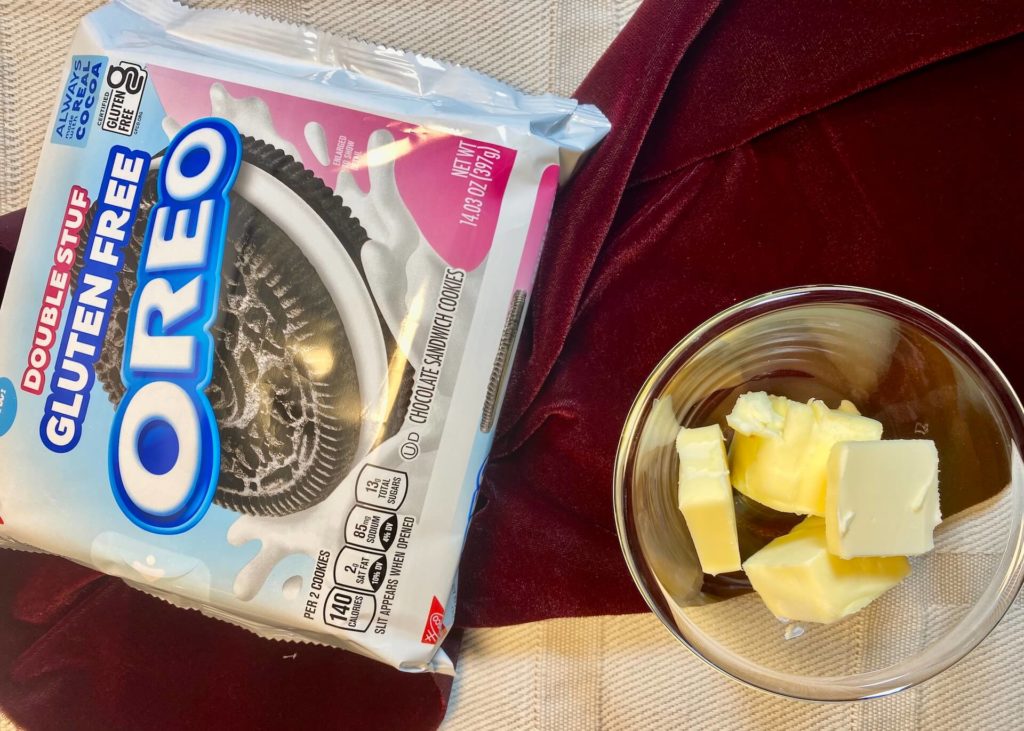
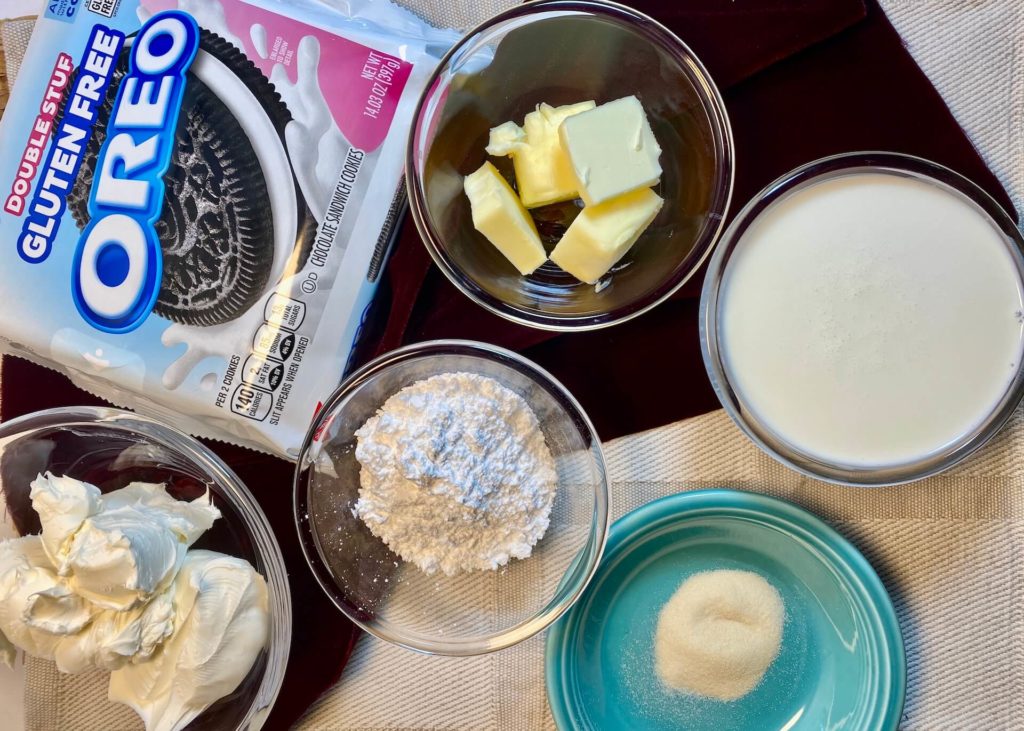
Gather all your ingredients and decide on what mold you will use. I would recommend measuring all that you need first, and then you will assemble this delicious treat.
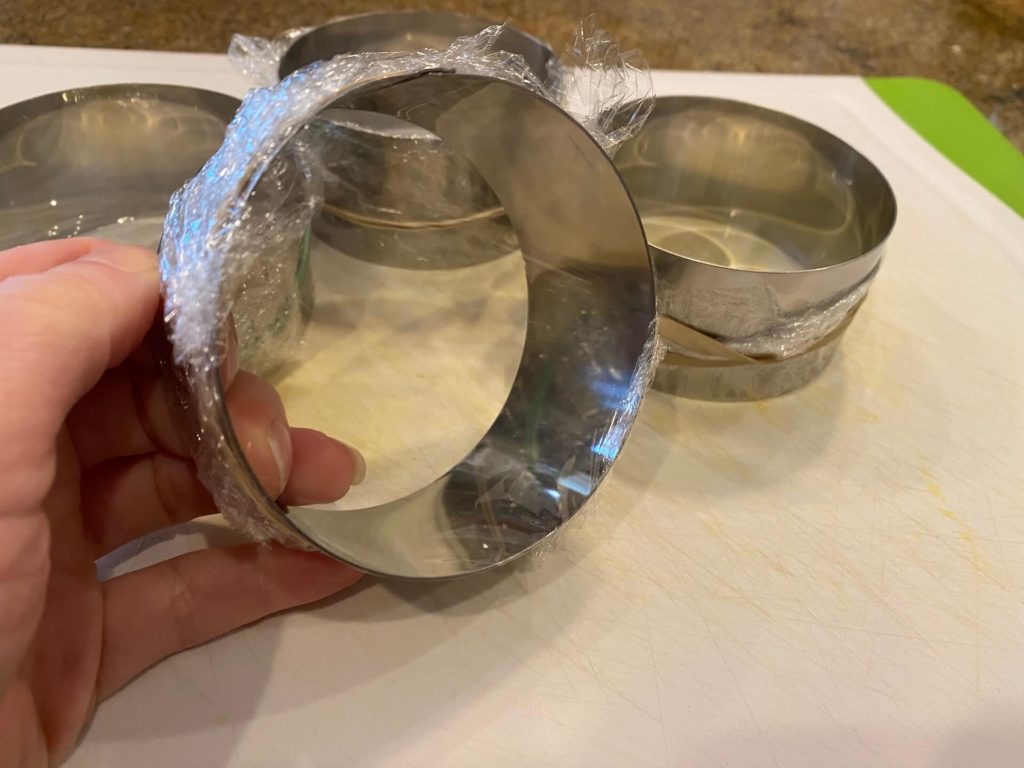
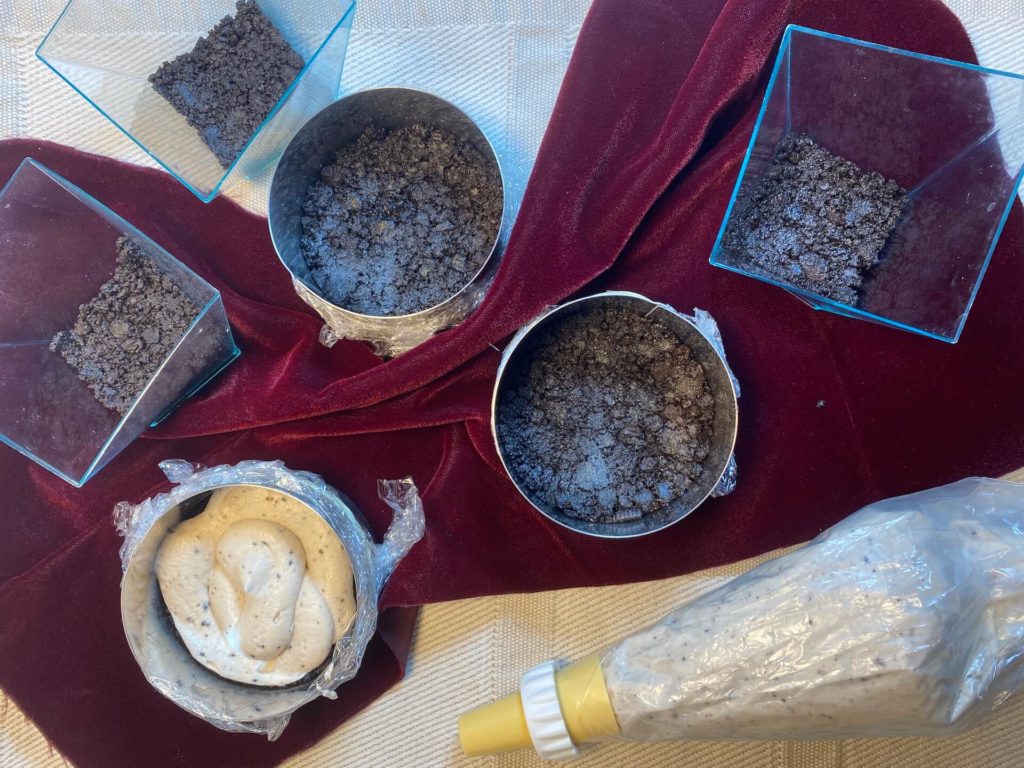
If you would like to use the same ring molds as I do, prep them with plastic foil to create a bottom. But, 7-inch springform or muffin tin works perfectly. It is all about the taste, not the look. If you are using muffin tins, it is helpful to line them with cupcake liners. That will make the clean-up easier.
Gluten-Free Oreo Crust
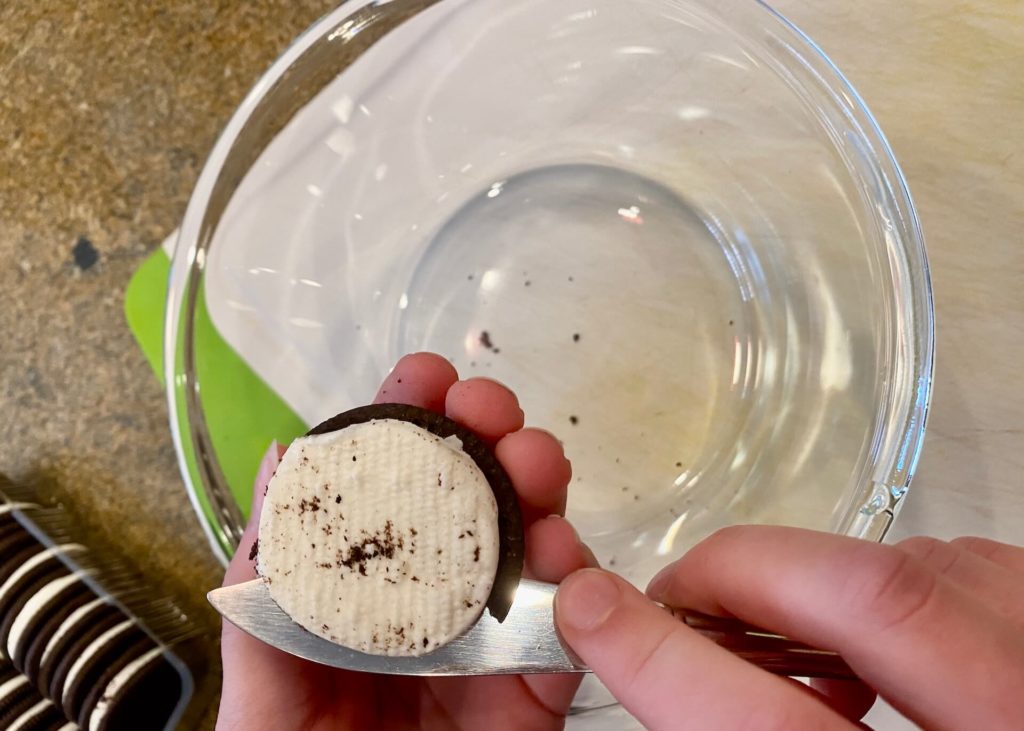
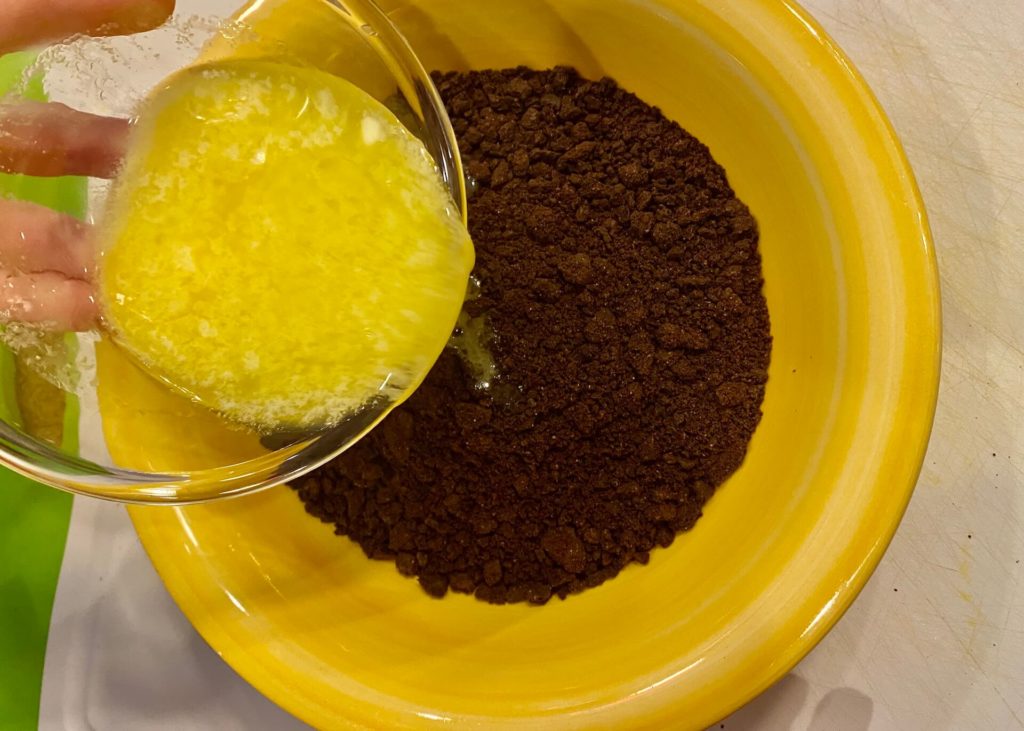
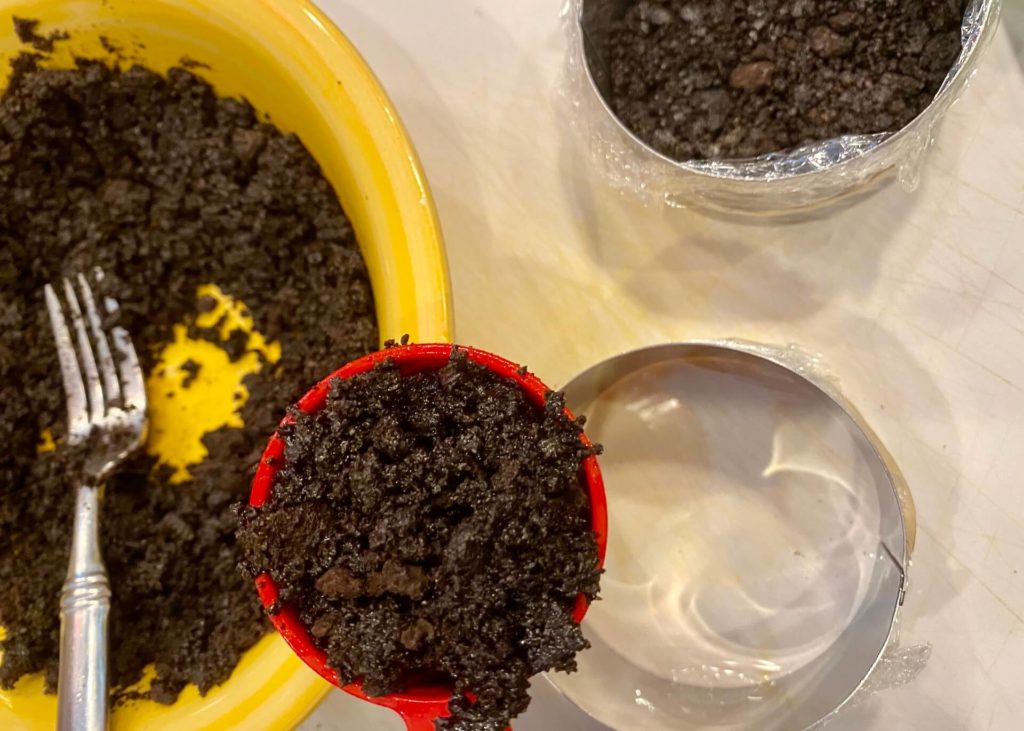
To start, you’ll make the crust. ALLLLL Oreos and a little bit of butter. Separate filling from Gluten-Free Oreos and safe for later. You will need it filling, so do not eat it all. The butter is the glue that holds our crust together and makes it easy to slice. Press the crust into the bottom. I like to use a glass cup with a sharp edge to press the crust down to get a solid crust.
One other tip if you are using springform. I always line the bottom of my springform pan with parchment paper. It makes it much easier to remove the cheesecake from the pan bottom later and put it on a nice serving platter.
- 150 g Oreos without filling
- 70 g melted, unsalted butter
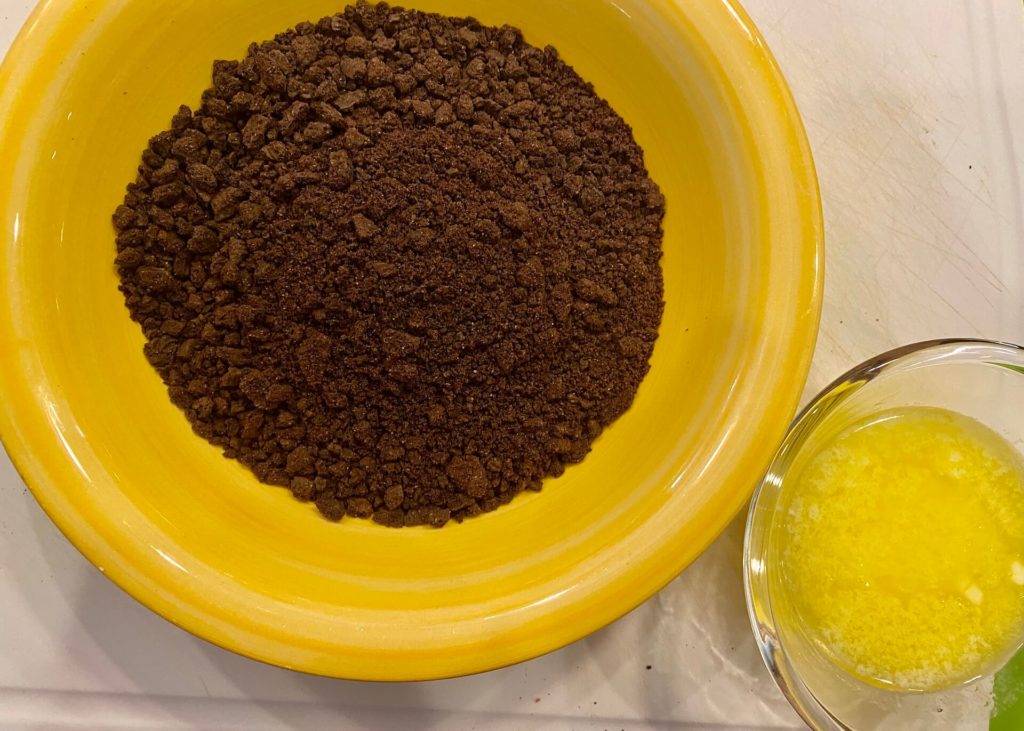
Crush all Oreos in a large Ziploc bag using a rolling pin or in a food processor. Melt butter and add it to your crumbled cookies. Mix well together. Press onto the bottom of the mold you have chosen.
Fill your mold bottom and thump it down gently. Put it to chill into a fridge while you work on your cheesecake filling.
Gelatin:
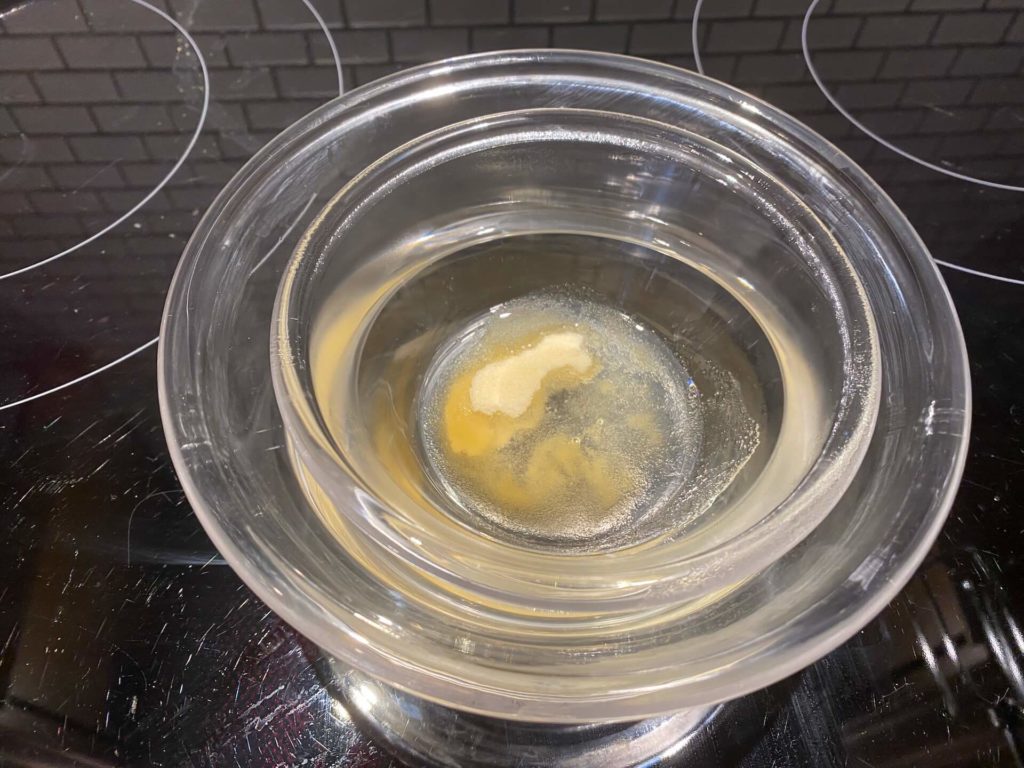
If you opt-in for gelatine, start with gelatine first. Set a small bowl into a bigger bowl filled with boiling water to keep your gelatine warm. In a smaller bowl, whisk gelatine with boiling water till very smooth. I use Vital Proteins Beef Gelatin as I like gelatin as a supplement in my diet. There is no need to use gelatin in a cheesecake recipe. It will work without gelatin as well.
If you choose not to use gelatin, make sure you whip cream well before adding into the cream cheese filling.
- 2 Tsp gelatine – optional
- 2 tbsp of boiling water – optional
Cream cheese filling:
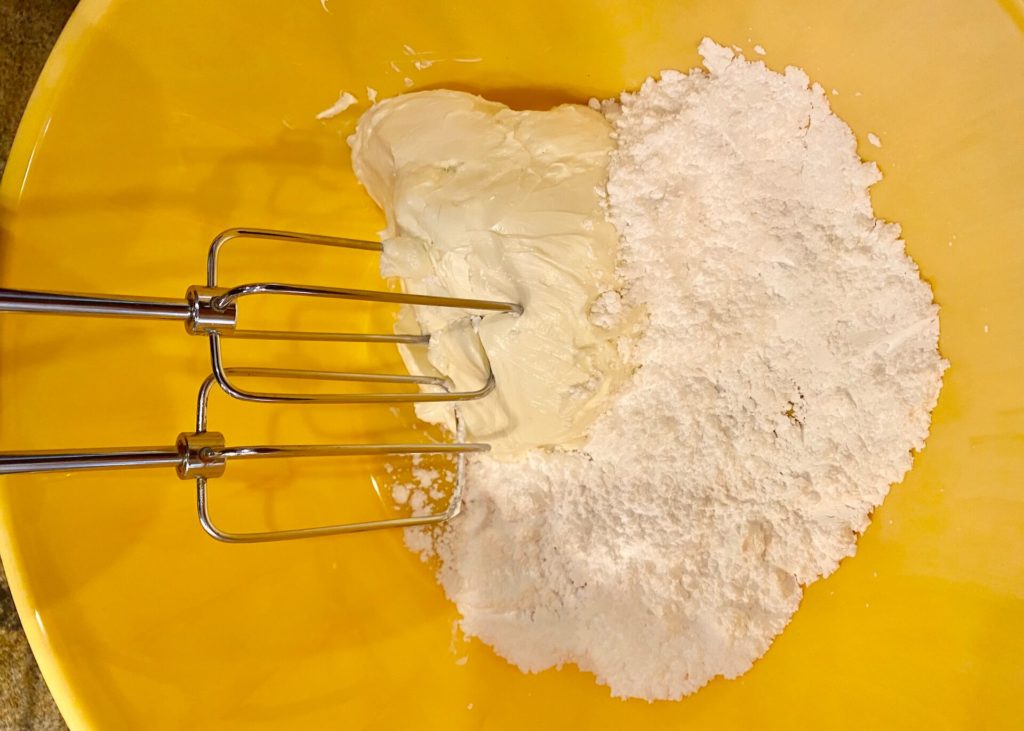
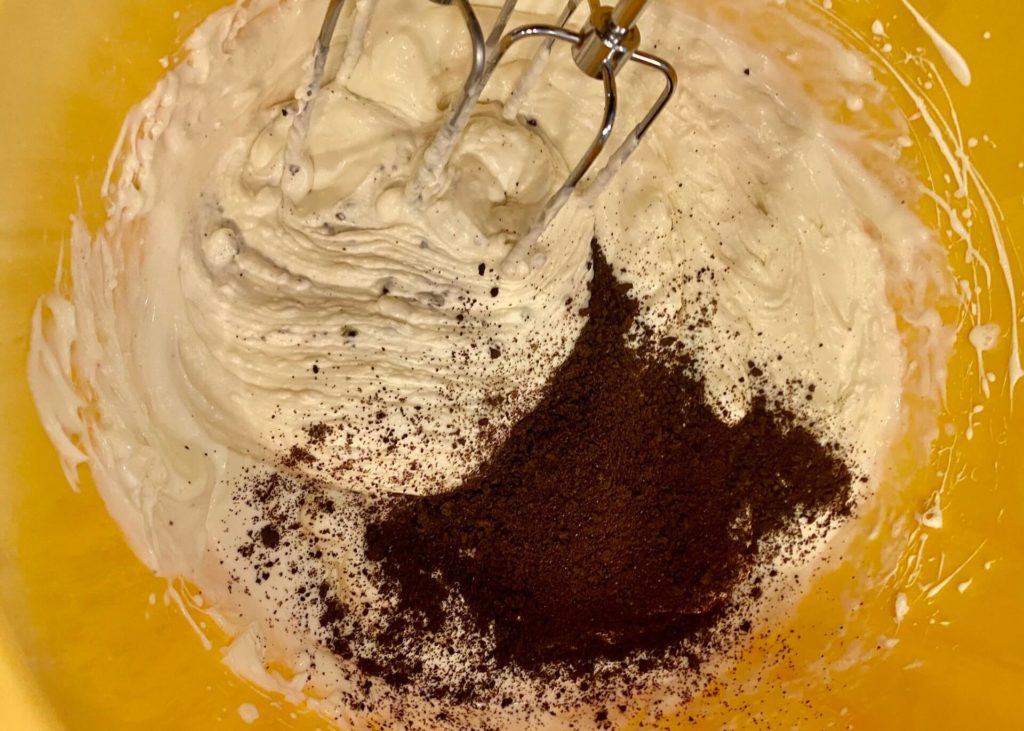
For the filling, you’ll start with your cream cheese, which should be room temperature. That’s pretty important here because you don’t want to have lumps in your filling. Add some sugar and vanilla extract and mix until it’s all combined and smooth.
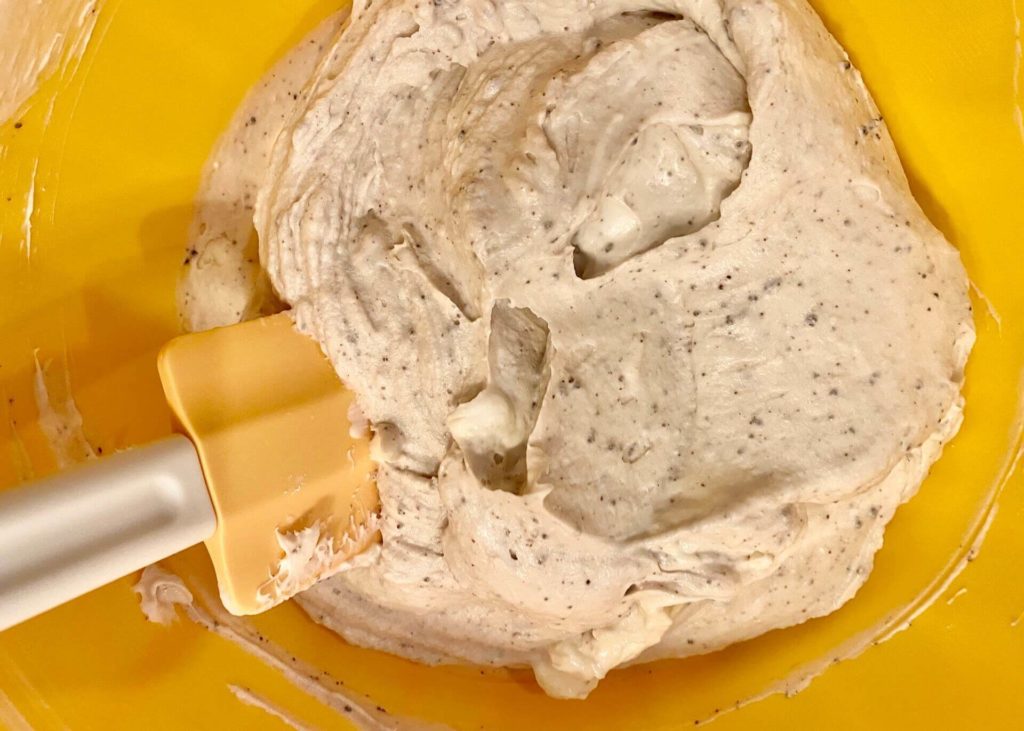
Next up is the whipped cream. If you’ve ever made homemade whipped cream, then you know it’s way better than anything you buy in the store. Like WAY better. Fold it into the cream cheese mixture until it’s all combined.
- 1 package of Cream cheese room temperature
- 1/2 cup of powder sugar
- 300 ml heavy cream whipped if not using gelatine
- 2 tsp of vanilla
- 3/4 cup of crushed Oreo
- Fillings from all Oreos
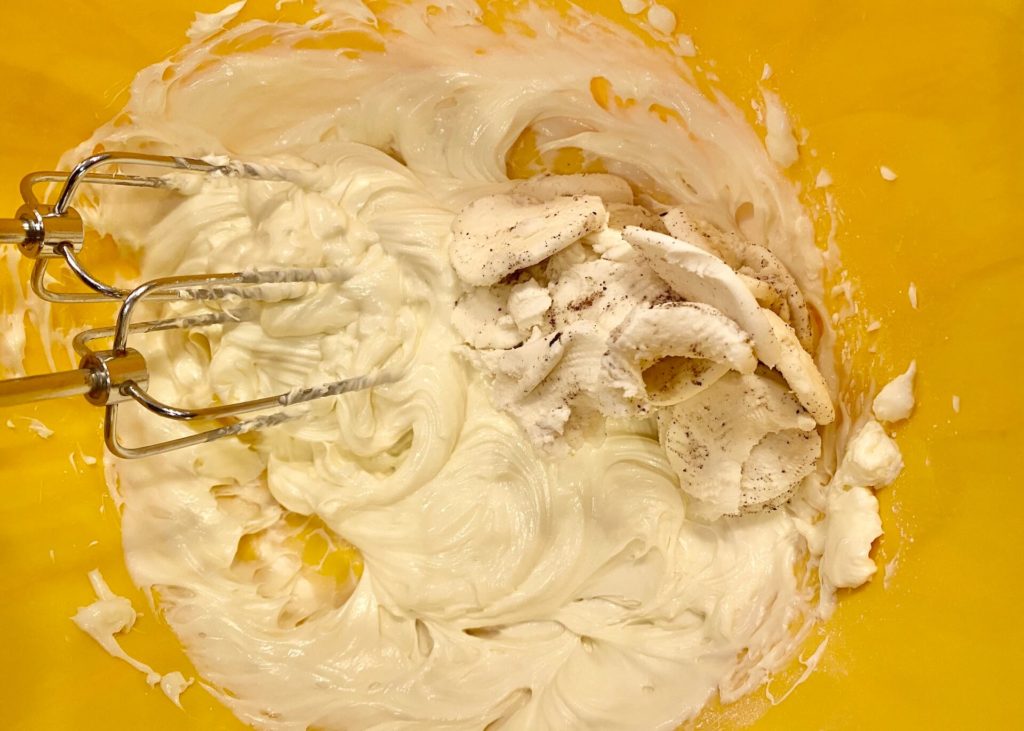
the yummiest part – adding the Oreos and filling from oreos as well! We’ve got Oreo crumbs and chopped up Oreos in this No Bake Oreo Cheesecake for plenty of Oreo flavor! You could even add a few more chopped Oreos, if you’re feeling frisky!
Filling your cheesecake
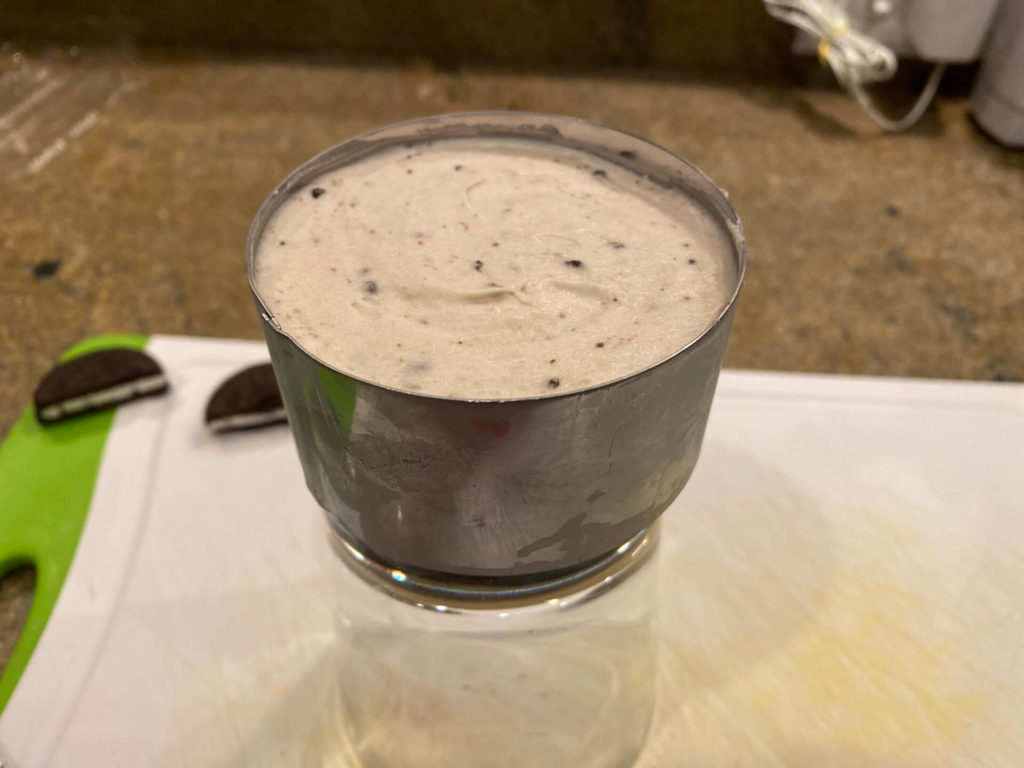
Give the filling a good last stir. It is time to pour the filling over your chilled Oreo crust. If you are using a bite-size mold, I would recommend piping your filling. It is easy and fast. For spring form, pour your filling in and spread nicely. Tap your cake once to let air bubbles come to the top. Let the cheesecake firm up in the fridge for at least 4-5 hours. This is definitely a good dessert to make a night ahead.
Ready to serve your Cheesecake?
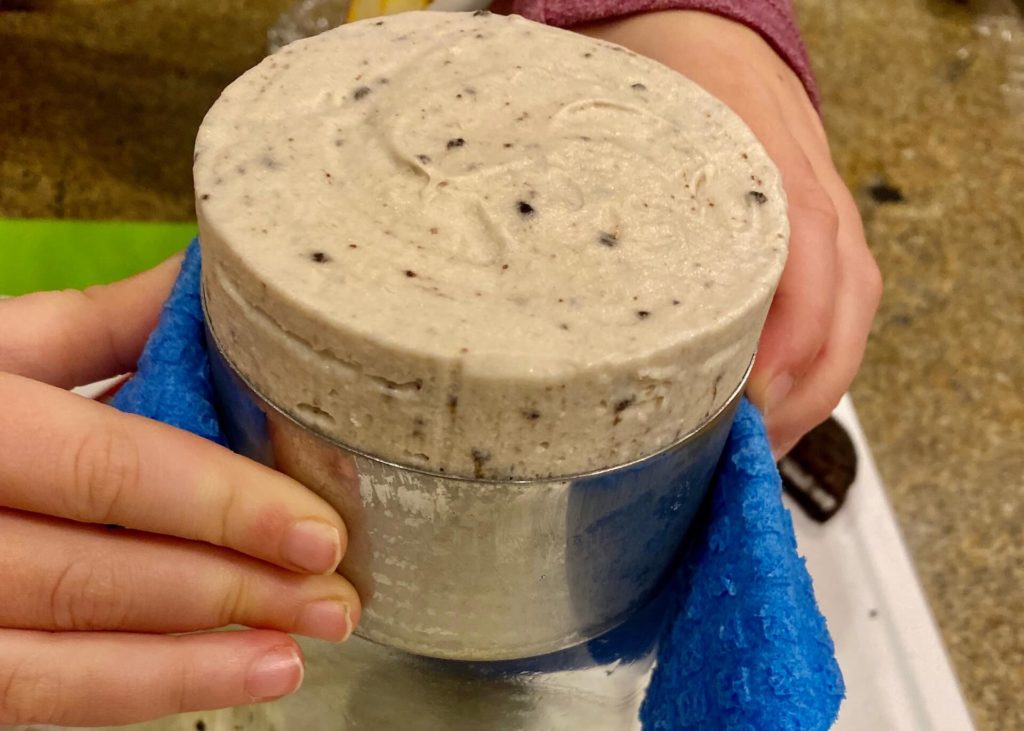
Are you ready to serve your Oreo Mini Cheesecake? Take it out of the fridge and wrap a warm towel around the sides. That will help loosen up the filling. Gently slide the mold off. My daughter loves to do this step.
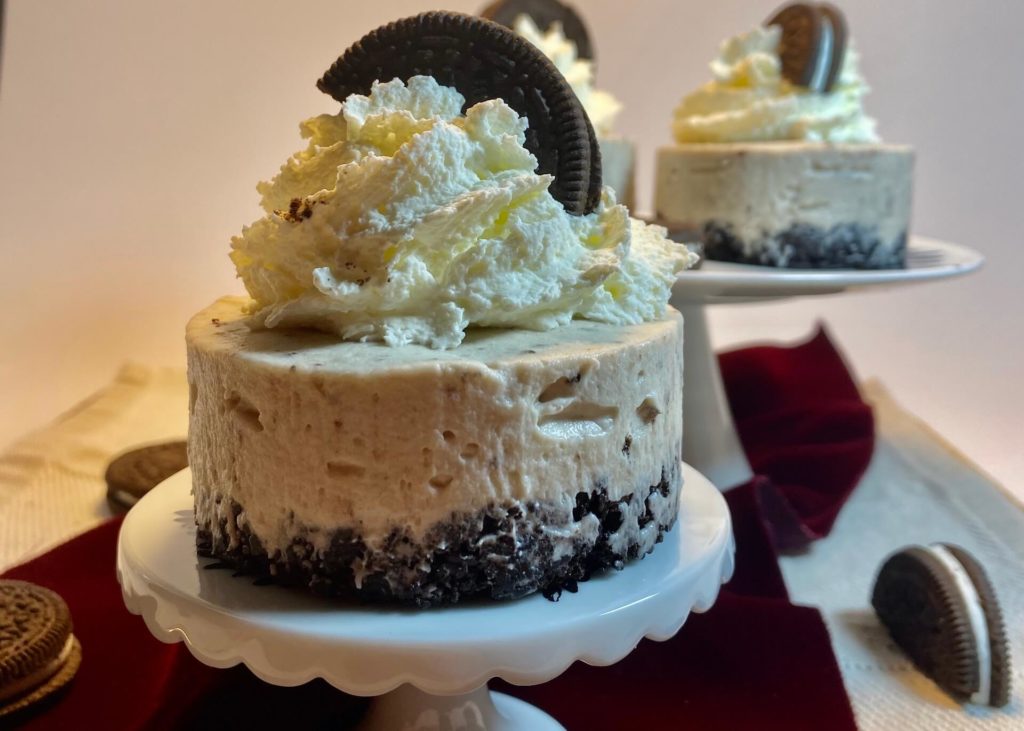
To finish off the cheesecake, top with a little whipped cream and, of course, more Oreos! The final cheesecake is seriously a winner! Thick, creamy and FULL of Oreos! Sometimes I get fancy and pipe the topping onto the cheesecake and sometimes I keep it simple and just spread it in an even layer.
- 200 ml Heavy cream whipped (Cold)
- 1 tbsp of sugar
- Oreos
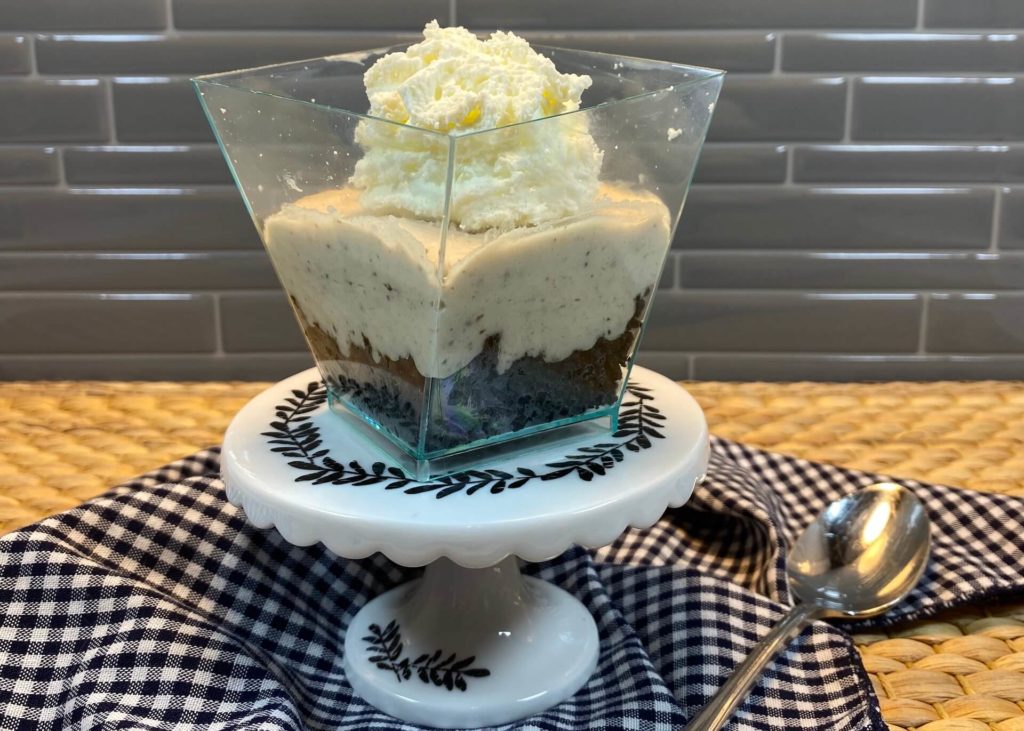
The best way to store your Oreo mini Cheesecake
Store cheesecake in the fridge – Cover the cheesecake with plastic and store in the fridge for up to 5 days.
Can no-bake cheesecake be frozen?
Yes, you can definitely freeze this cheesecake to eat later. You can freeze it whole or cut it into slices. Either way, wrap it tightly in plastic wrap, then again with aluminum foil. Label and store for 4-6 months. Thaw in the fridge before serving.
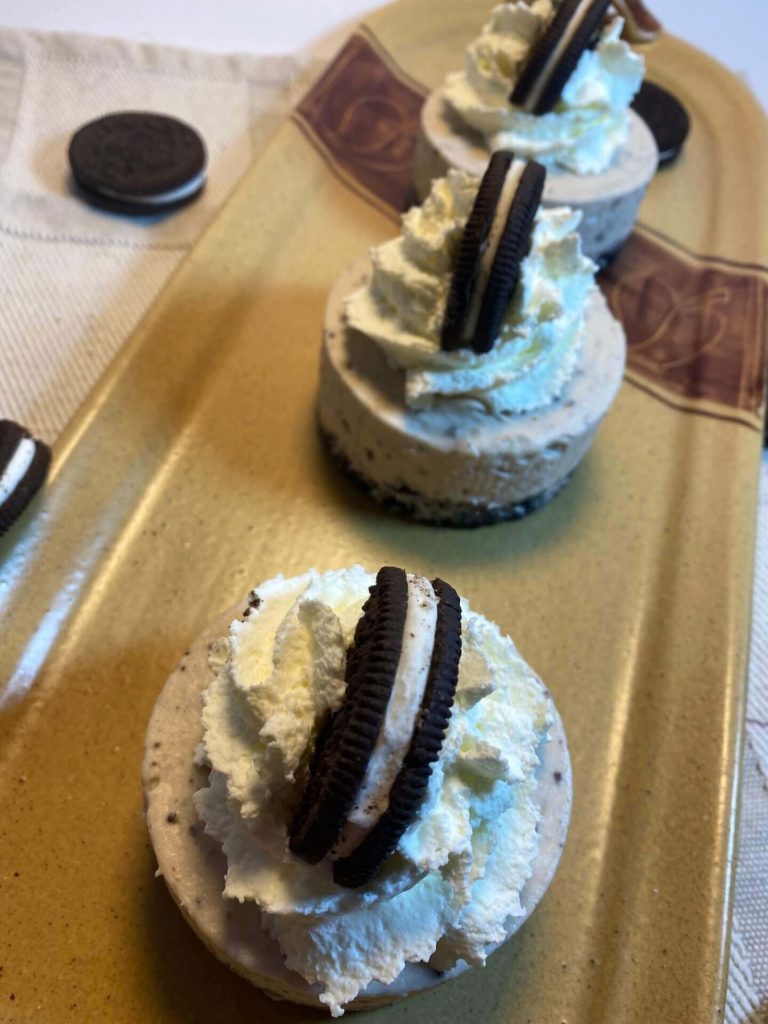
Other dessert recipes to try
I would love to see pictures of your cakes. Please share with me. And if you feel like baking something easier, here is a very easy Soufflé Cheesecake. This is a delicious dessert, you will love it as well.
If you feel like experimenting, try my no-bake Gluten-Free Matcha cheesecake. It is my favorite! Surprisingly good.
Until next time…!
DOBROU CHUT!
© FROMCZECHTOUSA. All images & content are copyright protected. Please do not use my images without prior permission. If you want to republish this recipe, please link back to this post for the recipe.
Oreo mini Cheesecake
Ingredients
Oreo Crust
- 150 g Oreos without filling
- 70 g melted, unsalted butter
Cheesecake filling
- 2 Tsp gelatine optional
- 2 tbsp of boiling water optional
- 1 package of Cream cheese room temperature
- 1/2 cup of powder sugar
- 300 ml heavy cream whipped if not using gelatine
- 2 tsp of vanilla
- 3/4 cup of crushed Oreo
Topping
- 200 ml Heavy cream whipped
- 1 tbsp of sugar
- Oreos
Instructions
- Crumb base
- Separate your Oreos and save your filling for later. Add your Oreos cookies into a zip-lock bag or food processor and make crumbs.
- Add melted butter to your crumbs and mix till all wet from butter.
- Put 1-2 tbsp of oreo crumbs in each muffin cup.
- Use a 1/3 cup (or similar) to press the oreo crumbs down firmly into the pan.
- Put into the fridge to chill while you will make your cheesecake filling.
Cheesecake filling
- If you opt-in for gelatine, start with gelatine first. Set the small bowl into a bigger bowl filled with boiling water to keep your gelatine warm. In a smaller bowl whisk gelatine with boiling water till very smooth.If you choose not to use gelatine, make sure you whip cream well before adding to the cream cheese filling.
- In a mixing bowl, beat the cream cheese, vanilla, and powder sugar with an electric mixer until smooth.
- Add your oreo filling, you saved earlier, and oreo crumbles.
- Add gelatine, if you are using gelatine and cream, stir well.
- If you are not using gelatine, gently fold in whipped cream.
- Place about 1/4 cup of the cheesecake filling in each muffin cup. I usually pipe the filling in as it's easier and faster.
- Place the cheesecakes in the fridge for at least 2 hours to chill before serving. If refrigerating overnight, loosely cover the cheesecakes in plastic wrap.
- Serve with whipped cream and extra Oreos.
Please, let me know if you like this recipe. If you tried it and loved it you are welcome to tag me @from_czech_to_usa.I would love to see your finished product.
