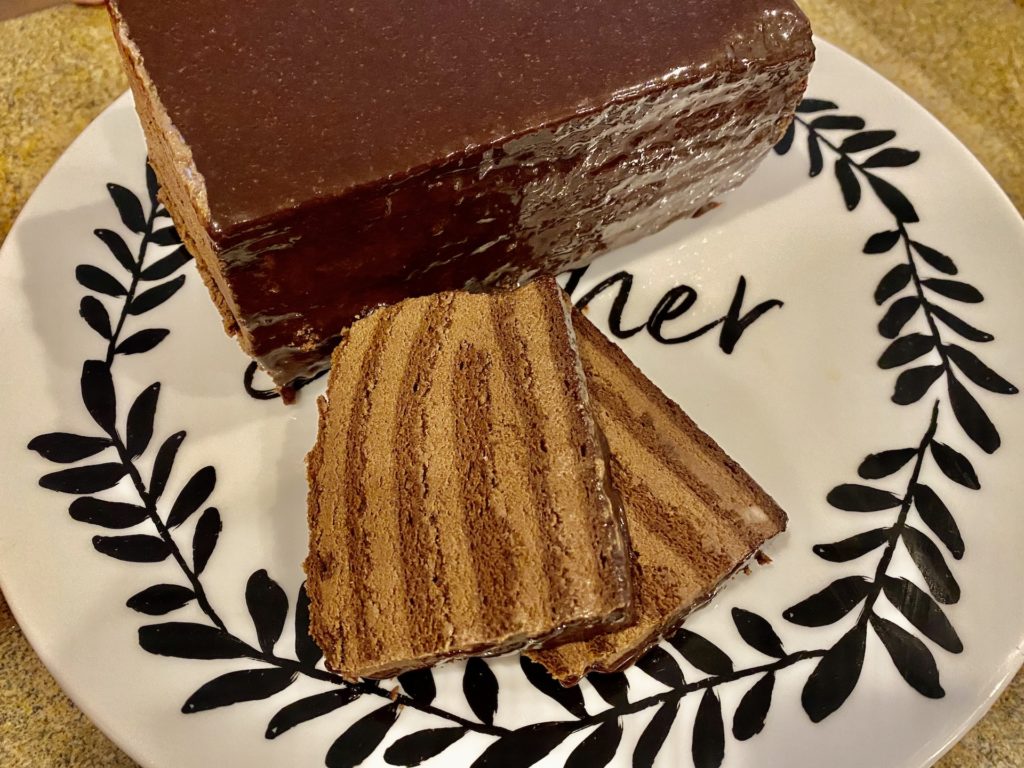
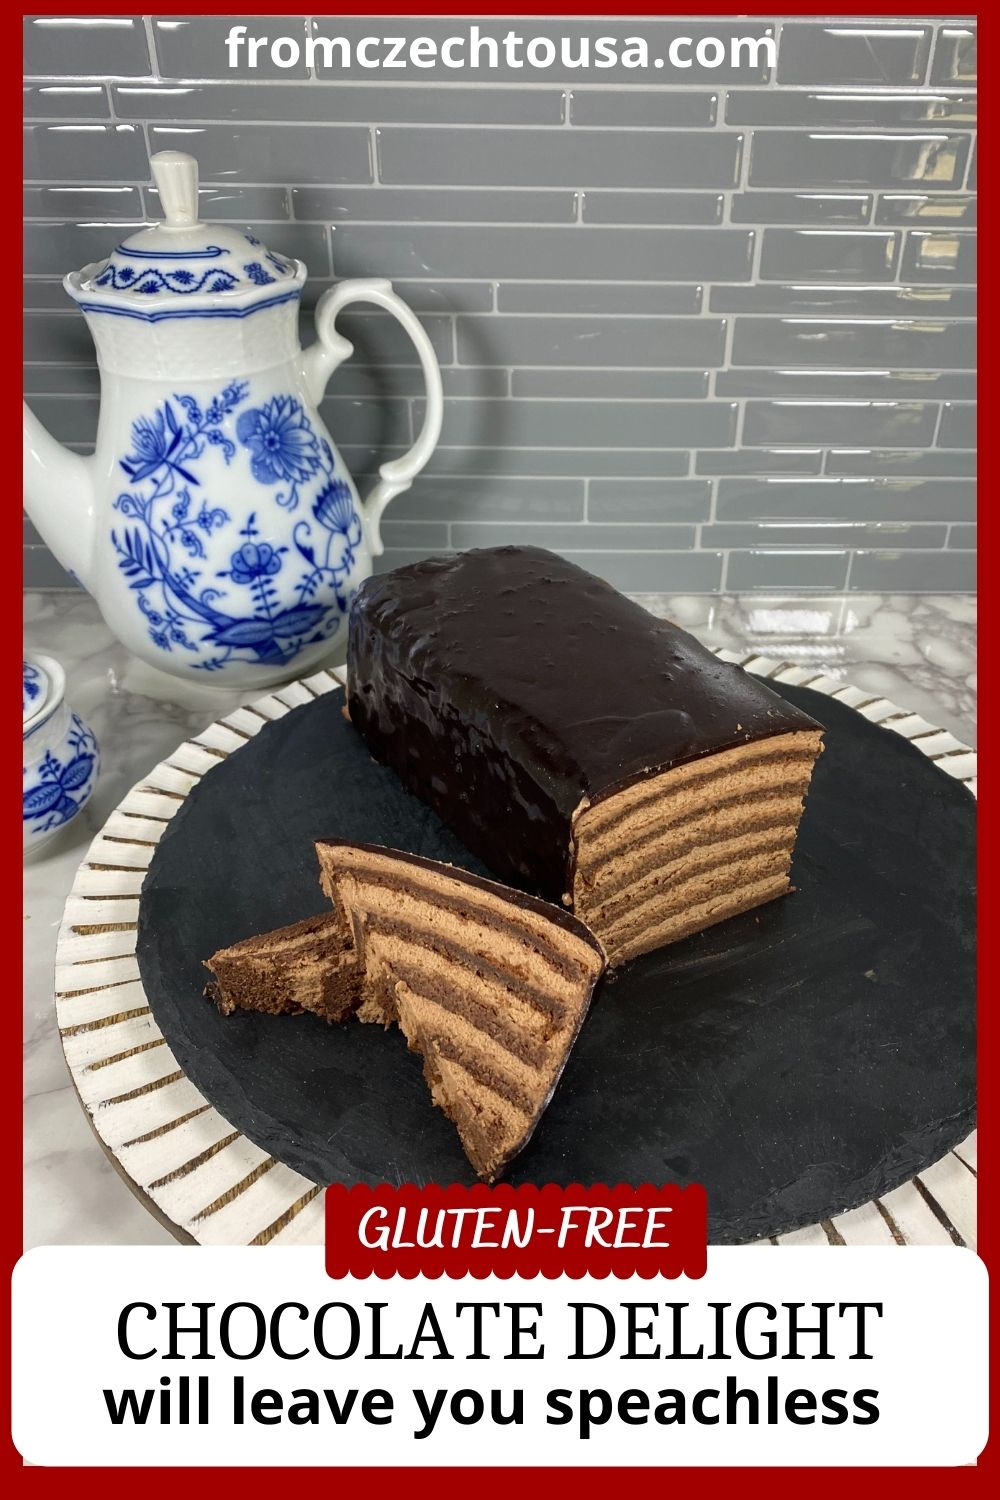
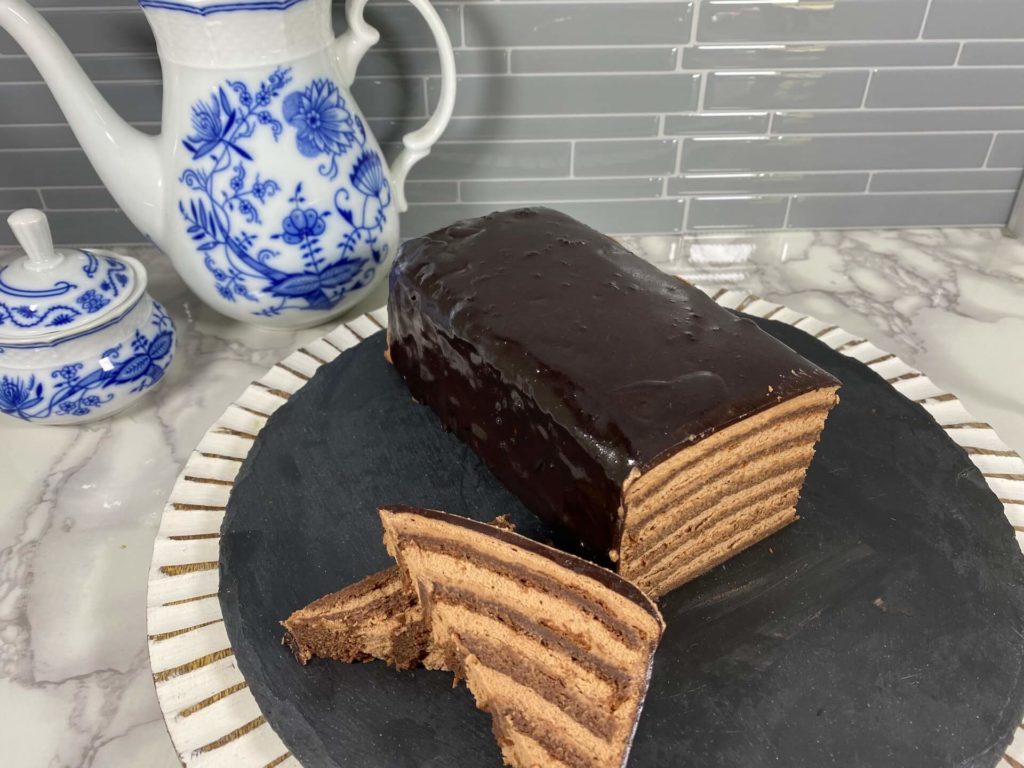
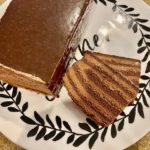
This Flourless Chocolate Delight, as I call it, will leave you speechless after eating your first bite. This cake is a moist, rich chocolate cake with chocolate frosting, and it is definitely a showstopper. Everyone loves it… and every time I make this chocolate cake, it is gone in no time, and there are never enough pieces for leftovers!
This recipe requires a few steps but is easy to follow with detailed step-by-step photos, tips, and tricks for one of the most stunning desserts of your life!
Chocolate flourless cake
I am so excited to bring you this Chocolate flourless Cake recipe! If I could pick only one dessert to eat for the rest of my life, I think this would be it. It’s rich, chocolaty, and decadent without being too heavy – just SO creamy and plain heavenly. I cannot wait for you to taste it, love it, share it, and start a new tradition with this recipe! Chocolate desserts are always a crowd pleaser and perfect for the holidays!
Let’s get baking
Sponge cake:
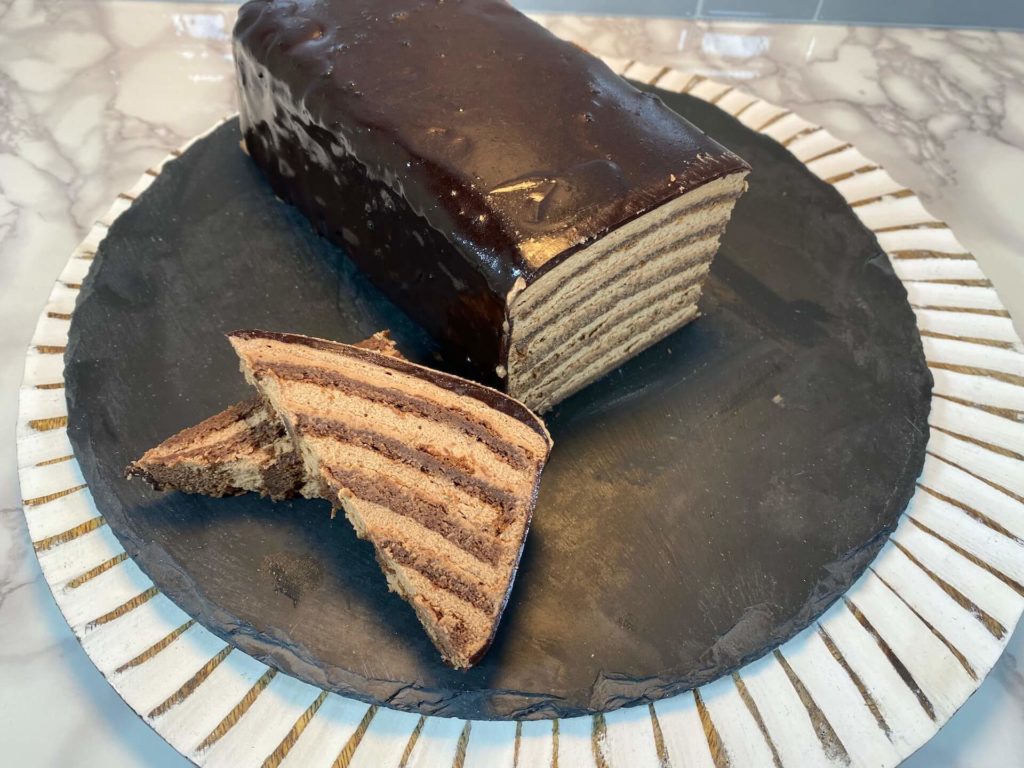
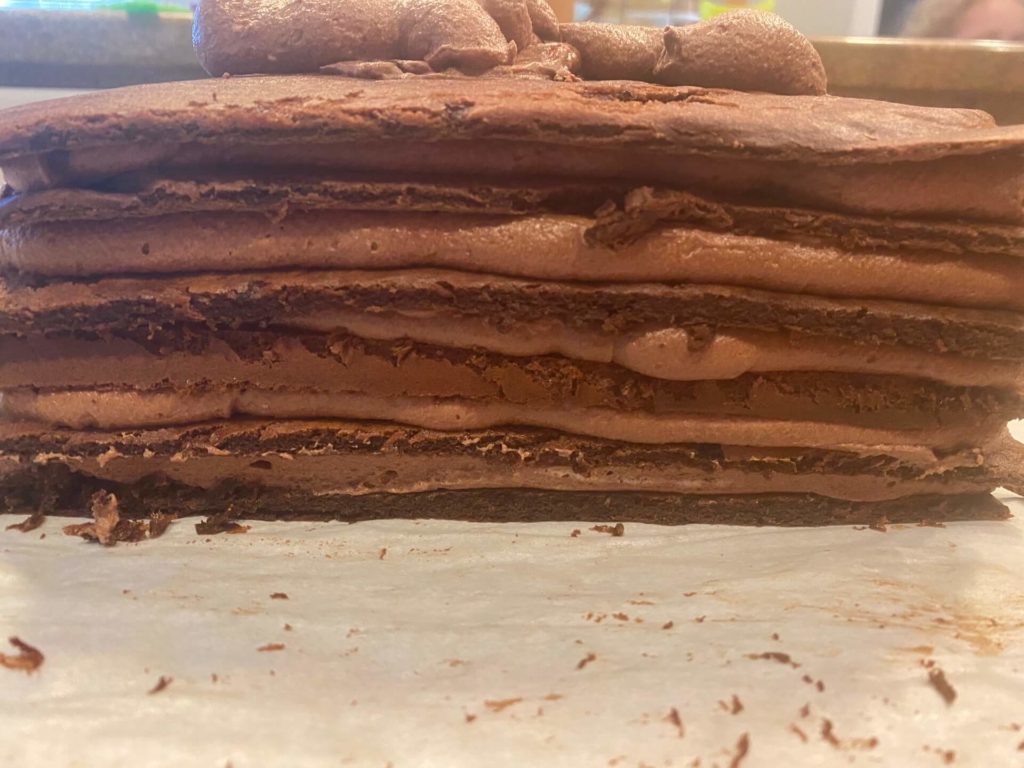
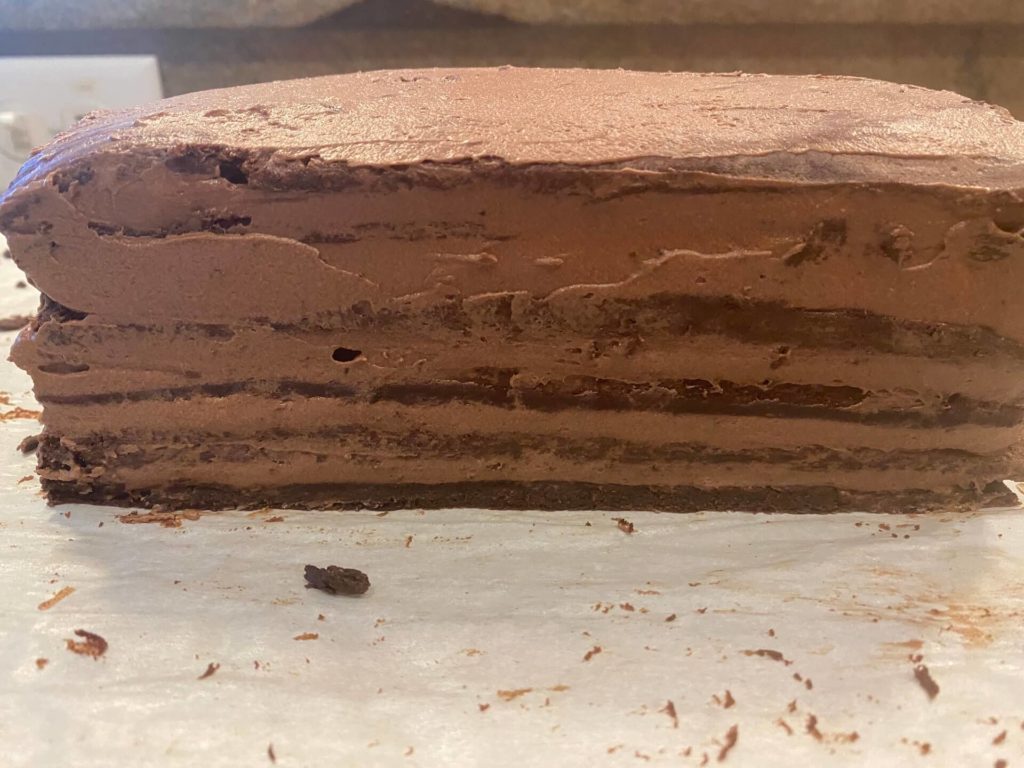
The sponge layers are dense and fudgy, the chocolate mousse layer is silky smooth, cool, creamy, and airy and beautifully complements the fudgy cake.
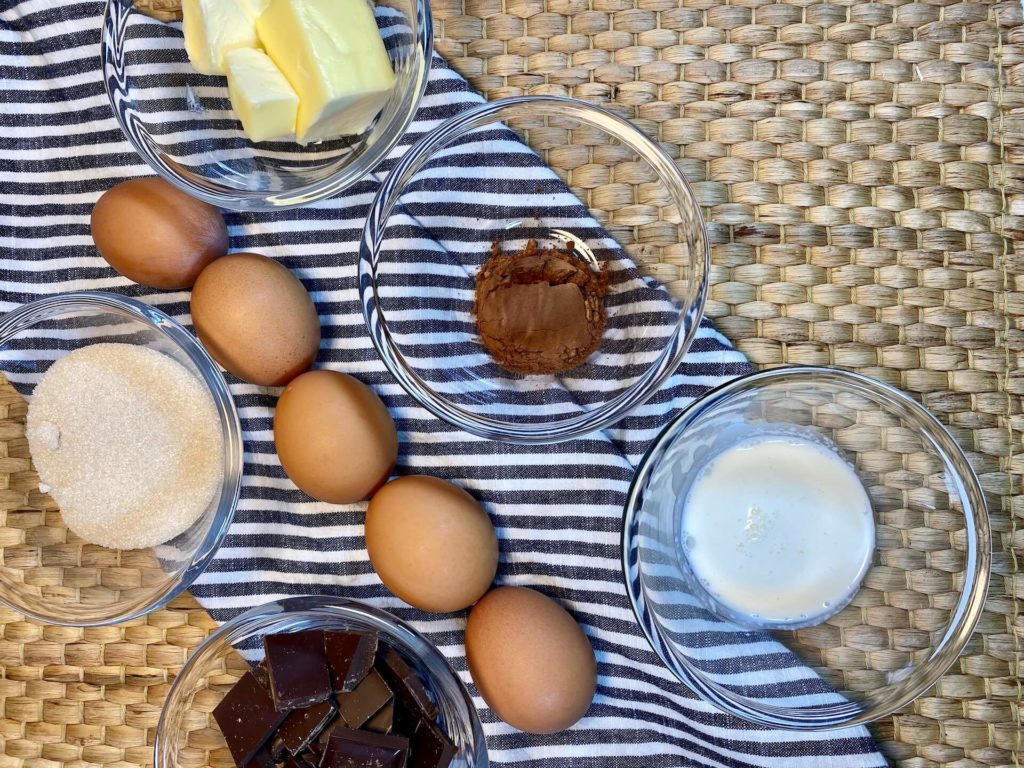
Start with gathering ingredients for the sponge part of the cake. I use a medium-size sheet pan. (11×15) Line your pan with parchment paper and set it aside. Also, get ready double boiler. You will need it for three different steps in this recipe.
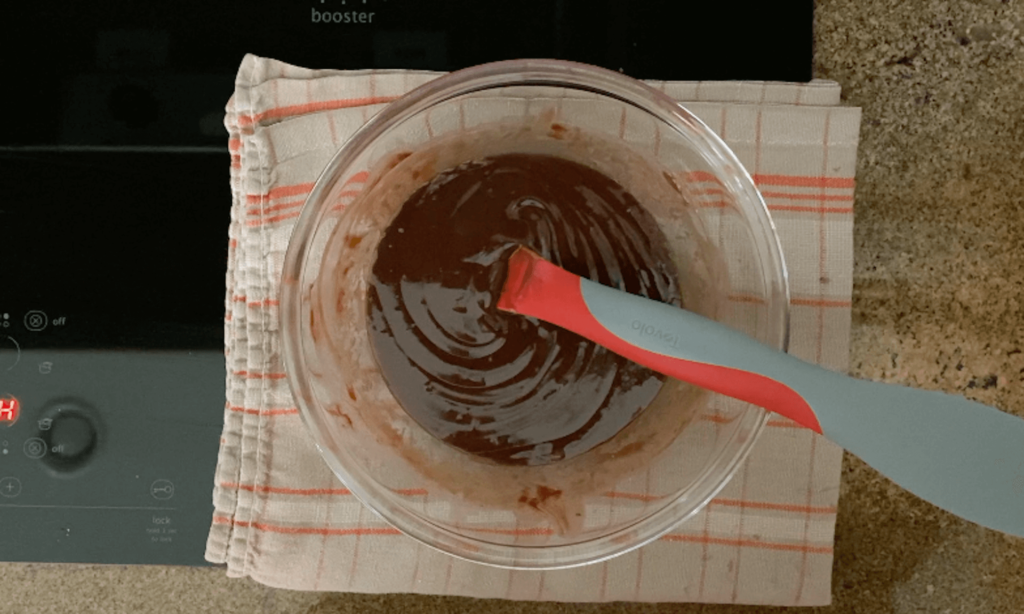
Melt dark chocolate together with heavy cream and butter in a double boiler. Have the heat on low medium, and when your chocolate is halfway melted, turn your stove off. Use only the double boiler’s warmth to melt gently and not to overcook, or the fats from chocolate and butter will separate. Combine all ingredients into a smooth dark liquid, and set aside to cool down a little before you add it to a cake batter.
- 120g Dark chocolate (good quality)
- 25g Heavy Cream
- 80g Unsalted butter
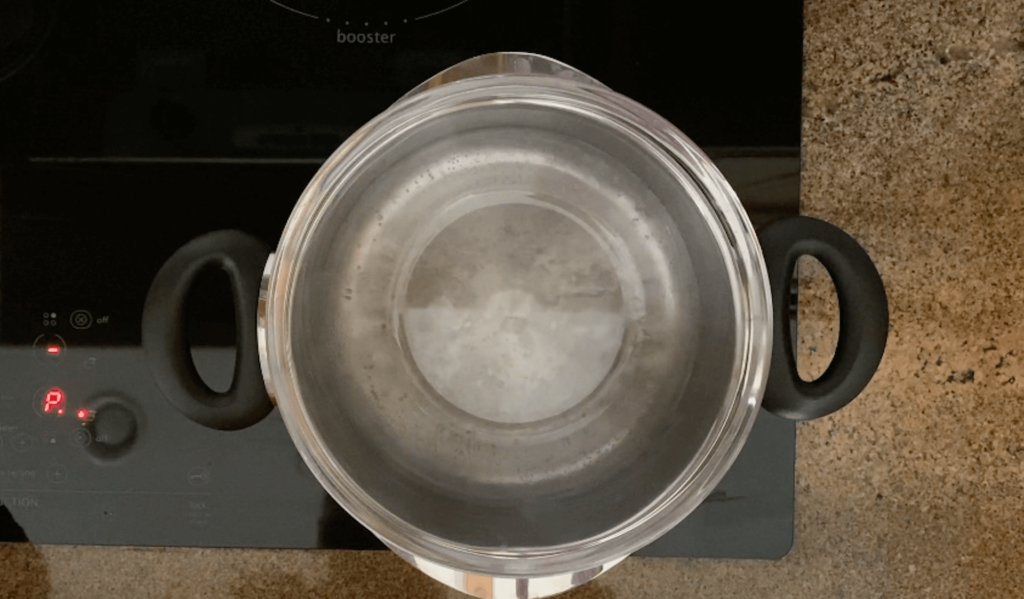
Double boiler 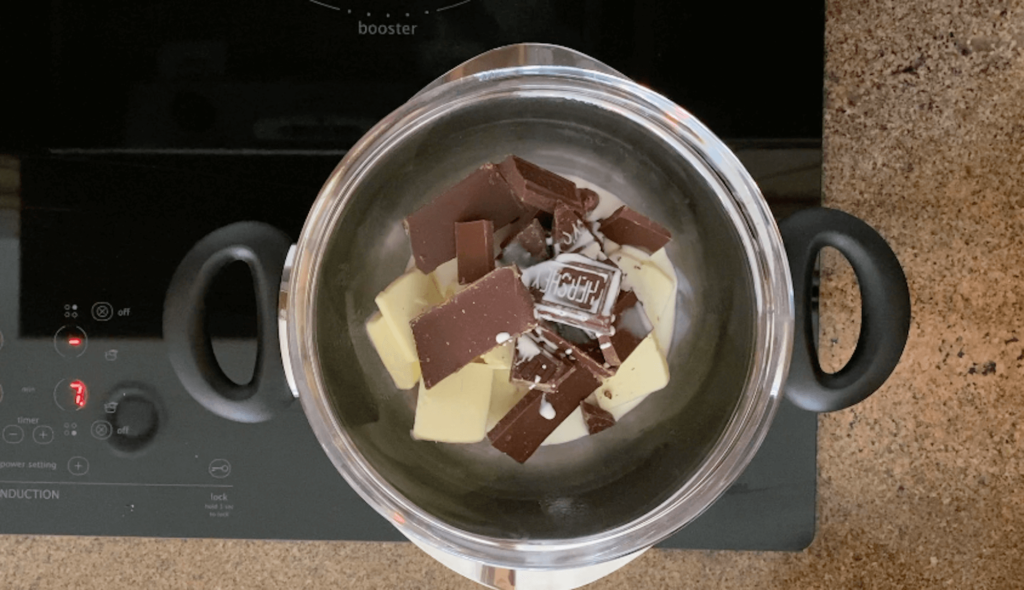
Egg whites:
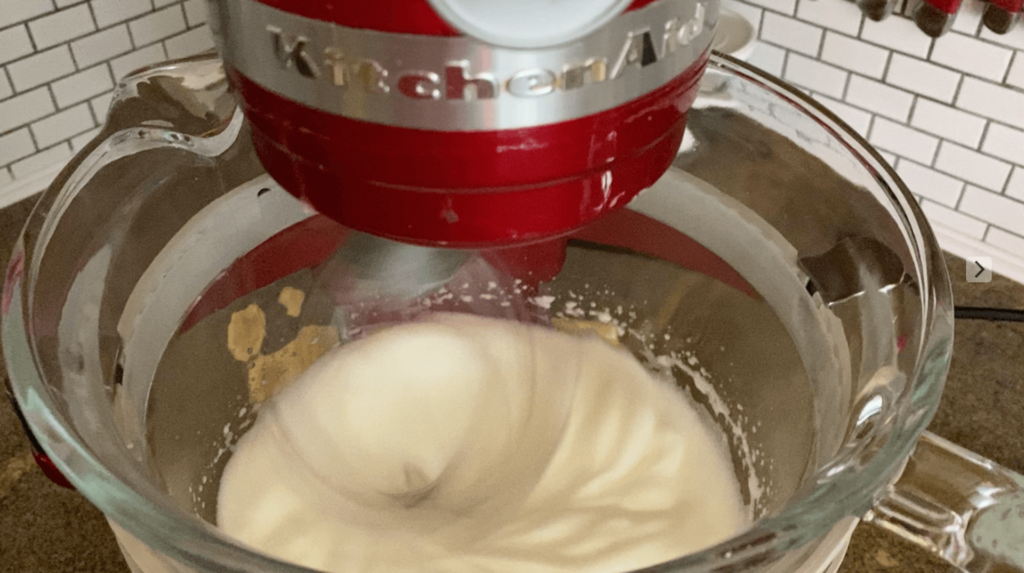
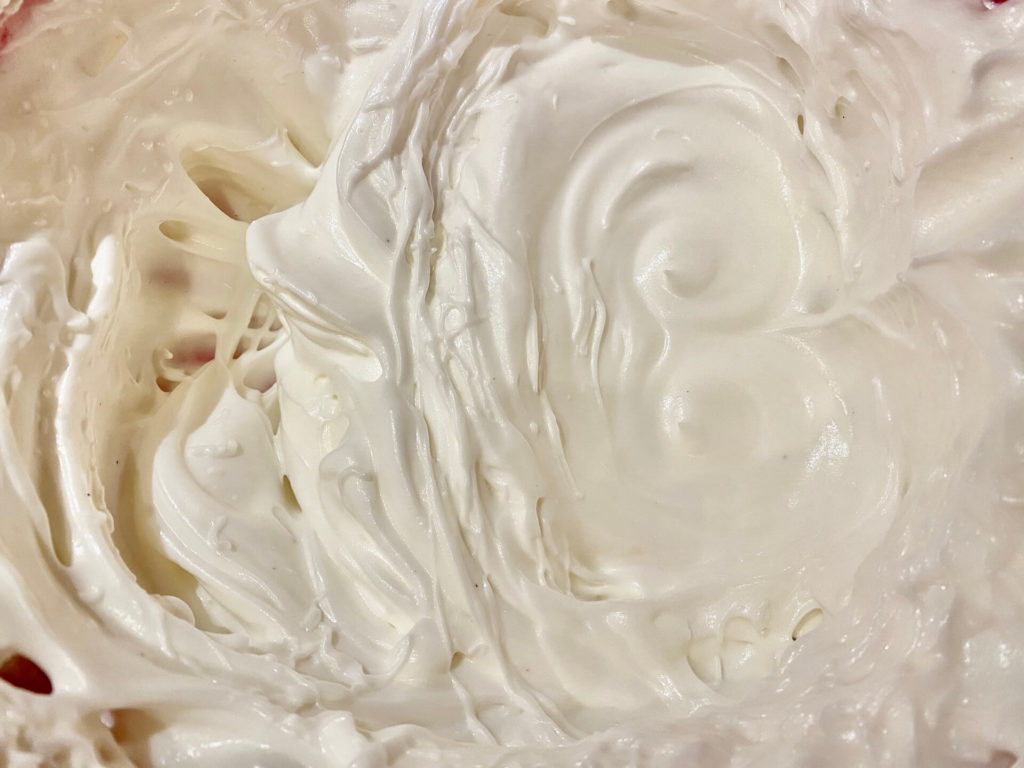
I like to start beating my egg whites first. Separate egg whites from egg yolks and whip them into stiff peaks. Make sure your bowl and whisks are squeaky clean. Otherwise, you will have a hard time whisking into stiff peaks.
After egg whites are done, I pour them into a smaller bowl, and that way, I can reuse my kitchen aid bowl for egg yolks. You cannot do this the other way unless you clean the bowl for your egg whites.
- 6 egg whites
Egg yolks:
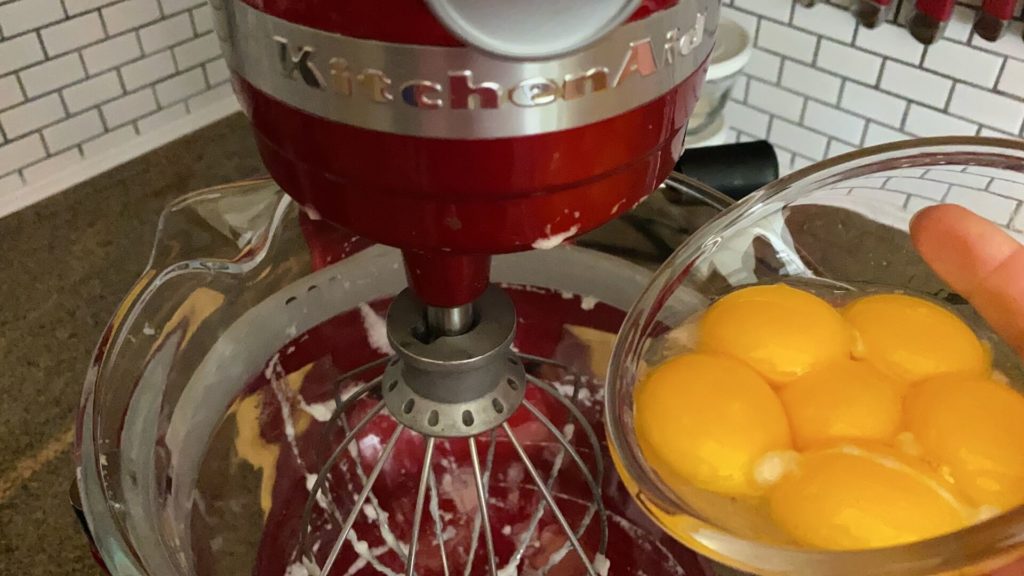
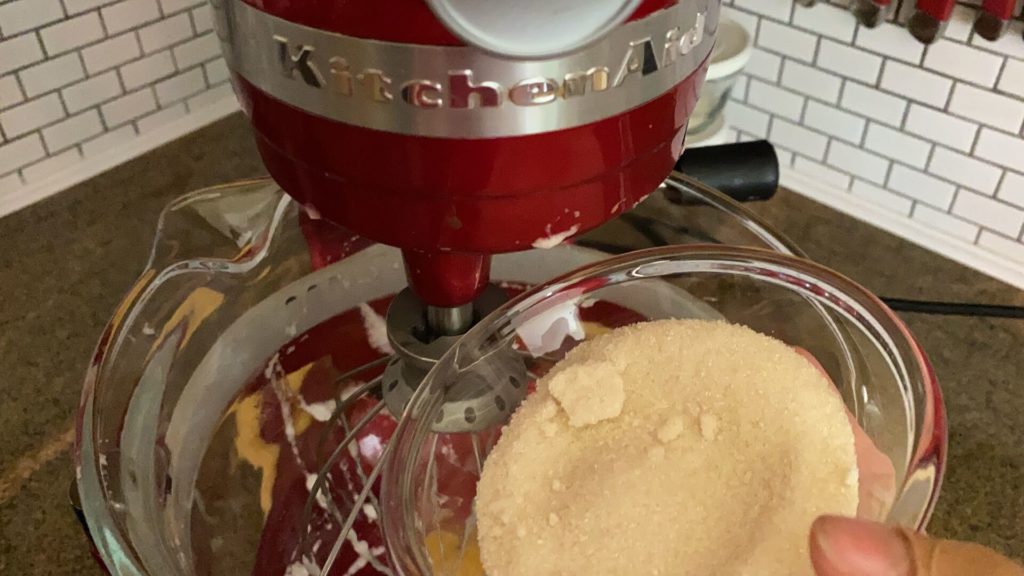
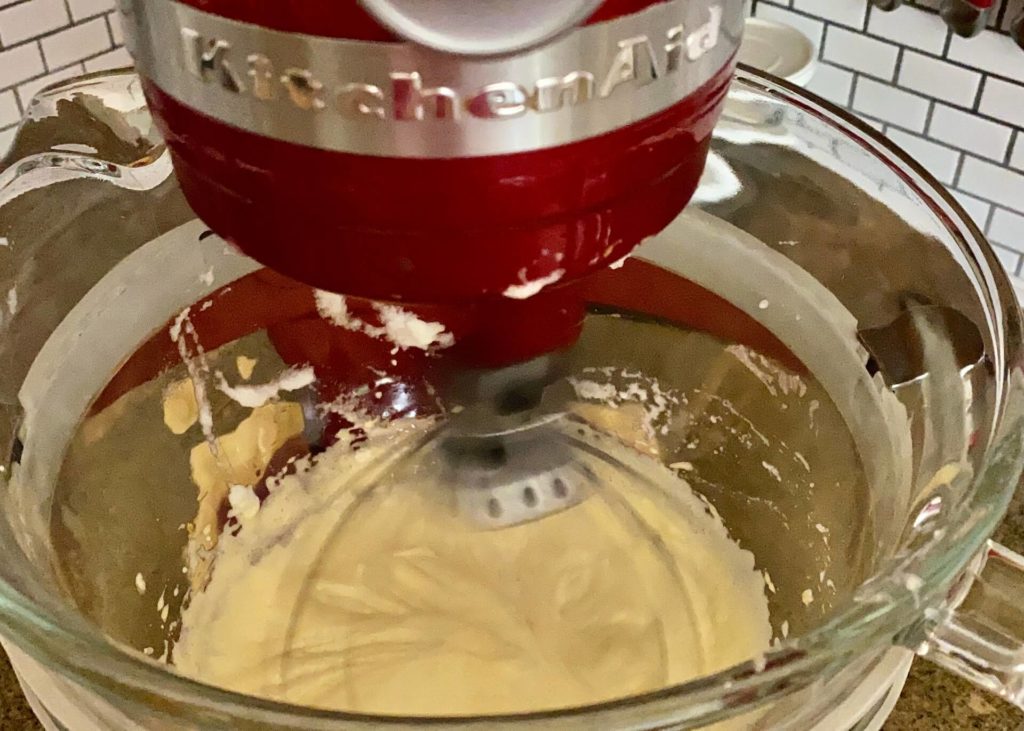
Beat egg yolks and sugar together and add vanilla extract. Continue beating into a very light and fluffy foam.
- 6 egg yolks
- 110g of sugar
- 1 tsp of vanilla extract
Finishing cake batter:
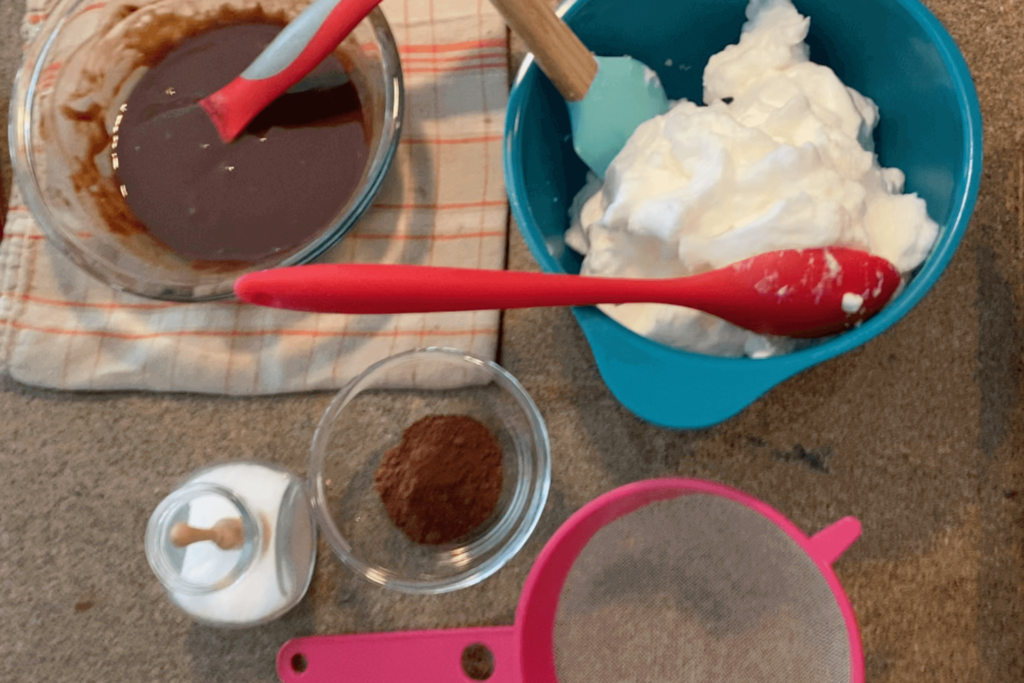
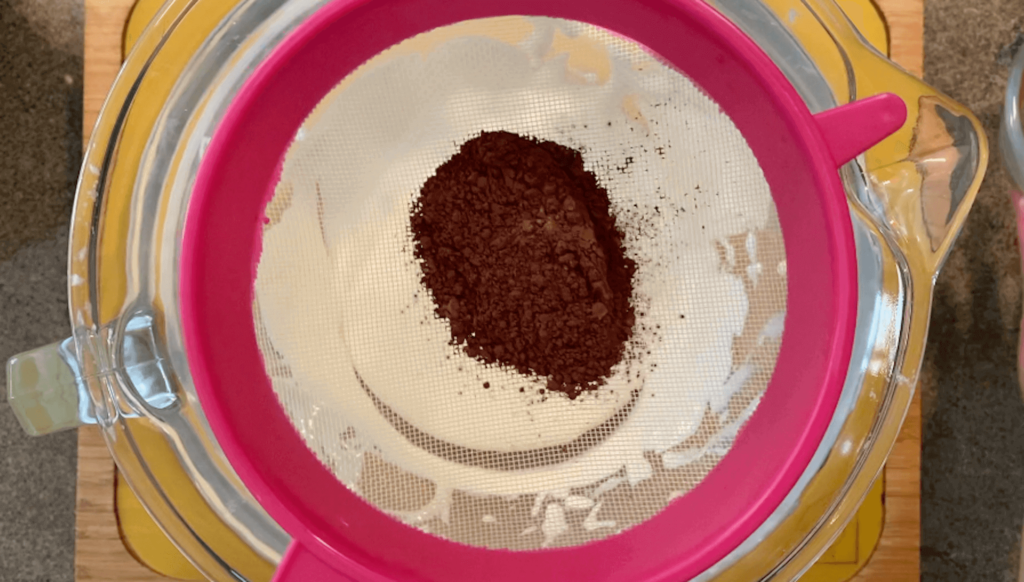
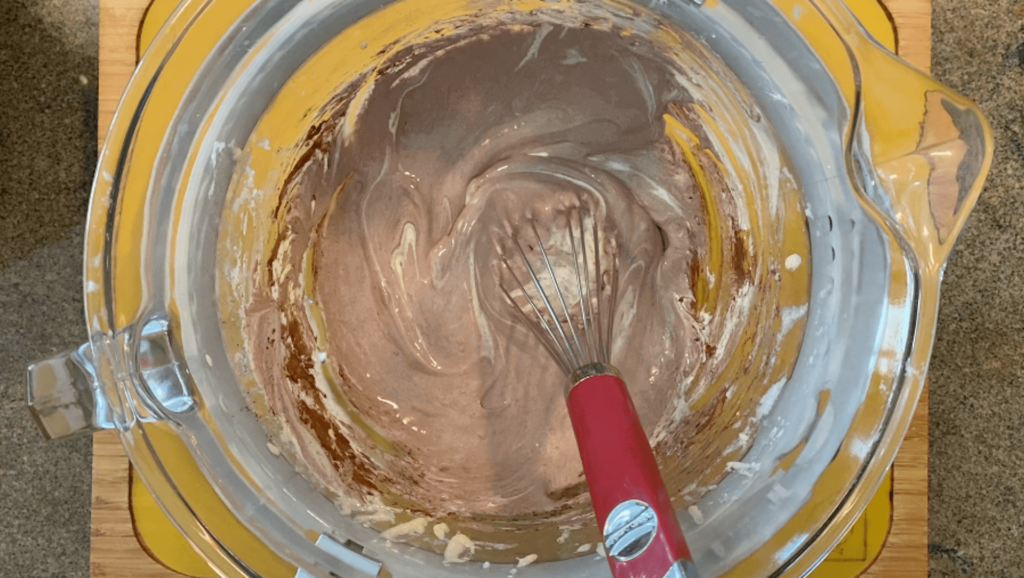
Sift dark cocoa powder, and a pinch of salt into your foamy eggs, and stir well. Sifting powder ingredients prevent lumps in a batter.
- 2 tbsp of sifted cocoa
- pinch of salt
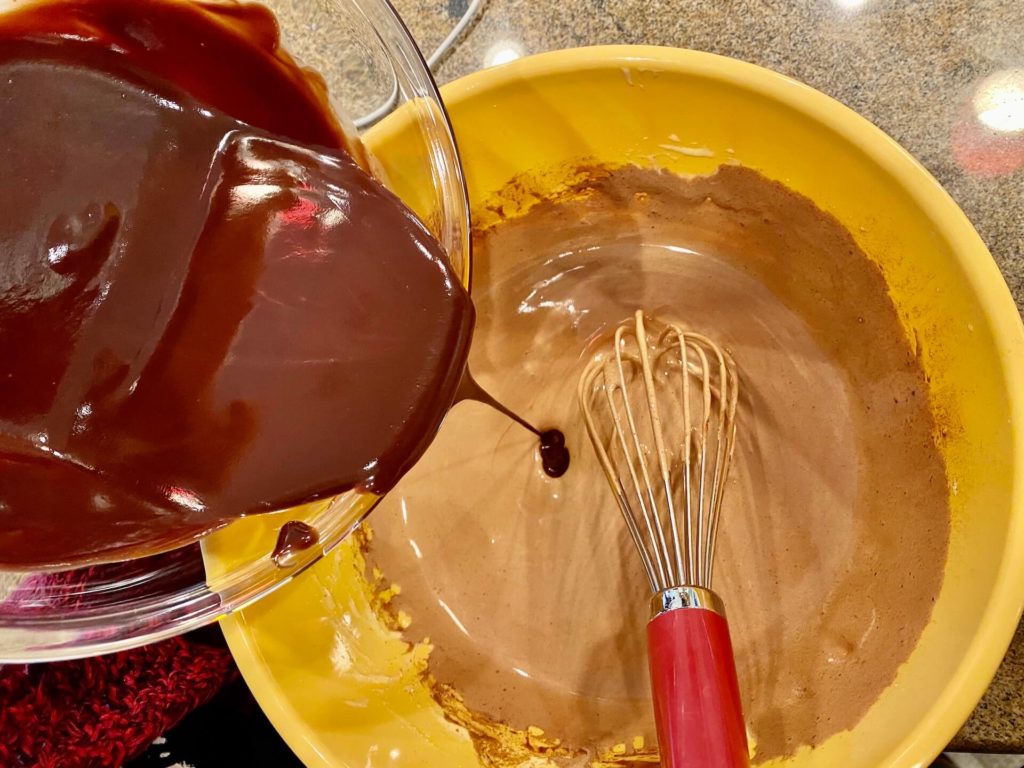
The melted chocolate should be cooled by now. Do not pour steamy hot chocolate into your batter. If your chocolate is ready, pour into the egg batter in small portions while whisking or staring to combine. I always use hand whisk for this step.
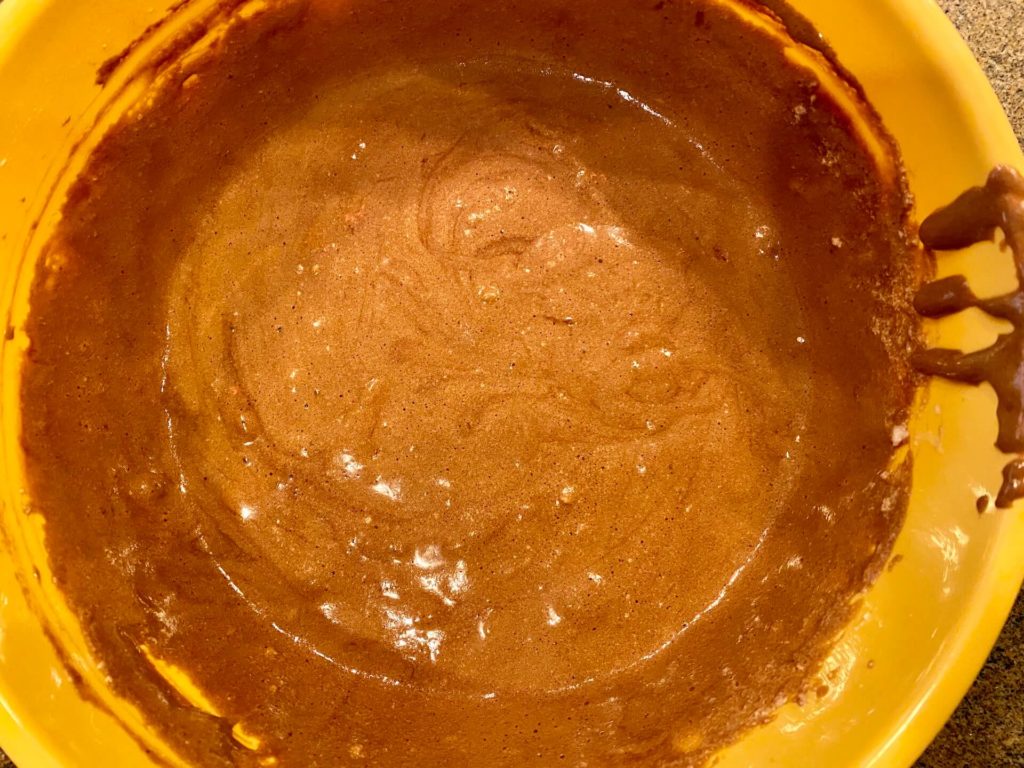
Fold your egg whites into your cake batter as well. Divide your eggwhites into thirds and gently fold not to break too many air bubbles. It would be best if you had airy foamy batter for this cake. Not plat pancake.
Baking your cake:
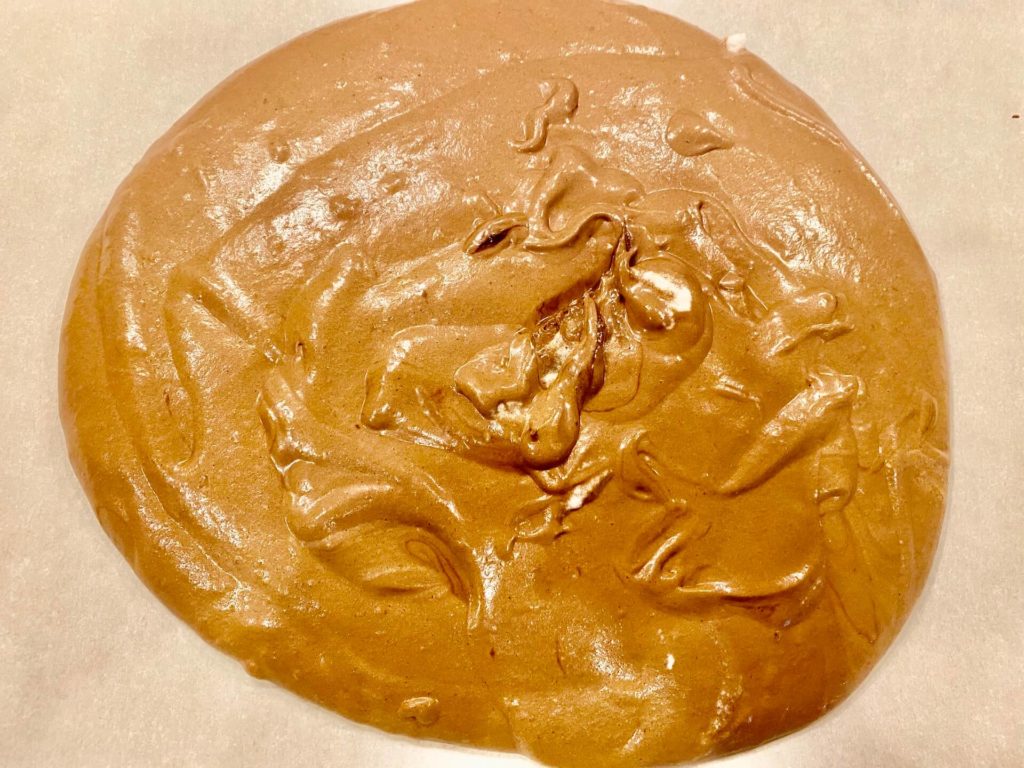
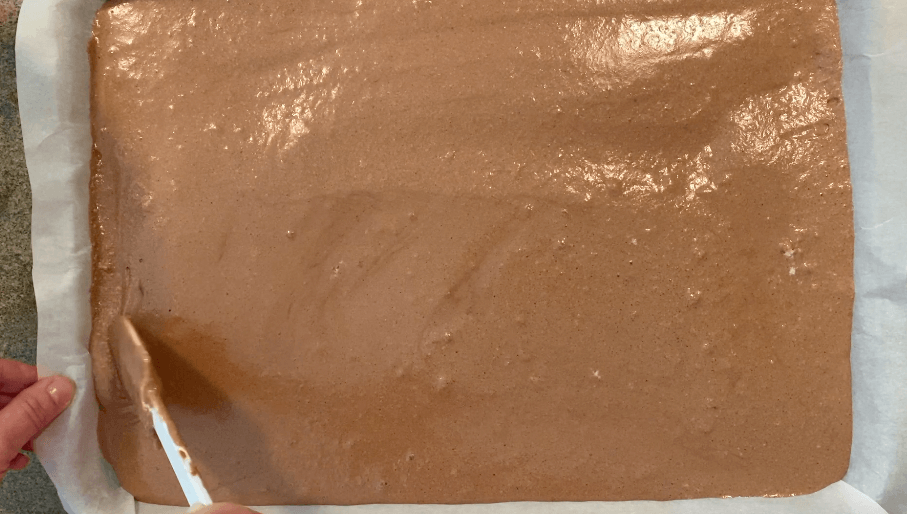
Pour your cake batter onto medium size ( about 11×15) sheet pan lined with parchment paper. Spread your batter the best way you can. Tap into corners and edges to make sure the batter is spread evenly. Smooth the top, and bake in a preheated oven at 350 for about 15 minutes.
Rule of thumb
Keep an eye on your oven and cake!!!! Every oven bakes a different way. Your oven could bake it faster or slower.
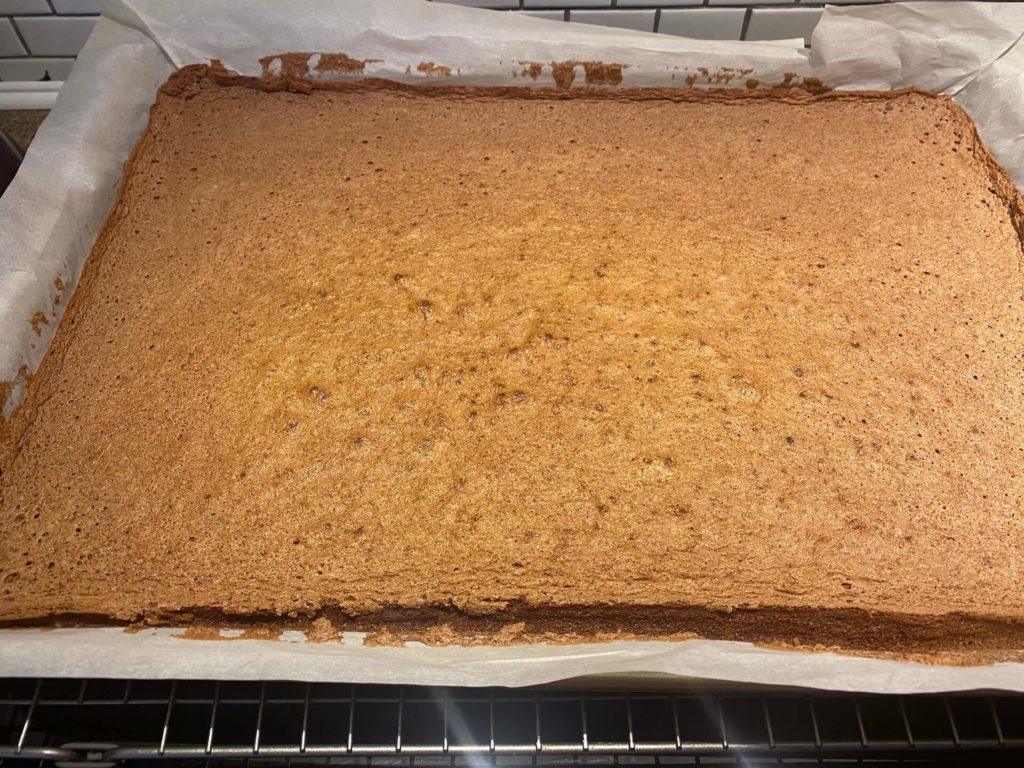
Pull your sheet pan out of the oven and let it sit on a rack to cool down. Do not worry about taking the sponge out of a pan. Just let it be while you are working on frosting.
Frosting:
The frosting is divided into a couple of easy steps as well. It is not hard at all. Just follow the pictures and instructions.
- 80g of Heavy cream (hot)
- 1 1/2 tbsp of cocoa
- 165g of Dark chocolate
- 3g unsalted butter
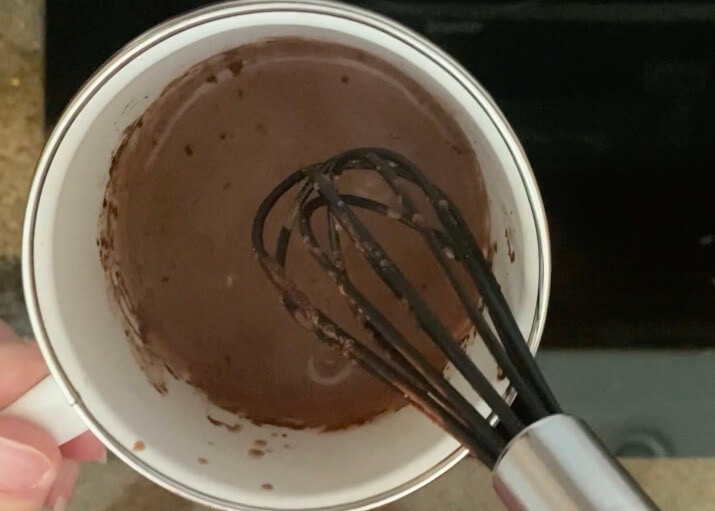
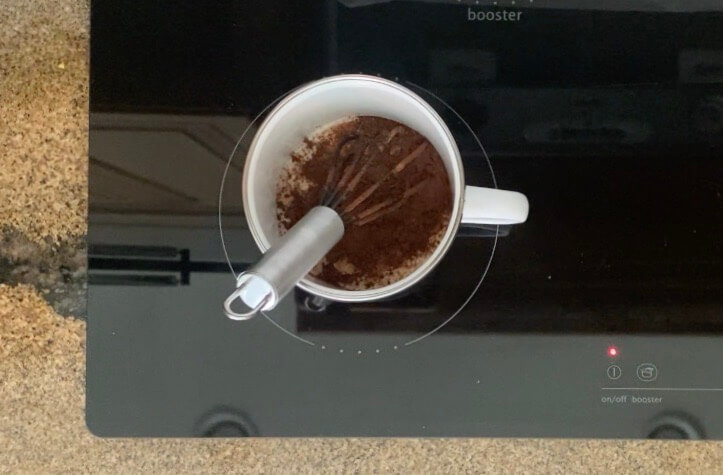
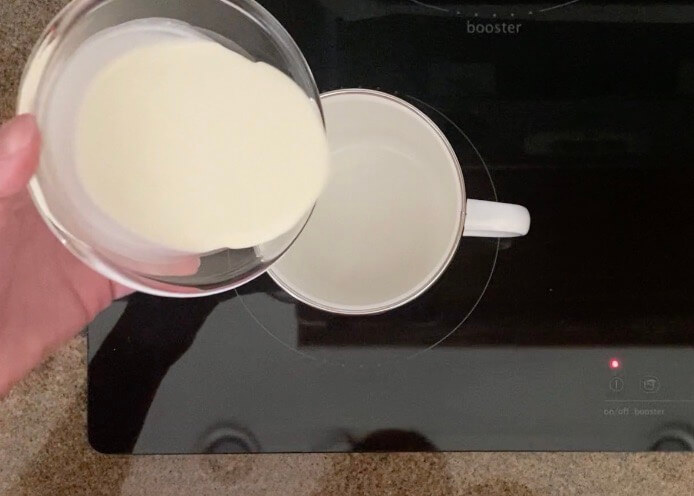
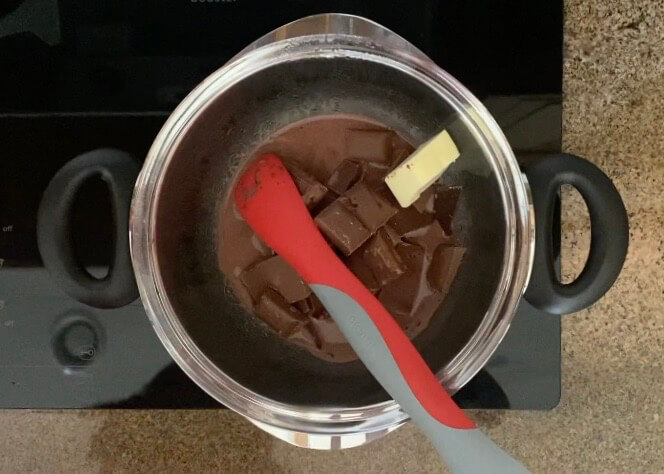
Heat heavy cream (not boil) in a saucepan and whisk in a Cocoa powder. This helps to get a soft chocolate liquid without lumps. Now back to our double boiler. Add chocolate, butter, and cocoa sauce into a bowl and melt.
Make sure to not OVERCOOK your chocolate. Just gently melt into a smooth runny chocolate sauce. Melt chocolate half way on low heat and turn off the stove and let steam from double bolier melt the rest. Set aside and let cool down. Room temperature would be ideal.
“If you will combine whipped cream with hot chocolate cream, your whipped cream will melt and make the whole frosting runny and messy.”
Finishing the frosting
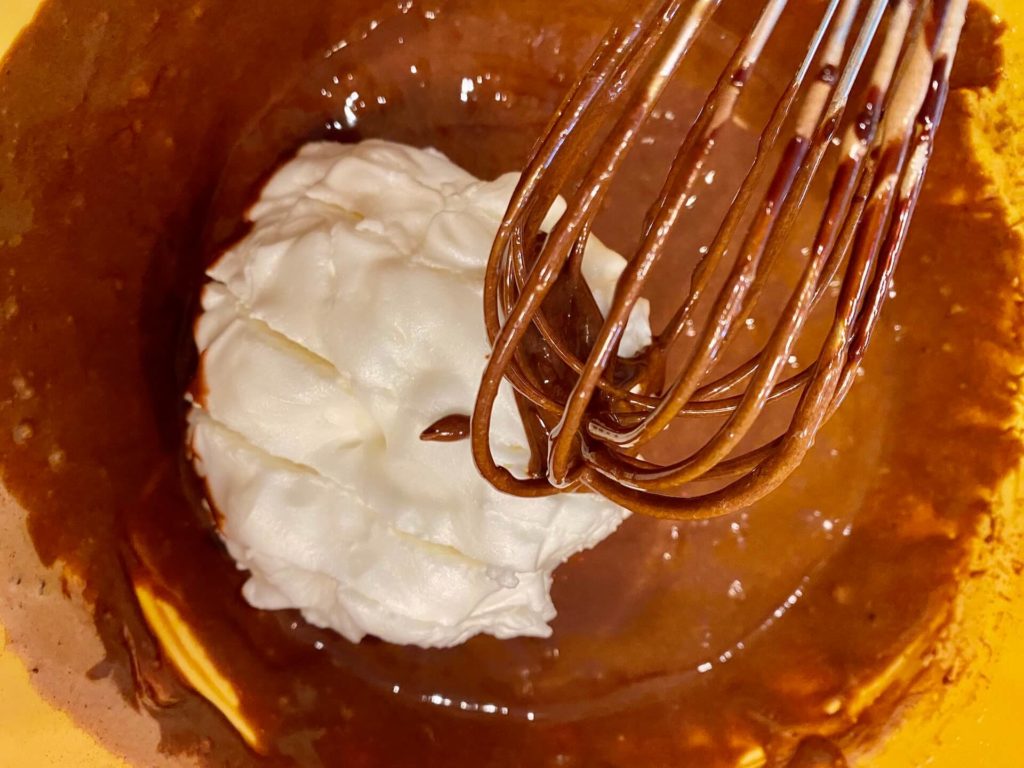
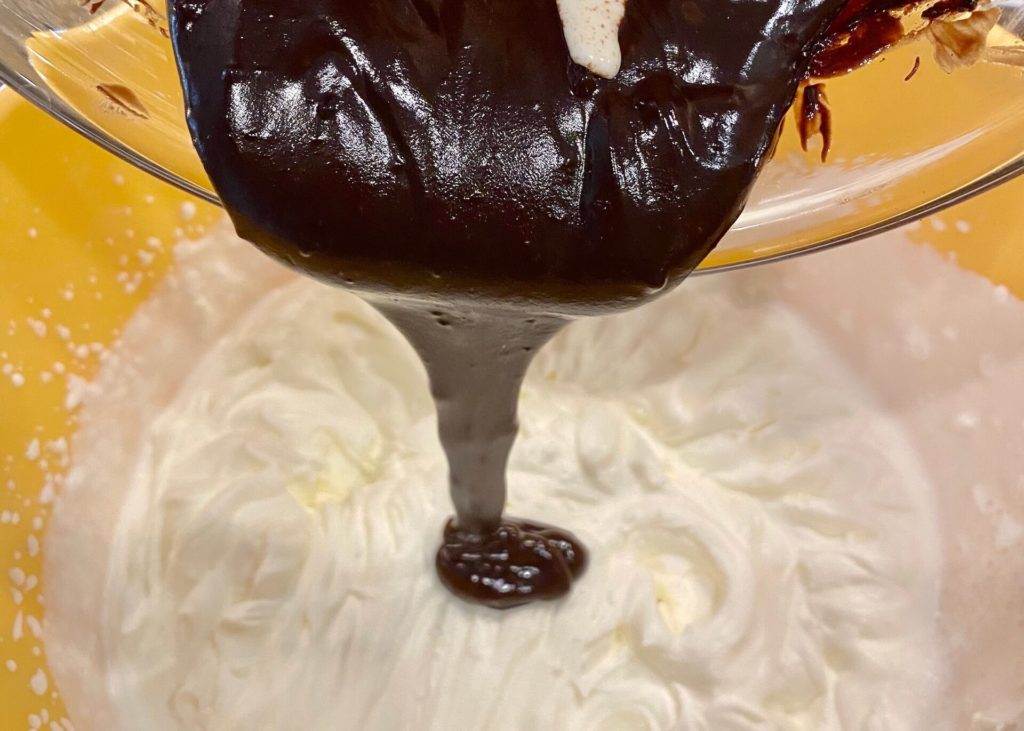
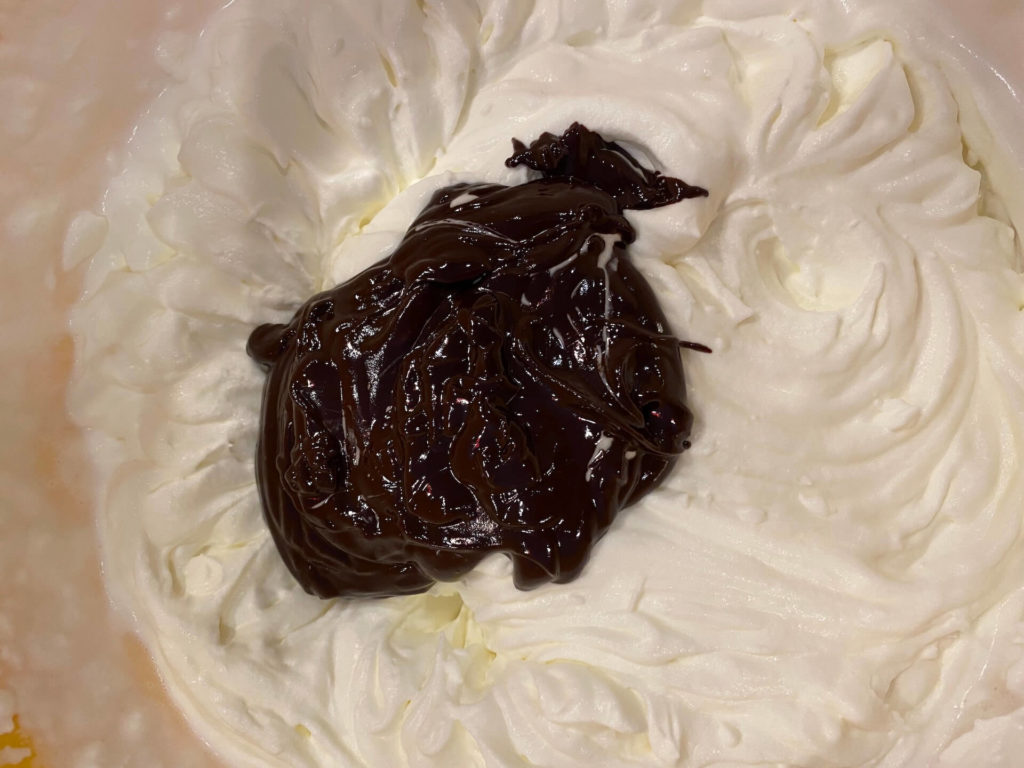
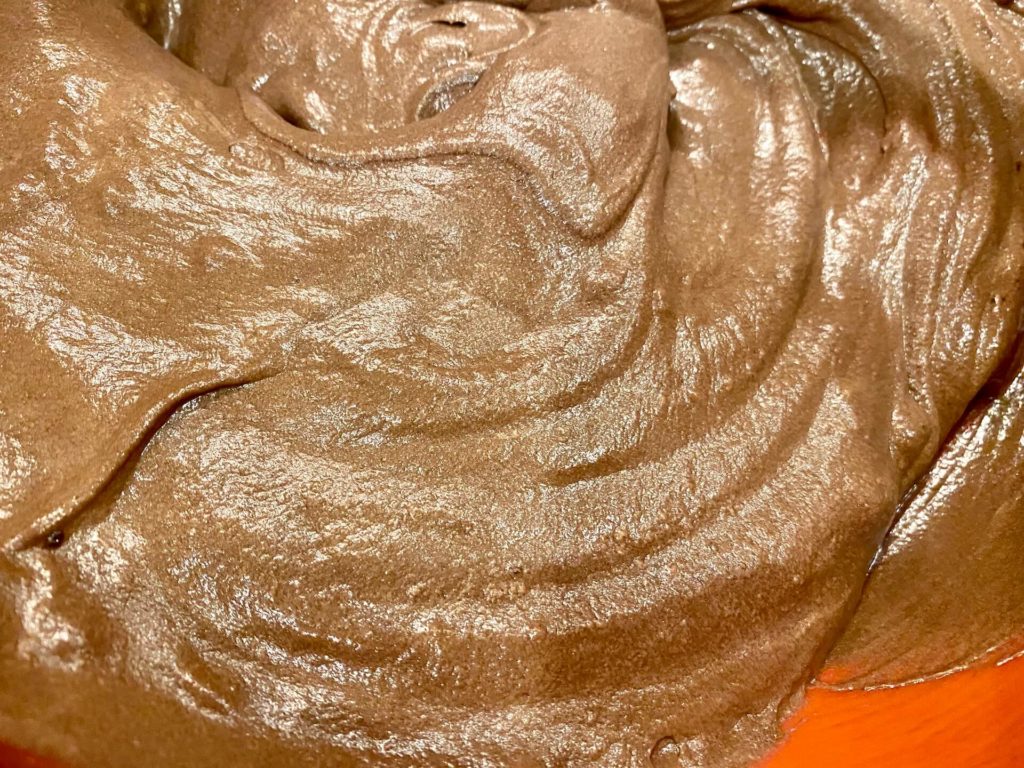
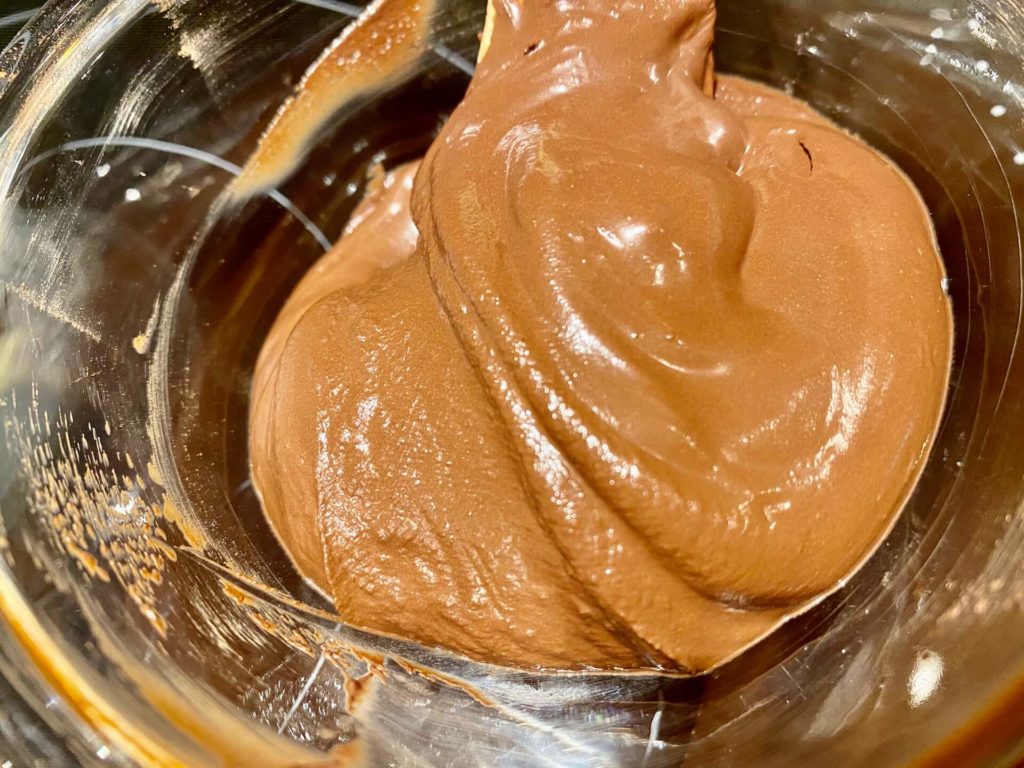
Always use cold cream for whipping. When your whipping cream has soft peaks, slowly pour your chocolate into whipped cream. Gently fold both together. Put your frosting in a fridge for about 15 minutes. Time to prep your sponge.
- 300g Cold Heavy cream (whipped)
Frosting your cake
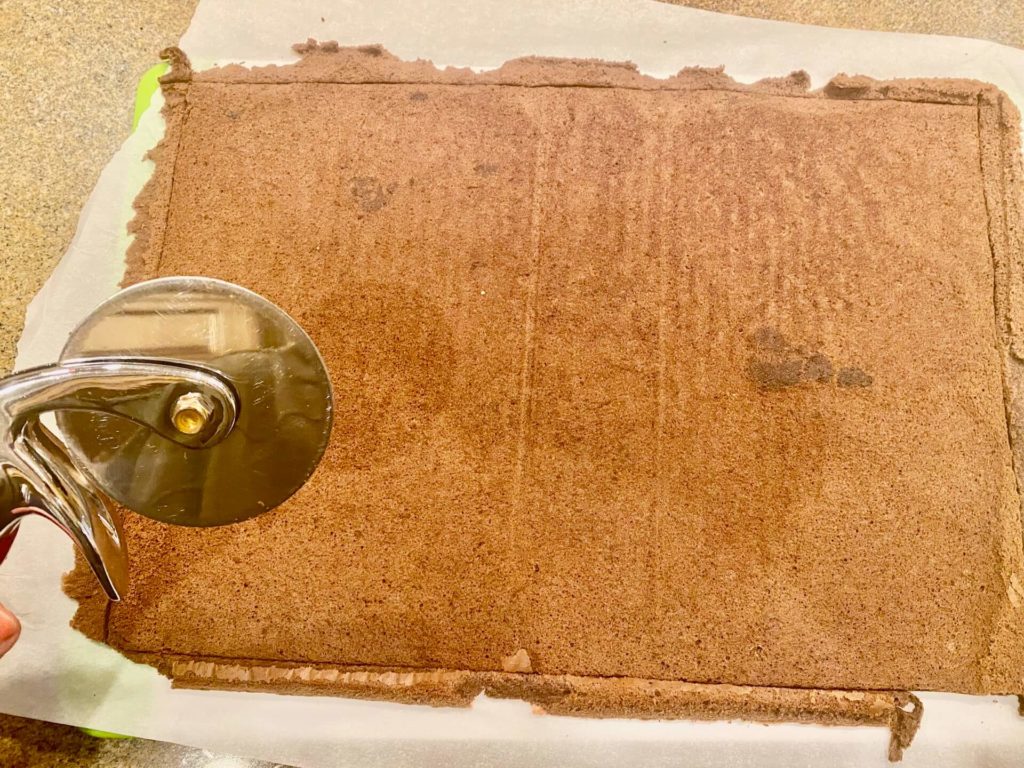
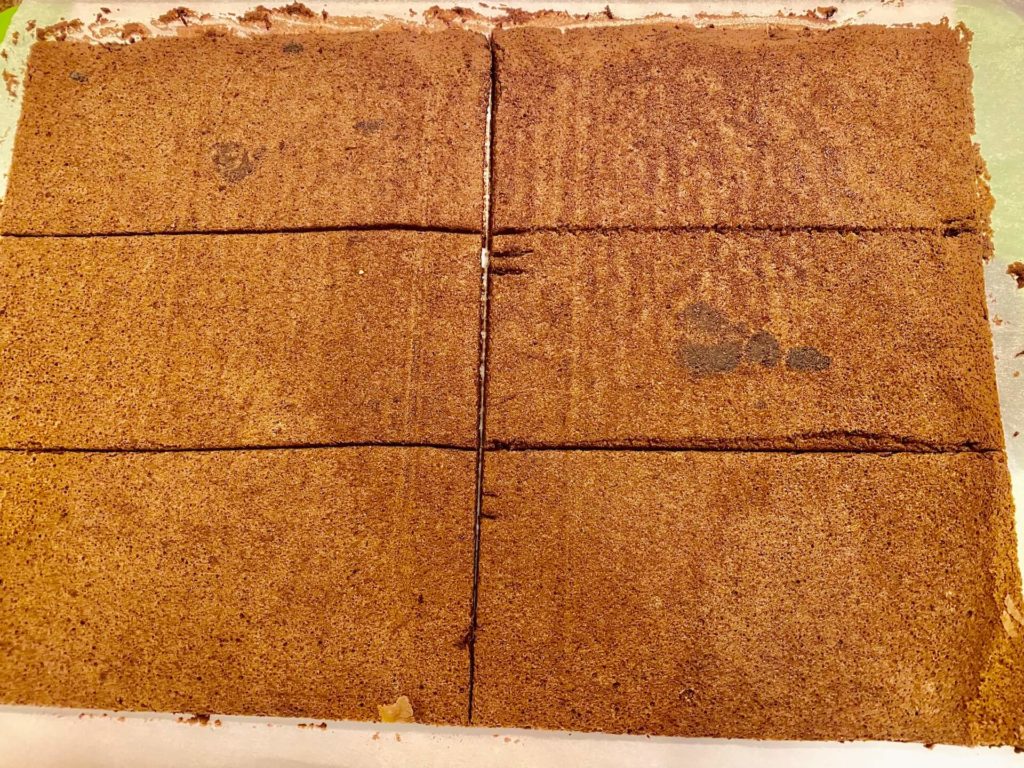
The best way to cut your flourless chocolate cake is, with a pizza cutter. It does cut very clean edges from your cake. Cut your cake sponge into six even pieces. You can use a ruler if that will help you. I sure did use it. Make sure your sponge is completely cooled down.
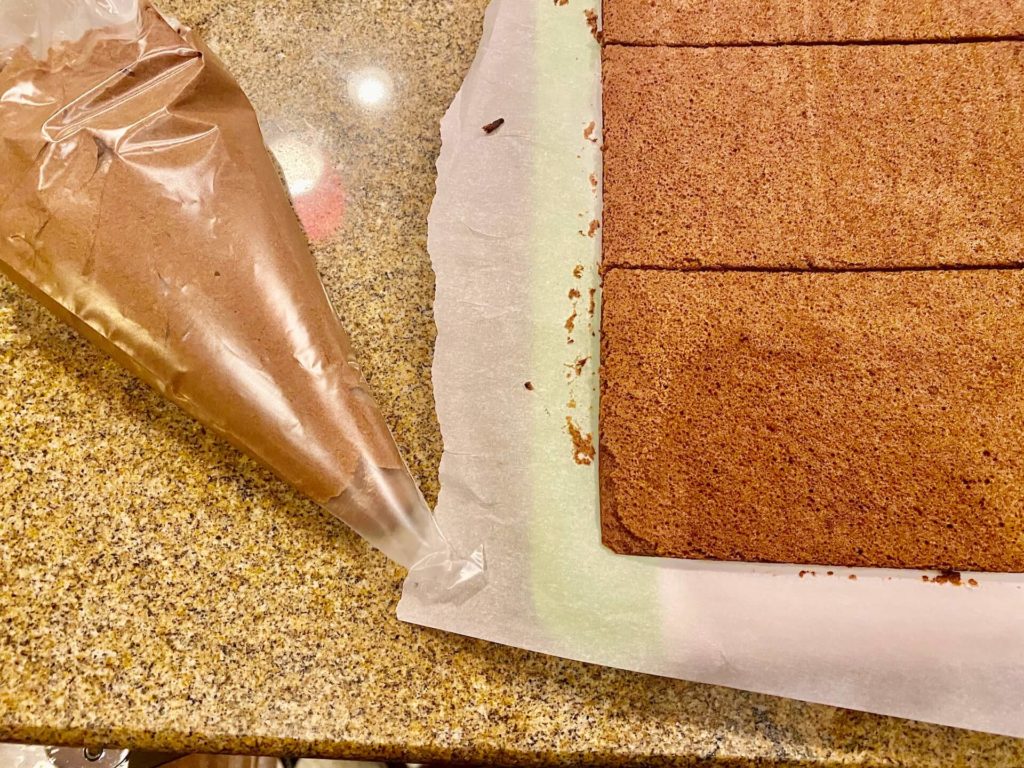
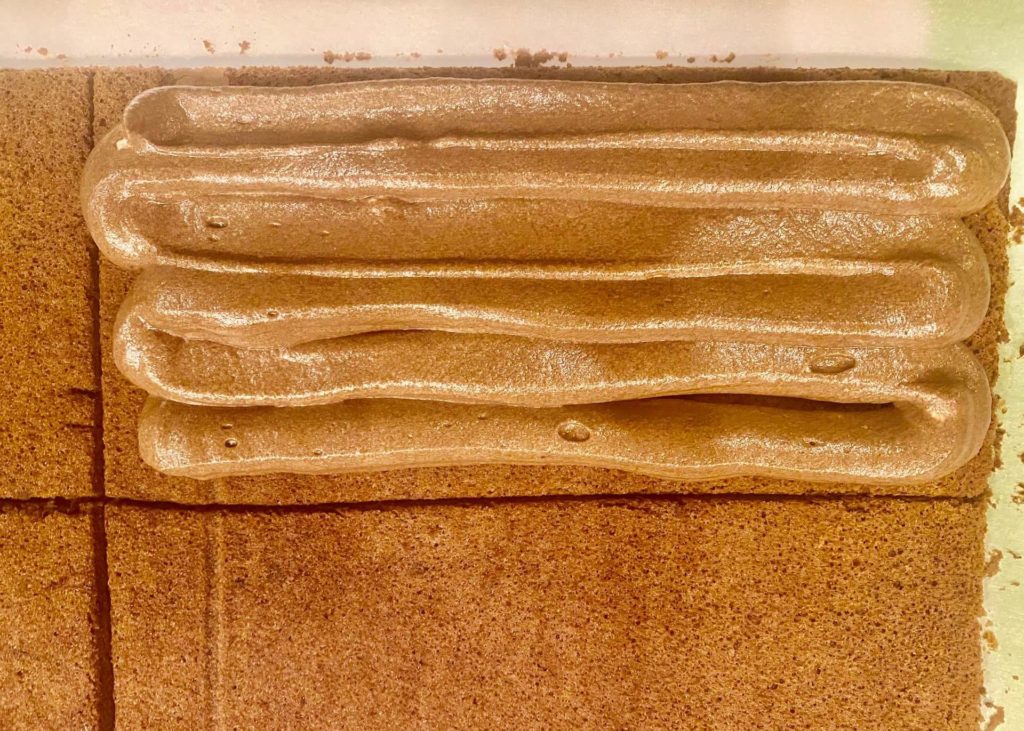
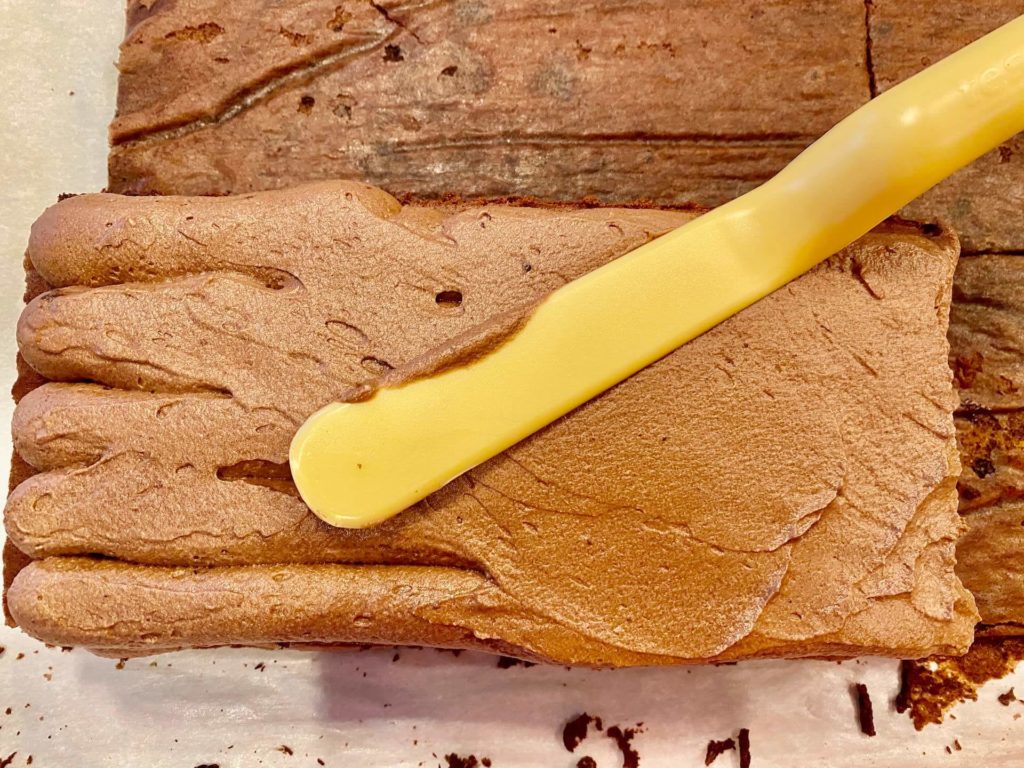
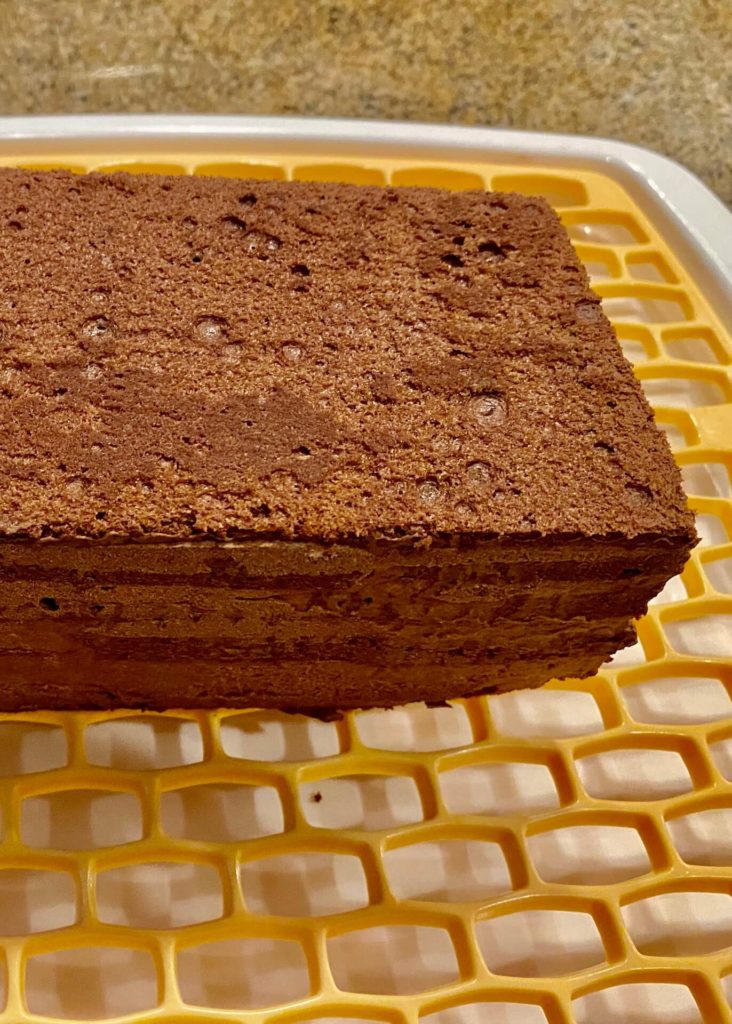
The easiest way to frost your cake is to use a piping bag. You will get an even layer of frosting on each layer of sponge. Use a big round tip, or just cut a corner of a bag.
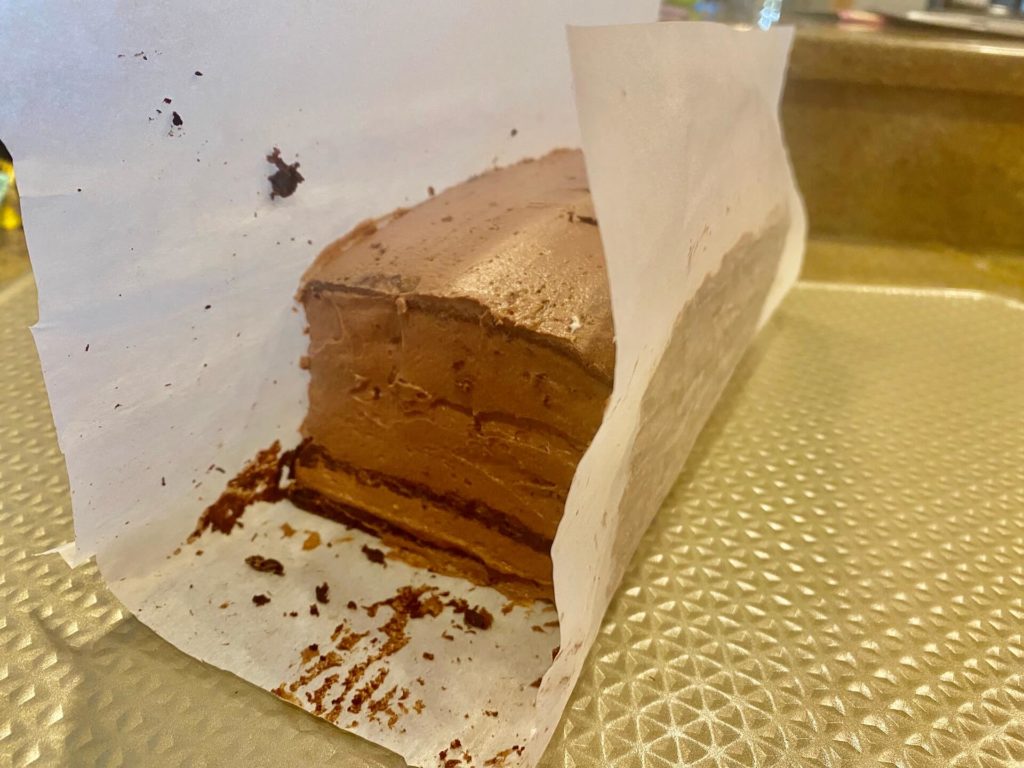
Smooth the sides of your cake the best you can and store in the fridge to stiffen a little more. The ideal is, to leave the cake in the fridge overnight. I was able to cut the edges with a knife and make them look sharp the next day.
Mirror glaze:
Chocolate Mirror Glaze – or Glacage Chocolat in French – is the most stunning of all cake glazes! Made with a simple mixture of cocoa, cream, sugar, water, and gelatin.
No special equipment required.
Making a mirror glaze is very easy IF you follow a few key tips that make all the difference between success and lumpy failure. Gelatine is what makes Mirror Glaze shiny. It’s very simple to use and not expensive either.
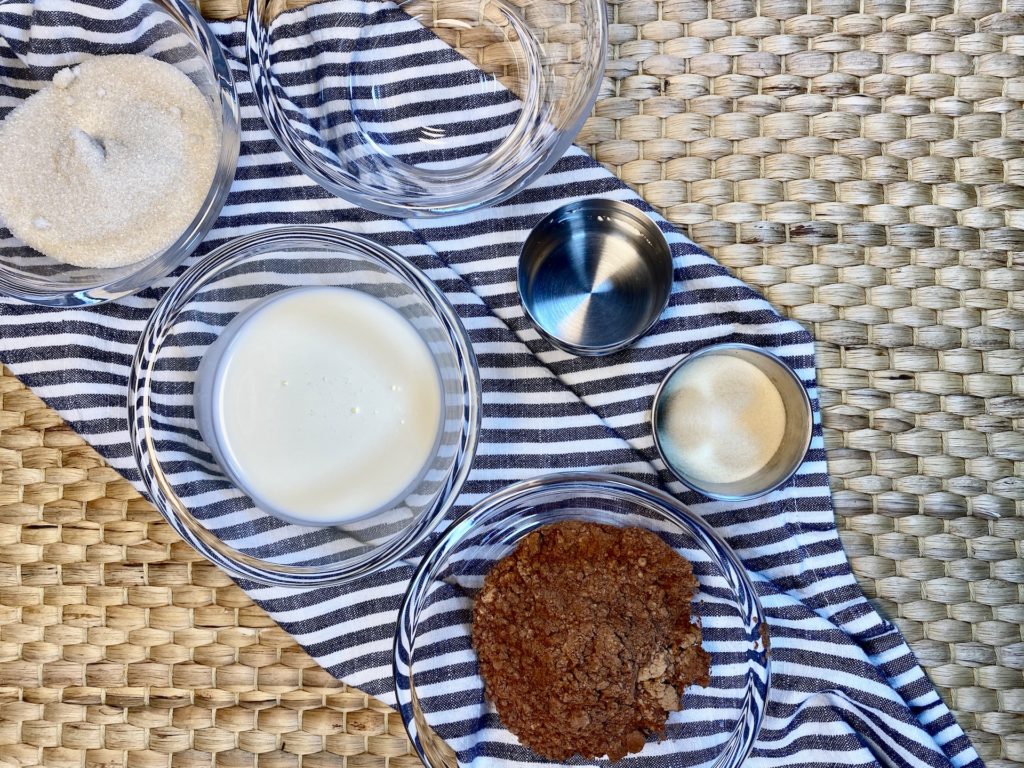
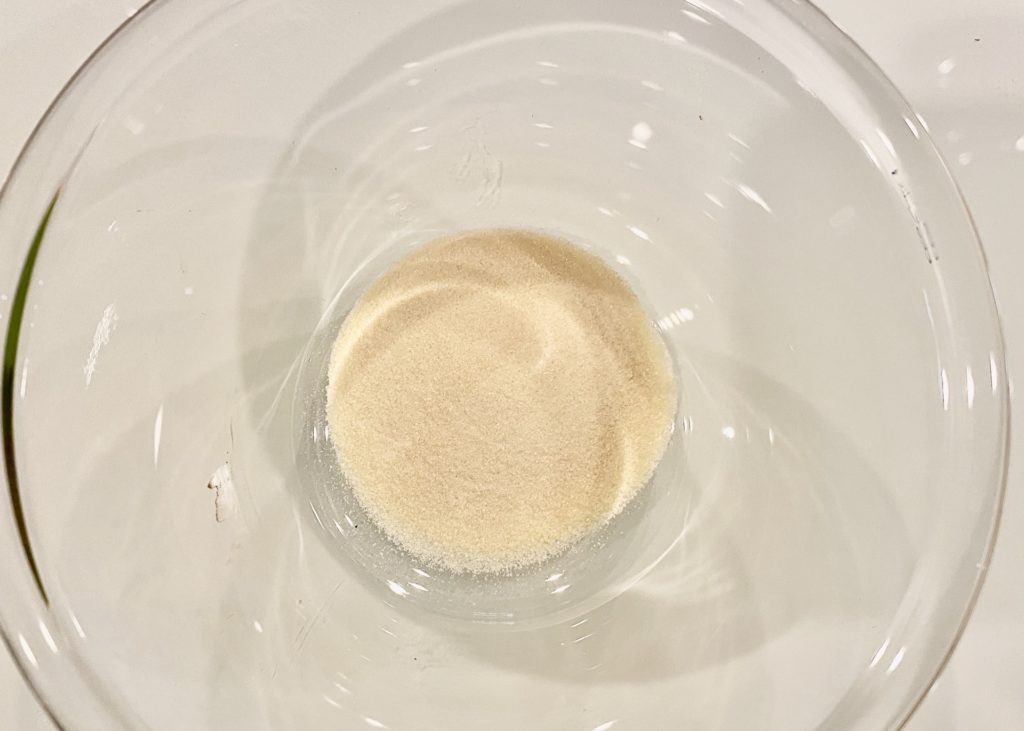
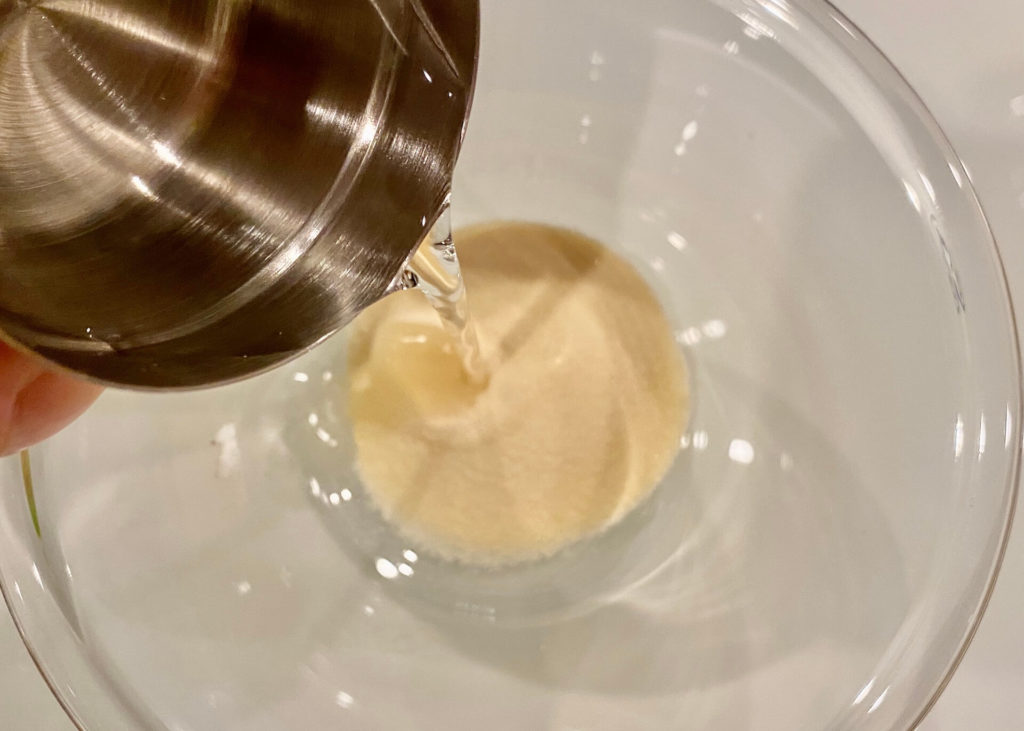
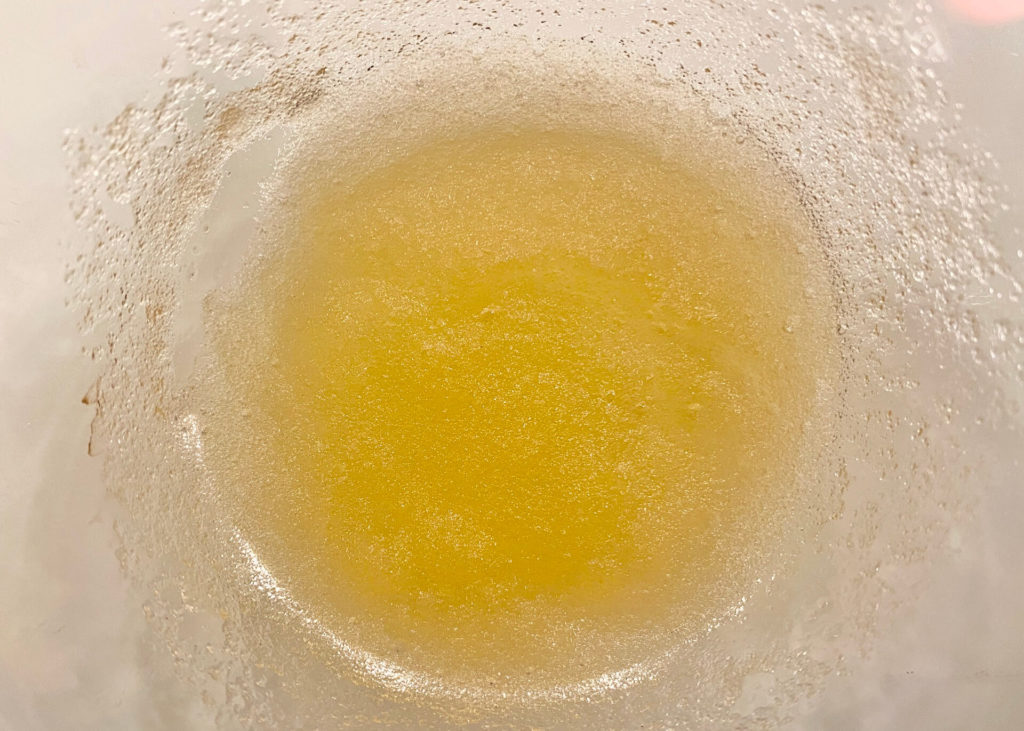
Bloom gelatin – mix gelatin with water. It will set into a thick paste. Leave for about 5 minutes as the gelatin crystals absorb the water. This is called blooming gelatine and it allows the gelatine to dissolve smoothly into mixtures. If you just added the powder straight into the glaze, you’d end up with lots of lumps.
- 2 tsp of powdered gelatin
- 2 tbsp of water
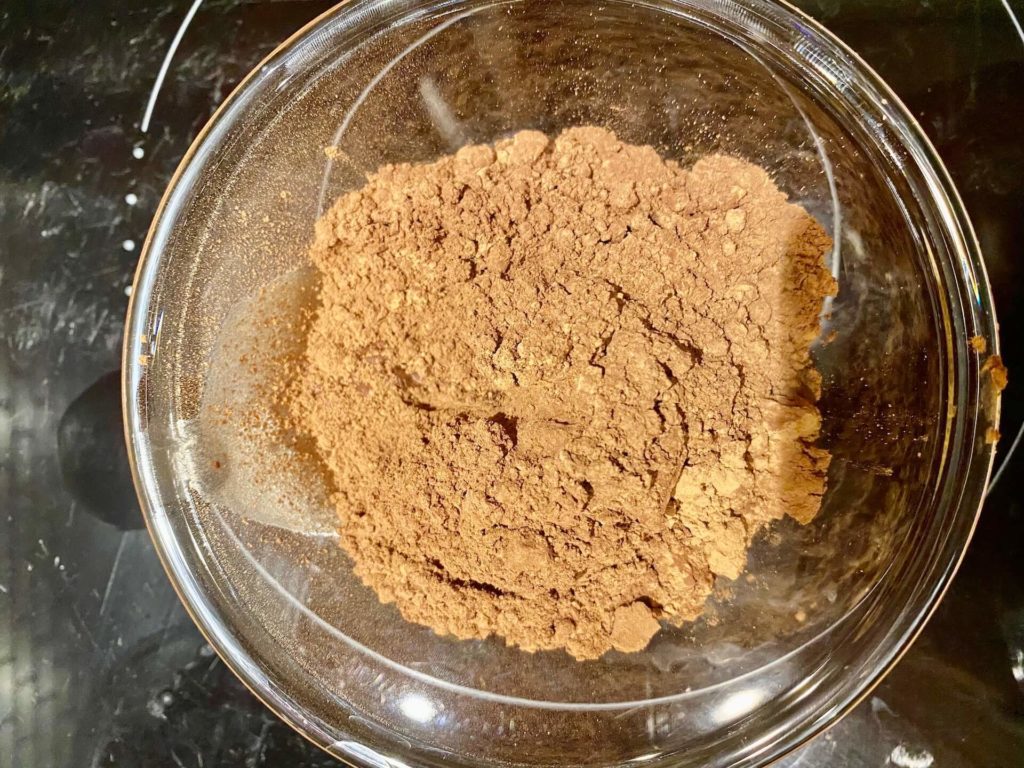
Combine water with the cocoa powder. Stir with a spatula until it becomes a uniform paste.
- 70 g of water
- 35 g of cocoa
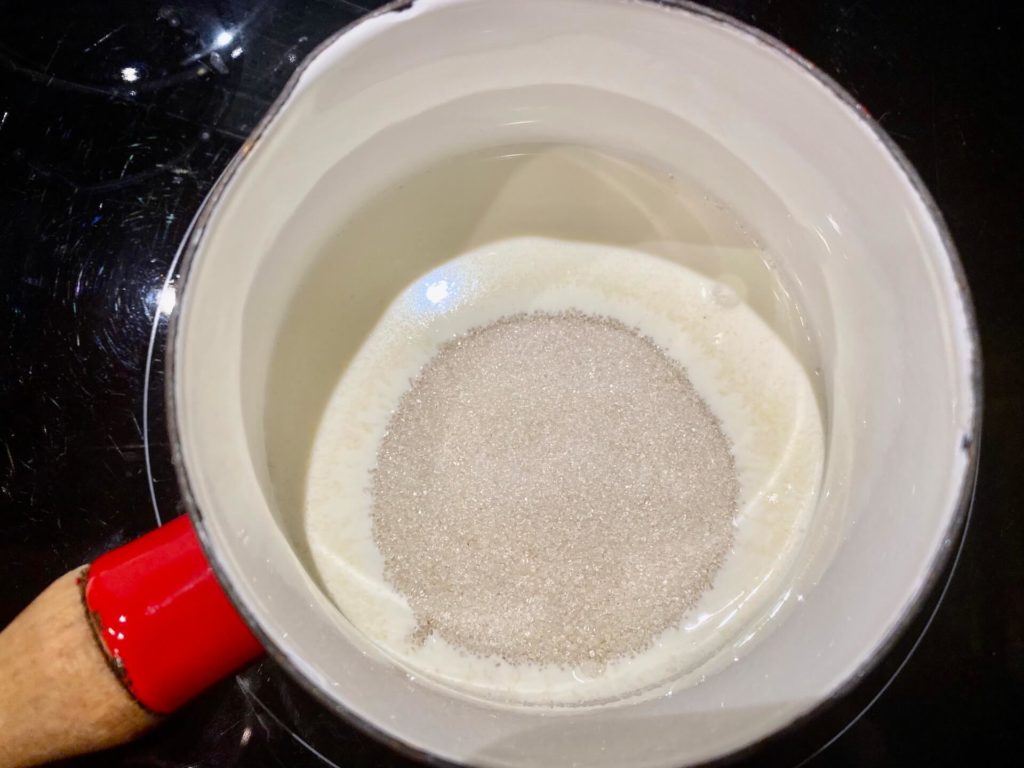
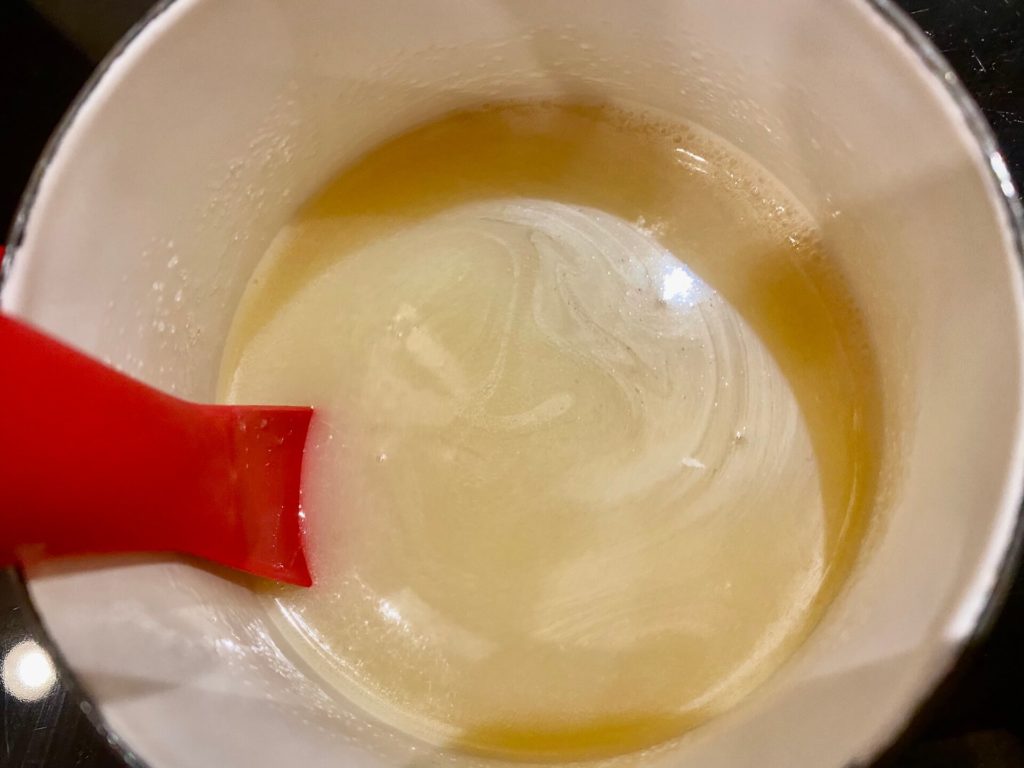
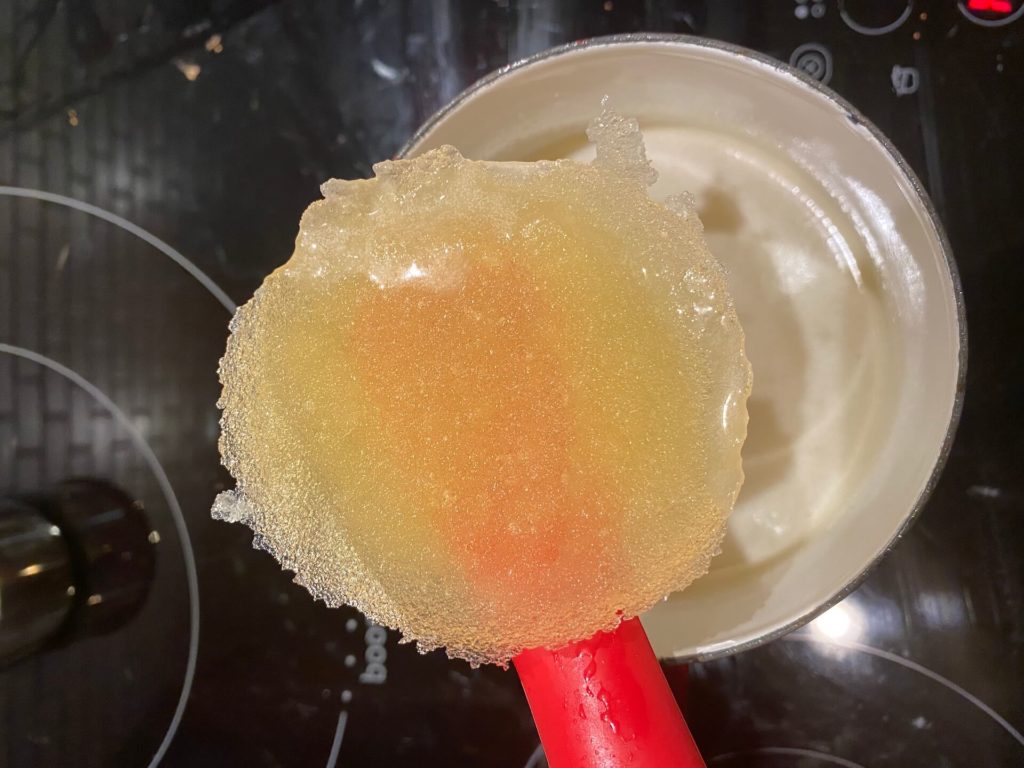
Bring sugar and heavy cream to a boil over medium heat. Stir until the sugar dissolves. Do not overcook. Just let it bubble for a second or two.
- 70 g of cream
- 1/2 cup of sugar
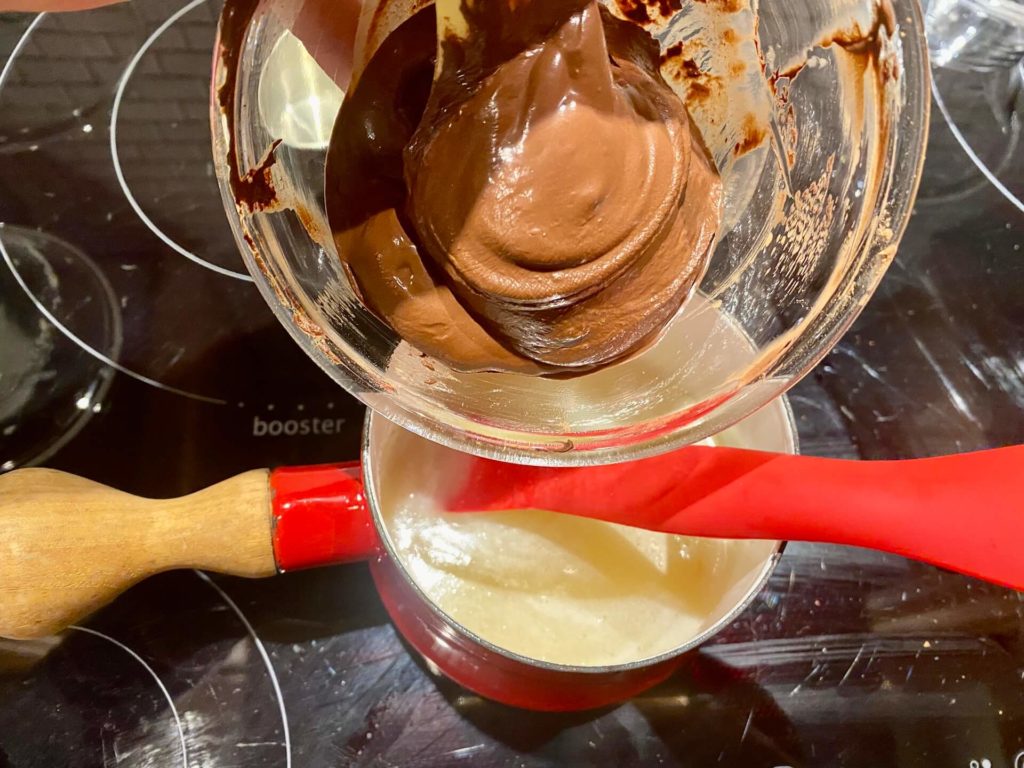
Add your bloomed gelatin into a hot cream/sugar mix and stir gently to not make any bubbles or foam. Gelatin will dissolve with the heat. After your cream is mixed with gelatine, add cocoa paste and mix as well. I usually have the heat on the lowest setting possible.
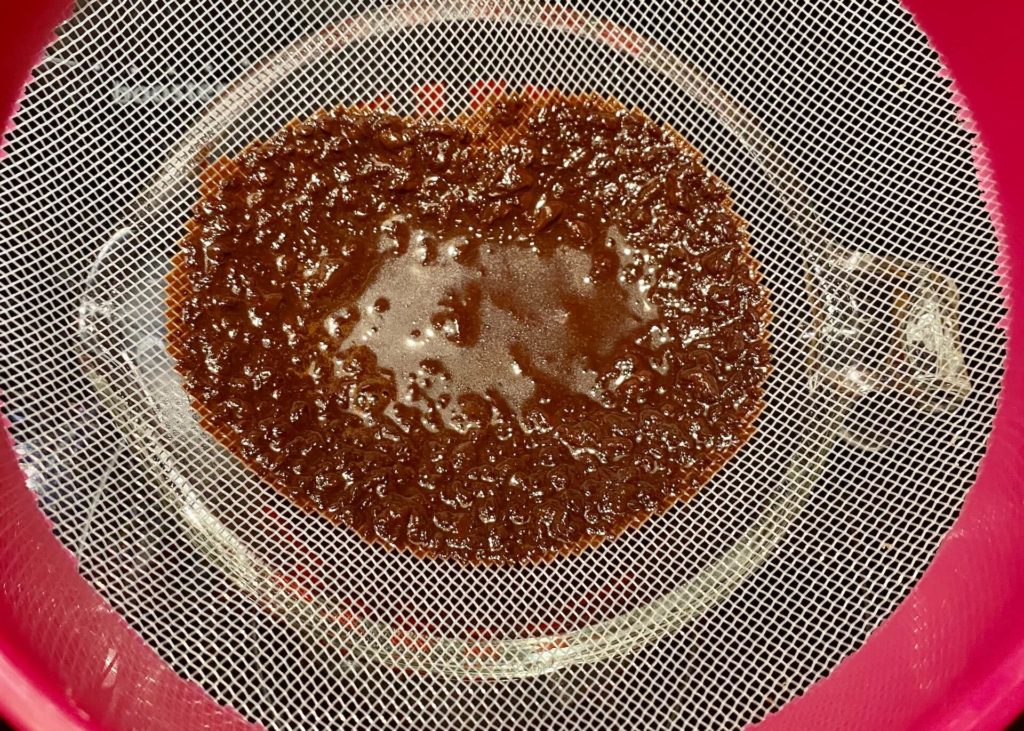
Remove the pot from the heat, and strain the glaze mixture through a mesh strainer over a heatproof bowl to remove any clumps of undissolved cocoa powder.
Cooking tips:
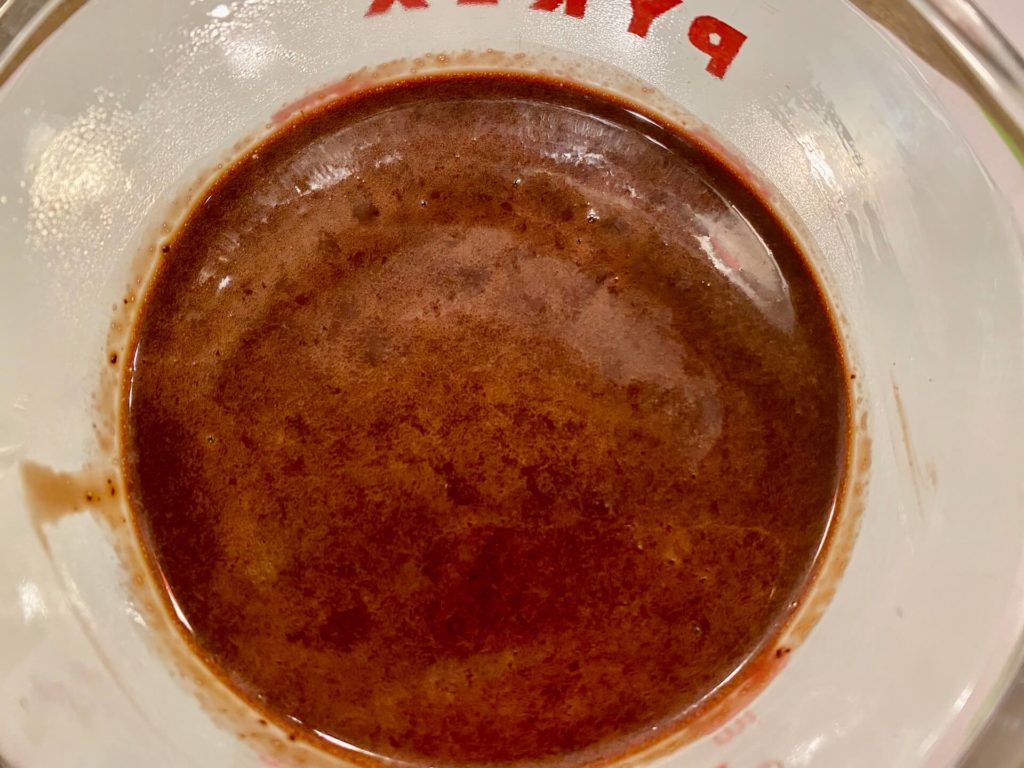
Glossy! The glaze should be shiny and glossy. Hopefully bubble-free. Do not worry if you have any foam or bubbles, we will fix that later.
Cover & cool – Cover the mirror glaze with cling wrap, pressing so it touches the surface to prevent skin from forming. When you peel off the cling wrap once the Mirror Glaze is cool, it will peel off any white foam that I mentioned above not to worry about.
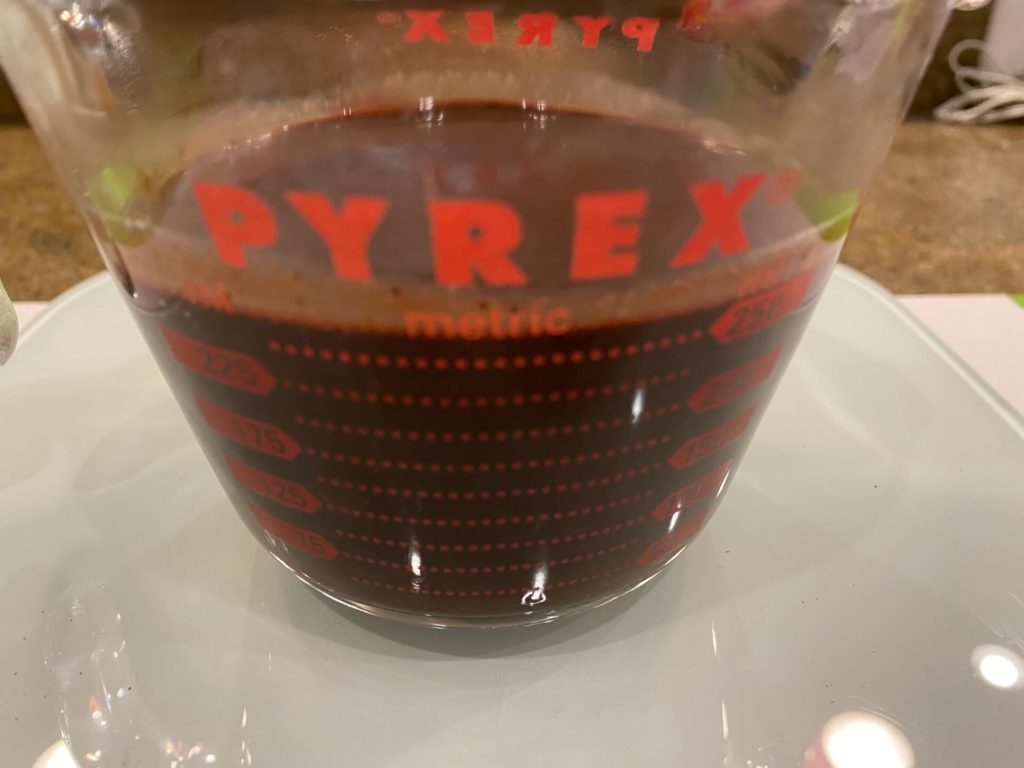
Cool to 30°C / 86°F – Leave to cool on the counter for 1-2 hours or until it reaches 30°C / 86°F. This is the perfect pouring temperature. The glazes cover the cake smoothly without drips, won’t melt the ganache, and sets in a thin 2 – 3mm layer – the perfect thickness for a mirror glaze.
- If the glaze is too hot, it will melt the ganache and slide off the cake.
- If the glaze is too cold, it won’t spread smoothly and you’ll end up with drips on the side and lines from the pools of chocolate on the top.
You don’t need a fancy candy thermometer. Just use your trusty old meat thermometer!
Pour your glaze over the cake:
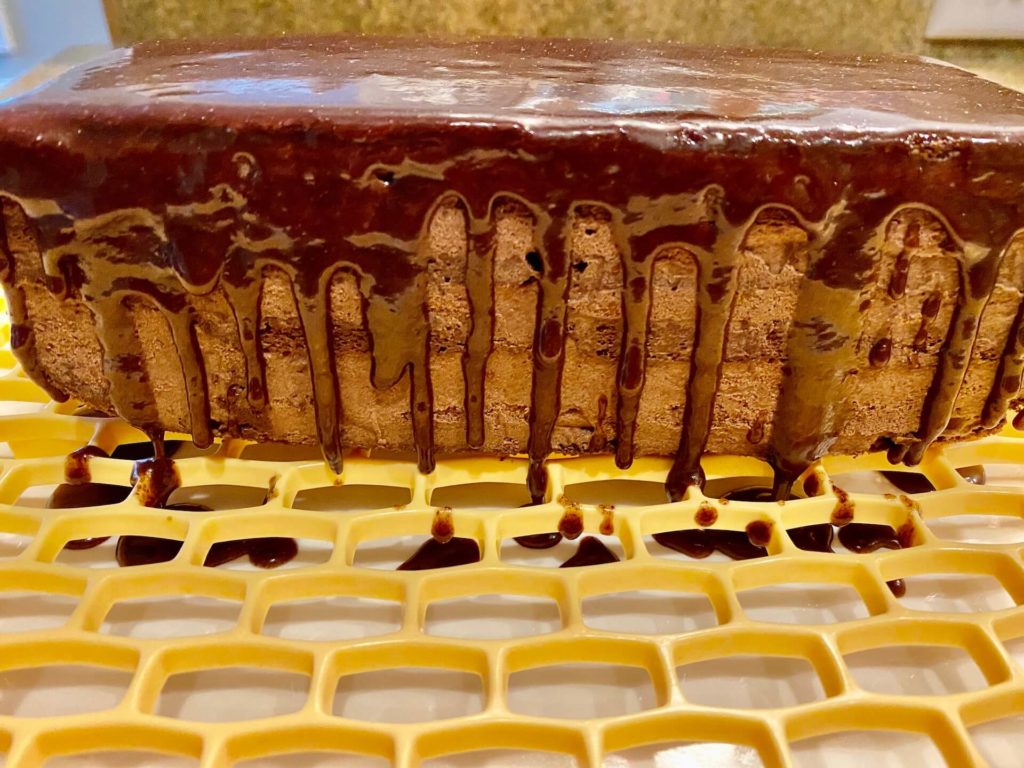
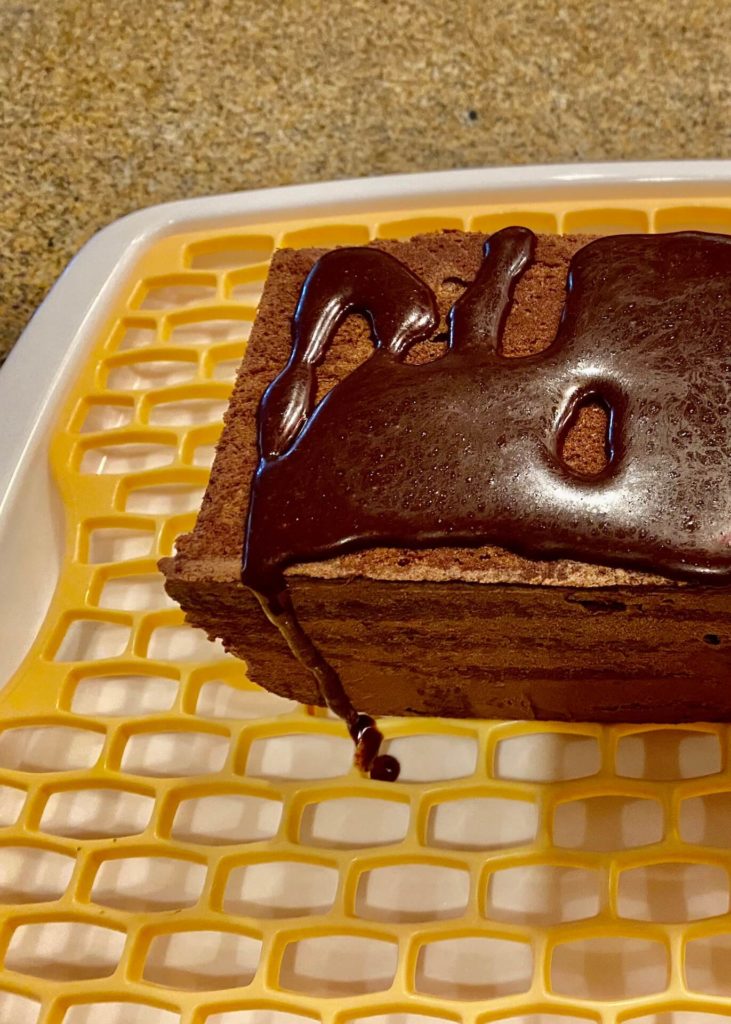
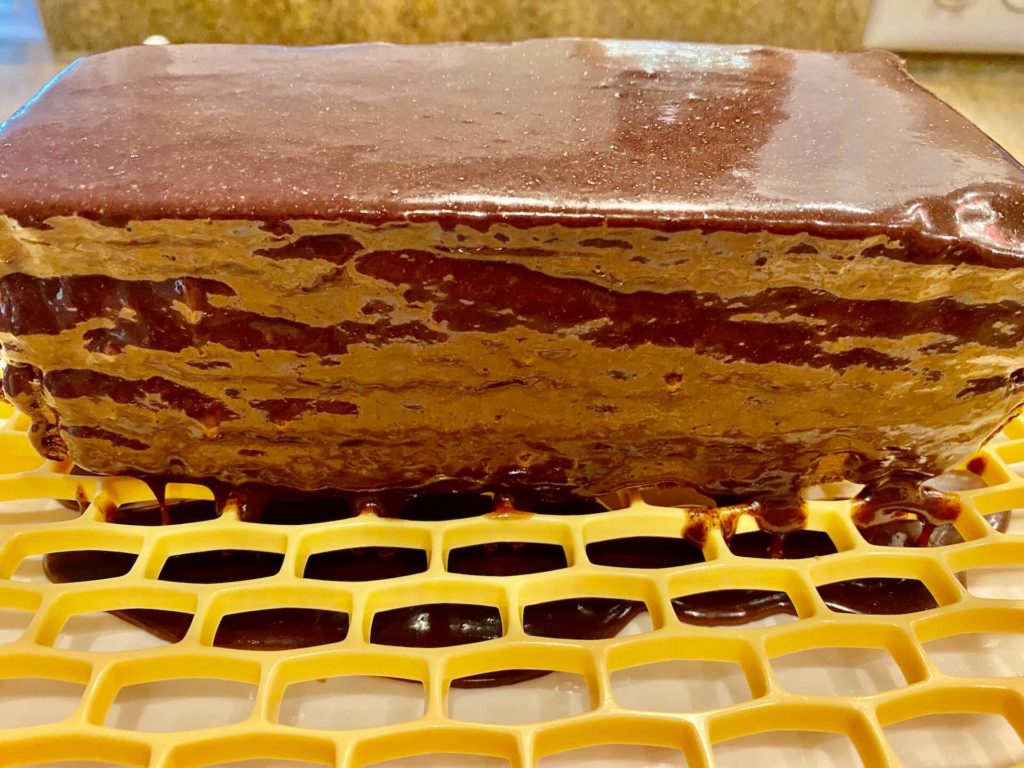
Pour slowly your mirror glaze over the cake. The more you pour, the fuller coverage you get. Have the mirror glaze set in the fridge.
Who inspired me?
I came across this cake randomly on youtube. I love anything chocolate, no wonder it caught my eye. The channel’s name is “Boon Bake“. I have tried a couple of desserts from her channel already, and this chocolate dessert seemed easy to make. I have made it a couple of times already, and every time it is better and better. It is very easy after you make it a couple of times. It will become your favorite cake to make.
…and that is it! The flourless chocolate cake is done. I know, it might seem like a lot of steps. Do not be scared. It is not as difficult, as it might look.
Other dessert recipes to try
I would love to see pictures of your cakes. Please share with me. And if you feel like baking something easier, here is a very easy Soufflé Cheesecake. This is a delicious dessert, you will love it as well.
If you feel like experimenting, try my no-bake Gluten-Free Matcha cheesecake. It is my favorite! Surprisingly good.
Until next time…!
DOBROU CHUT!
© FROMCZECHTOUSA. All images & content are copyright protected. Please do not use my images without prior permission. If you want to republish this recipe, please link back to this post for the recipe.
Flourless chocolate delight
Ingredients
Sponge
- 120 g of dark chocolate
- 25 g of heavy cream
- 80 g of butter
- 6 egg whites
- 6 egg yolks
- 110 g of sugar
- 1 tsp vanilla extract
- 2 tbsp cocoa
- pinch of salt
Chocolate filling
- 80 g Heavy cream
- 1 1/2 tsp of cocoa
- 165 g of dark chocolate
- 1 tsp butter
- 300 g heavy cream whipped
Mirror glaze
- 2 tsp powder gelatine
- 2 Tbsp water
- 35 g of cocoa melted
- 70 g of water
- 1/2 cup sugar
- 70 g of cream
Instructions
Sponge
- Line with parchment paper your sheet pan and preheat oven to 350F
- start boiling your double boiler.
- In double boiler melt chocolate with cream and butter. Turn off the heat halfway through melting and let just the heat from the water melt chocolate. When all fully melted and mix together, pull out from the heat and set aside to cool down while you work on the next steps.
- In stand mixer whip yolks with 80g of sugar into the very fluffy foam.
- Sift cocoa powder and a pinch of salt into your fluffy eggs batter and hand whisk.
- While stirring slowly start pouring your melted chocolate and mix well all together.
- Whip your egg whites with 30g of sugar till very stiff peaks.
- Now it's time to gently fold your egg whites in. Add your egg whites in thirds, while folding gently not to lose the fluffiness.
- Pour on your sheet pan and make sure to spread it evenly and flatten out the top as much as possible. Bake on 375 for about 15 min.
- Take out of oven set the pan on a cooling rack and let cool down.
Frosting
- Warm-up heavy cream, but not let it boil. Mix in cocoa powder
- Add chocolate and butter into a bowl and put over a double boiler. Pour in your cream cocoa mix. Start melting but do not overcook. Turn off heat halfway through and let the hot steam melt the rest of your chocolate. Let the melted chocolate cool down to about room temperature. Do not mix hot chocolate with whipped cream. The cream would get too soft.
- Whip your Cold whipping cream and slowly add to your cooled-down chocolate. Fold gently together and put into a fridge for about 15 minutes.
- Take your cold sheet cake out of the pan, gently pull the paper off and cut it into 6 same pieces. Clean edges as well. Use a pizza cutter for easy cuts.
- Add frosting into your piping bag with a wide tip or just cut corner on your bag. Frost each layer and smooth your frosting with a spatula. When you have all the cake frosted and assembled smoothly the sides the best you can and put your cake into a fridge for 2 hours, but the best would be overnight.
- The next day, take your cake out and with a sharp knife cut evenly all sides to make clean-looking edges. If you had Enough frosting to make edges smooth with frosting, no need for cutting the sides.
Mirror glaze
- Bloom gelatin – mix gelatin with water. It will set into a thick paste. Leave for about 5 minutes as the gelatin crystals absorb the water. This is called blooming gelatine and it allows the gelatine to dissolve smoothly into mixtures. If you just added the powder straight into the glaze, you’d end up with lots of lumps.
- combine in water with the cocoa powder. Stir with a spatula until it becomes a uniform paste.
- Bring sugar and heavy cream to a boil over medium heat. Stir until the sugar dissolves. Do not overcook. Just let it bubble for a second or two.
- Add your bloomed gelatin into a hot cream/sugar mix and stir gently to not make any bubbles or foam. Gelatin will dissolve with the heat. After your cream is mixed with gelatine, add cocoa paste and mix as well. I usually have the heat on the lowest setting possible.
- Remove the pot from the heat, and strain the glaze mixture through a mesh strainer over a heatproof bowl to remove any clumps of undissolved cocoa powder.
- Pour slowly your mirror glaze over the cake. The more you pour, the fuller coverage you get. Have the mirror glaze set in the fridge.
Notes
Cooking tips:
Glossy! The glaze should be shiny and glossy. Hopefully bubble-free. Do not worry if you have any foam or bubbles, we will fix that later. Cover & cool – Cover the mirror glaze with cling wrap, pressing so it touches the surface to prevent skin from forming. When you peel off the cling wrap once the Mirror Glaze is cool, it will peel off any white foam that I mentioned above not to worry about. Cool to 30°C / 86°F – Leave to cool on the counter for 1-2 hours or until it reaches 30°C / 86°F. This is the perfect pouring temperature. The glazes cover the cake smoothly without drips, won’t melt the ganache, and sets in a thin 2 – 3mm layer – the perfect thickness for a mirror glaze.- If the glaze is too hot, it will melt the ganache and slide off the cake.
- If the glaze is too cold, it won’t spread smoothly and you’ll end up with drips on the side and lines from the pools of chocolate on the top.



One Response
This looks yummy and beautiful, Eva. If I start now, perhaps I can have one made in time for Valentine’s day (LOL)!