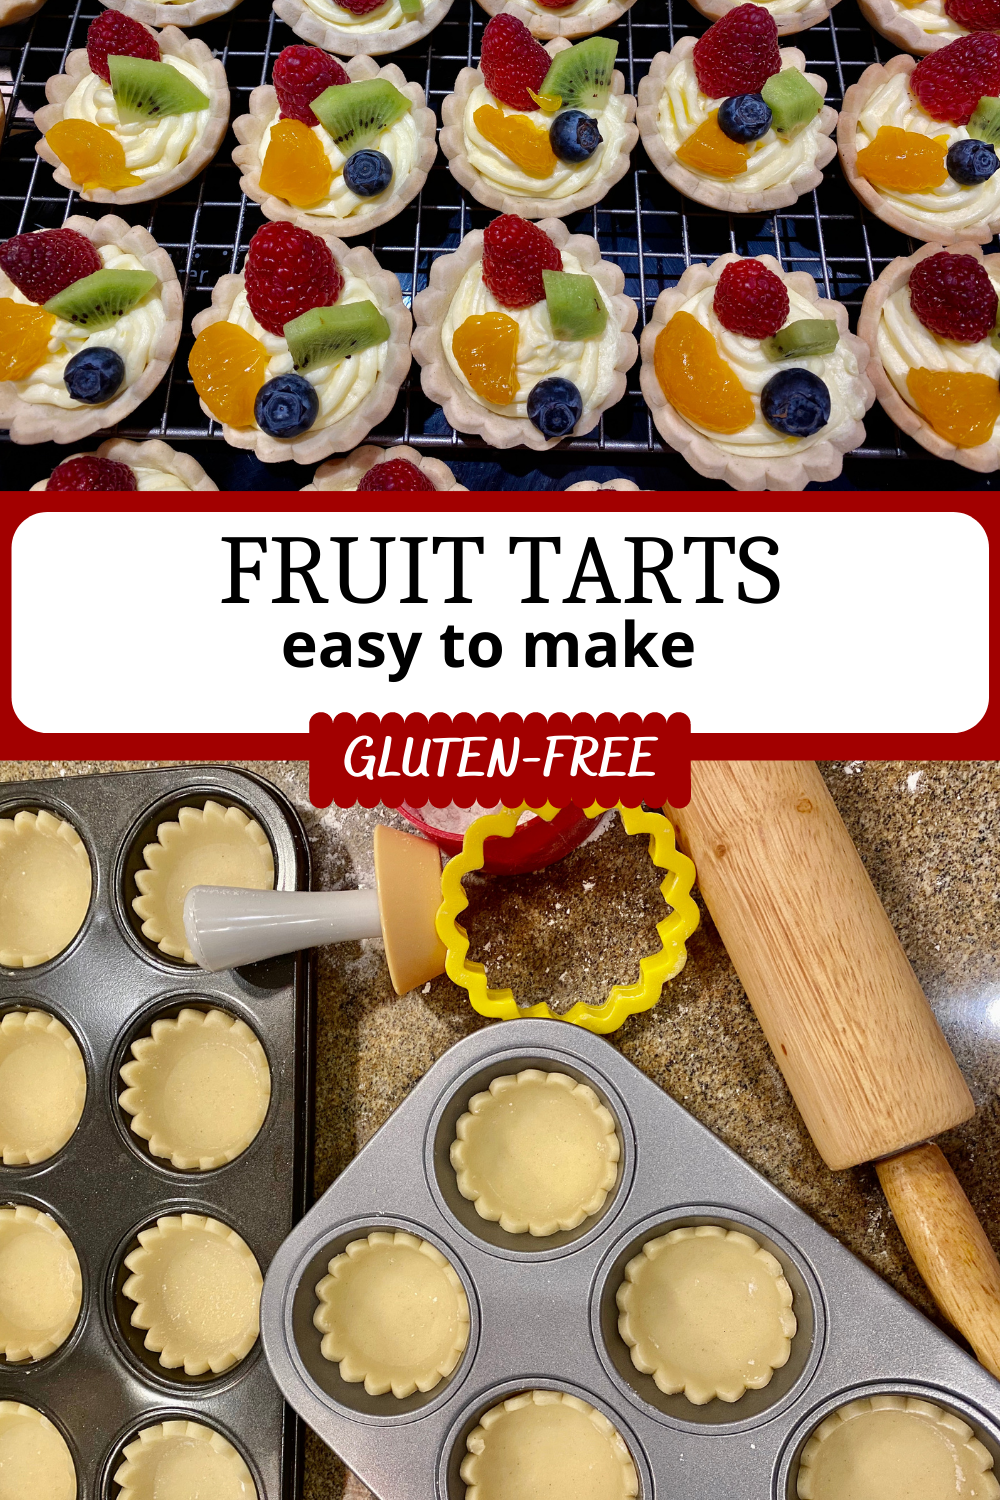
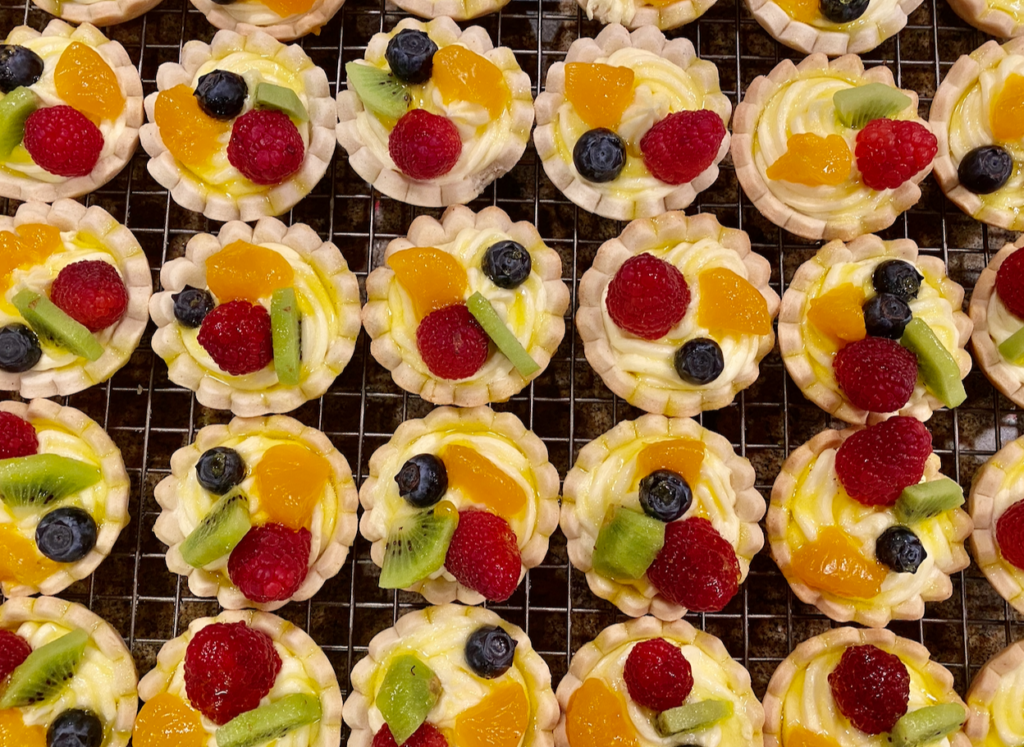
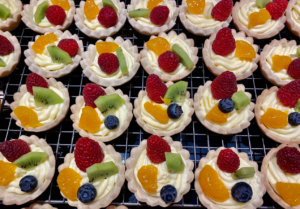
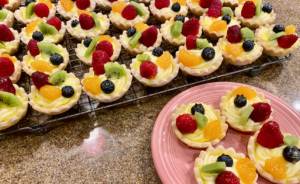
Mini Gluten-Free Fruit Tarts are the perfect easy dessert recipe for any party! Gluten-Free sugar cookie cups filled with no-bake cream and topped with fruit: everyone loves them! Who would not like fruit tarts?! Every year when I go to the Czech Republic, I love to get this treat among a couple of others. Maybe it’s just the sentimentality of the fruit cup, which reminds me of my home.
Why not to try them at home?
For some reason, I never thought of making it myself. I am always intimated by making something new and making sure it’s GF. Gluten-free baking is challenging for me, but also very rewarding on other hand. I am used to baking just about anything with regular ingredients. Most of the time it works, but when I do bake GF desserts, I have to bake it a couple of times till it comes out in a presentable way.
Let’s get baking!
There are three different components to these delicious mini-Fruit tarts: a sugar cookie base which is the same as the Linzer cookie in the Czech Republic, no-bake cream filling, and a jello glaze over fruit topping. They’re the perfect pretty dessert for any party, Mother’s Day, or even summer and the 4th of July!
Collect all ingredients for the pastry and add all into a stand mixer with the paddle attachment, and form a dough. Let the dough rest in a fridge to make sure butter is very cold for easier rolling. If the butter is too soft dough will be super sticky and hard to roll. When I roll out my dough I sprinkle a little bit of flour at the time under the dough often, otherwise, it’s sticking to a surface.
- 2 1/3 cup (450g) Gluten-free flour
- 1/3 cup (50g) potatoes starch
- 3 eggs
- 1 1/3 cup (250g) butter
- 2/3 cup (120g) powder sugar
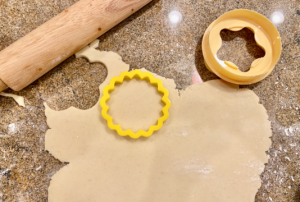
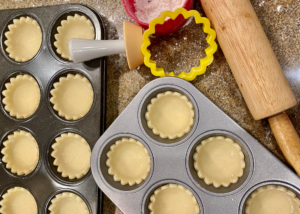
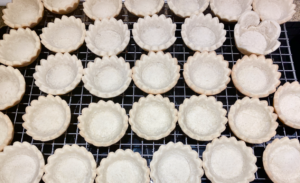
Cut out circle shapes and then gently put them into a large muffin pan. I don’t spray muffin tin with oil, but If you want you can highly spray your muffin tin.
Bake your tarts at 350F for about 10 min, but keep eye on them. Not every oven is the same and also it depends on how thick you roll out the dough. I usually pull these shells out when the tips are starting to get golden. Gently transfer your cups to a cooling rack, but be careful, they can be fragile.
While your tarts are cooling, start working on your filling. This cream filling is easy to make BUT you do have to put a bit of work into it. Patience and not forget about it.
- 2 cups (400ml) milk
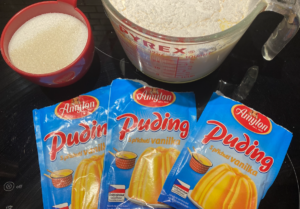
- 2 packets of vanilla pudding
- 3/4 cup (150g) sugar
- 1 cup (200g) butter room temperature
For pudding, use less liquid than directions would say to make sure it’s not runny. Don’t use instant pudding as they seem to get runny more often. (I buy my pudding on Amazon). Also, this pudding powder has no added sugar. The direction on the packet calls for 250ml per one packet, I use 200ml per packet if I make pudding for frosting. When the pudding is cooked, occasionally stir to make sure the pudding won’t create a crust on the top, which would create lumps in your frosting. This is the reason, why I say patience! Just keep stirring here and there. As it gets cooler less stirring is a need. You can also cover your pudding with plastic foil if you feel like no stirring.
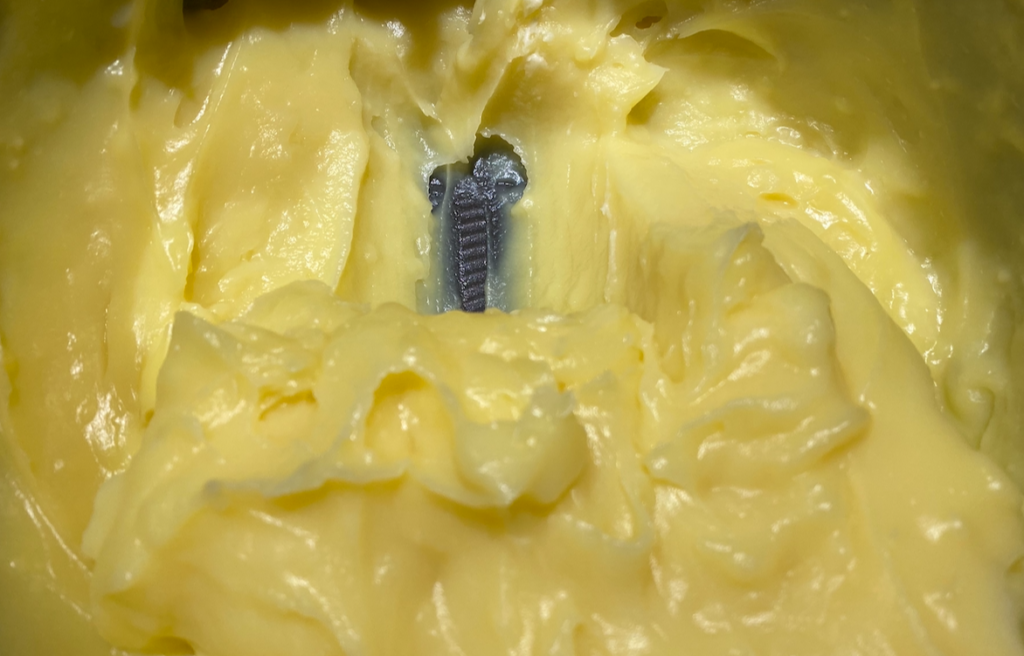
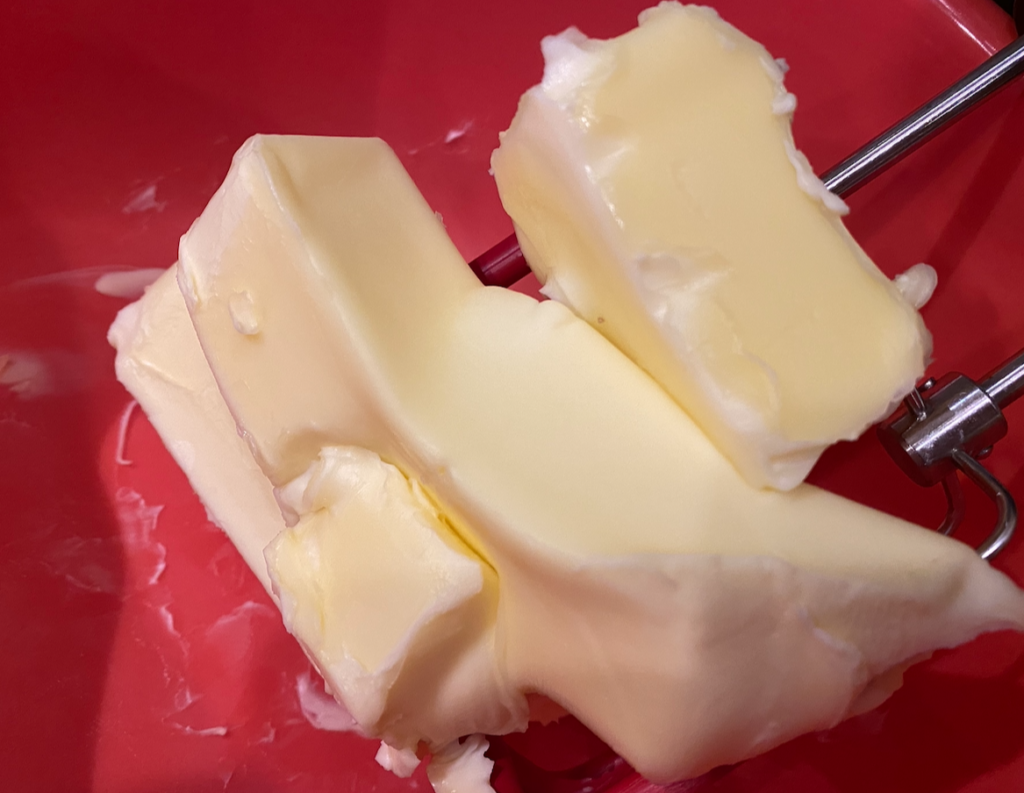
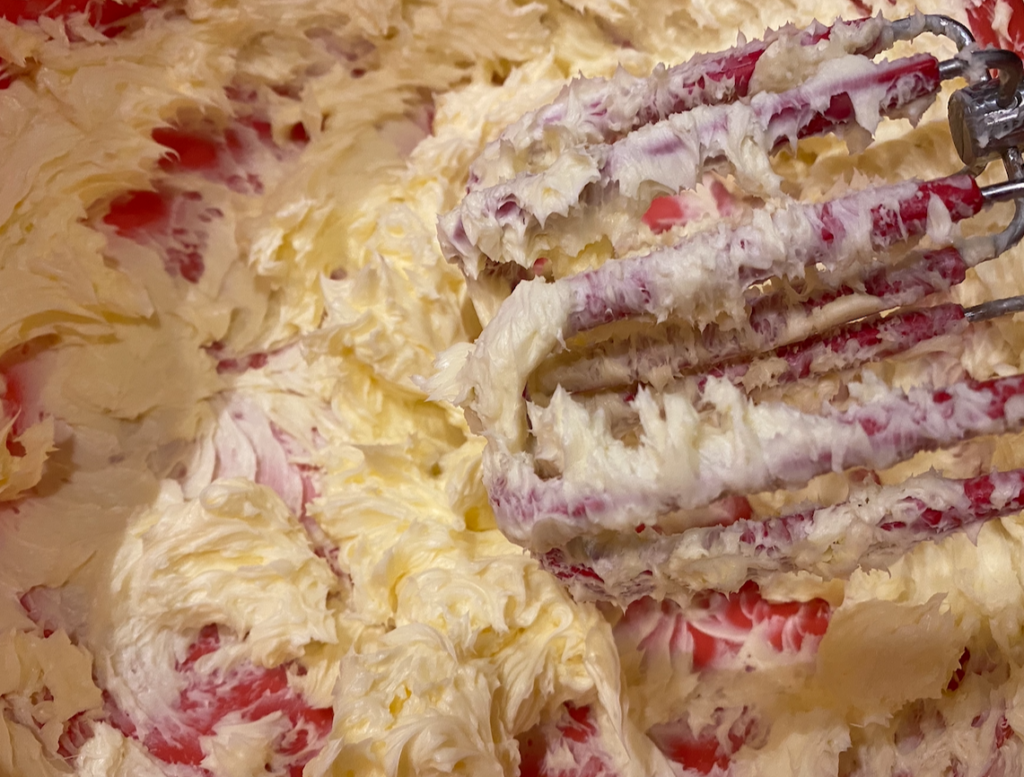
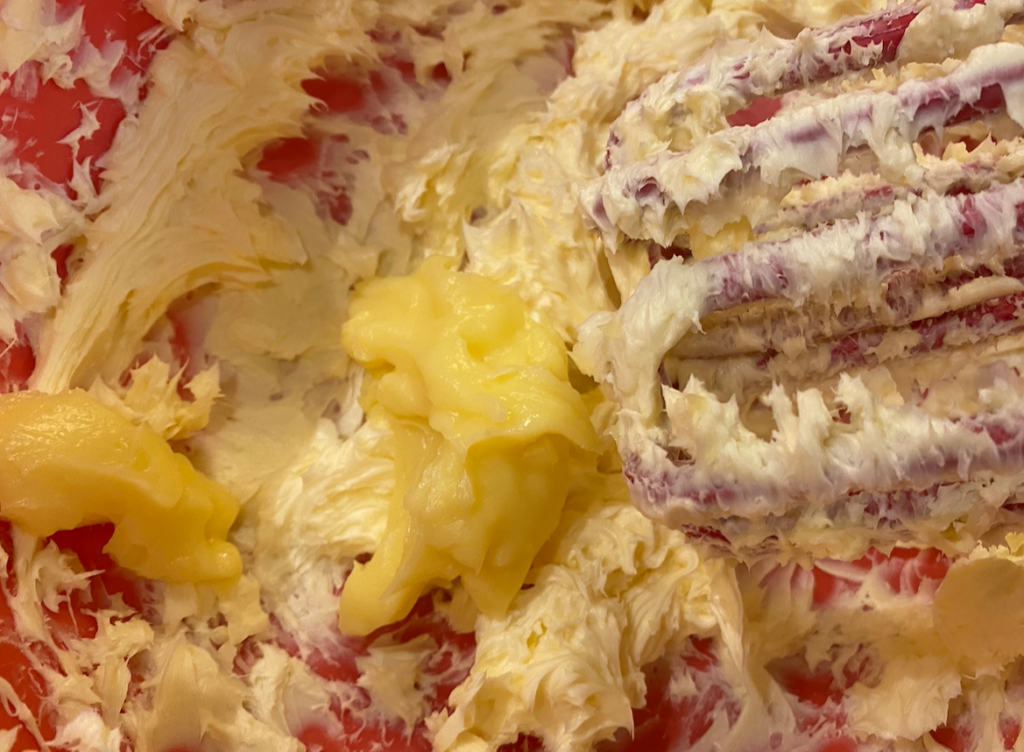
When you are ready to combine butter and pudding together, both MUST be same room temperature, otherwise, they won’t bond together correctly and butter will clump up. Whip butter first well to make it fluffy, about 5 min or so. Add a spoonful of pudding and mix it into the butter at the time. Keep adding by spoon in small amounts till all combined.
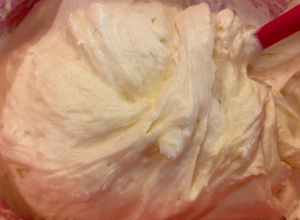
Finally stage of the frosting, should be smooth and fluffy. I use this frosting for many different treats and cakes or cupcakes.
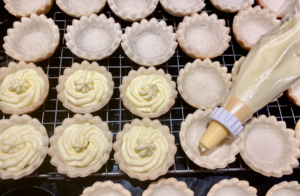
Use your piping bag with tip of your choice and pipe into your cups, they are probably cold by now already.
Decorate with fruit of your liking. We love strawberries or raspberries. Kiwi brings contrast to a red color or grapes would be a nice option as well.
You can stop here and be finished, or you can take it a step further and decorate even more. In small cup mix yellow or orange Jello. Use less liquid again than powder to make sure, gelatine is not runny. Mix well and when you see that gelatine is starting to solidify start drizzling a bit on top of fruit and frosting. The Jello does bring a bit more color to Fruit Tarts and stops the fruit from shrinking.
How and where to store these mini Glute-Free Fruit Tarts?
Put them into a container and store in a fridge for freshness. If you made to many, and you would like to save for later some of them, put them in a freezer. They freeze without problem. When you are ready to have one treat just pull out of freezer and let thaw for a little bit.
Enjoy!!!
Fruit Tart
Ingredients
Dough
- 2 1/3 cup (450g) Gluten-free flour
- 1/3 cup (50g) potatoes starch
- 3 eggs
- 1 1/3 cup (250g) butter
- 2/3 cup (120g) powder sugar
Frosting
- 2 cups (400ml) milk
- 2 packets of vanilla pudding
- 3/4 cup (150g) sugar
- 1 cup (200g) butter room temperature
Instructions
- Add all ingredients for dough into a stand mixer and make a dough
- Chill in the fridge for about an hour
- Preheat oven to 350F
- Sprinkle surface often with a little bit of flour and roll out dough. I usually roll it to less than a quoter of ich or less (about 3-5mm/0.2 inch). Store extra dough in a fridge. The cooler dough is less sticky and you can roll it out easier.
- Cut out circular shapes and put them into a muffin tin or silicone cups.
- Bake for 10 mins, add an extra minute or two if your dough is thicker and need more baking.
- Cool down on a wire rack, let cool and store in an airtight container till you are ready to fill and decorate.
- Put one cup of milk into a saucepan and start heating it up.
- Mix two packets of pudding, sugar and add into an additional cup of milk and whisk it to make it clump-free. Add the mixture into the warm milk in a saucepan and start boiling while stirring to not burn the bottom of a saucepan.
- When the pudding is done it's very thick, stirring often to make sure it's smooth while it's cooling. It's important to stir here and there when it is cooling otherwise, you will have clumps in the frosting.
- Cool the pudding down and make sure butter and pudding have the same room temperature before combining together.
- Whip butter in a separate bowl to make it fluffy and start adding pudding spoonful at a time. That way pudding and butter will incorporate together smoothly and won't clump up.
- Butter and pudding have to have the same temperature!!!! If one is cooler than the other, the frosting won't connect properly and it won't be soft.
- Pipe your frosting into a cup and decorate with fruit of your choice. You can add clear gelatine to cover fruit as well.
- If you are making gelatine, make it as the packaging says and drizzle over fruit carefully to not make cups soggy.
- Store in a fridge and enjoy.
