
Have you been to a Pastry shop in the Czech Republic? Which dessert do you like most? I have loved “Venecky” since I was a child, and my love for them has not diminished even after years. Wreath Choux Pastry comes close to Cream puffs Pastry here in the USA. But there is a difference, the shape, and the frosting. If you love cream puffs, the crunchy on the outside but soft on the side, you will love Venecky even more because they have more flavor due to different frosting. It took me a while to figure out the Gluten-Free version. I am thrilled I finally made it work and can share it with you! There are two kinds of this pastry in the Czech Republic – Wreath and Windmill. I will teach you Wreath pastry in this recipe.
In this post I will cover these topic:
What is the difference between Venecek and Vetrnik
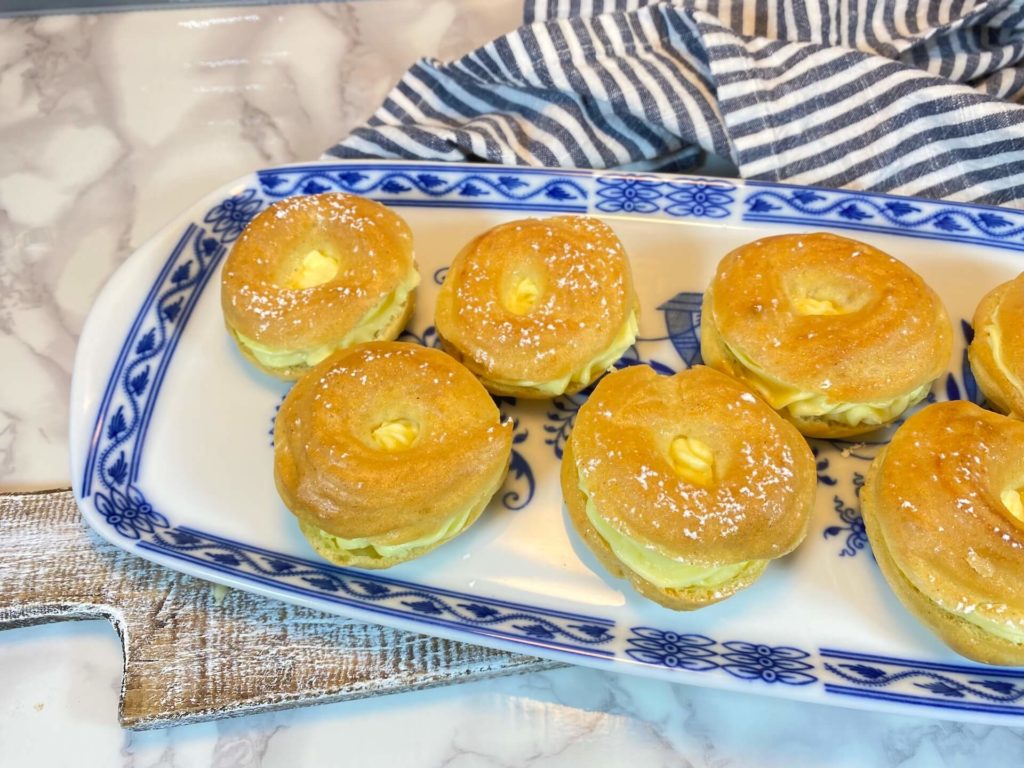
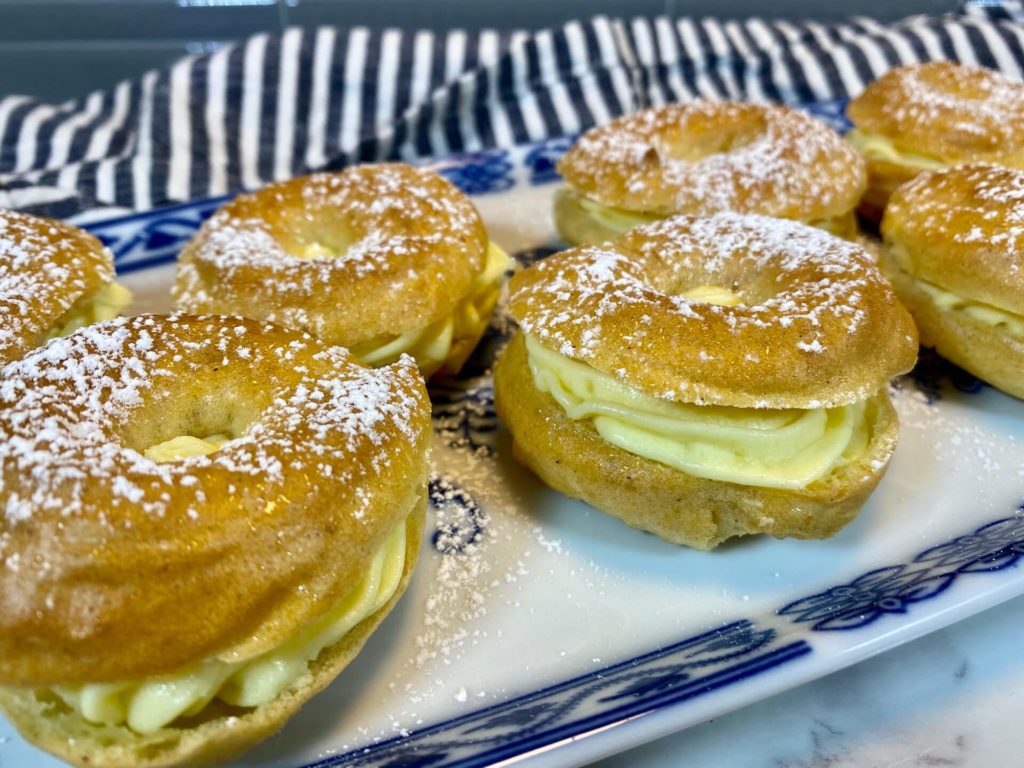
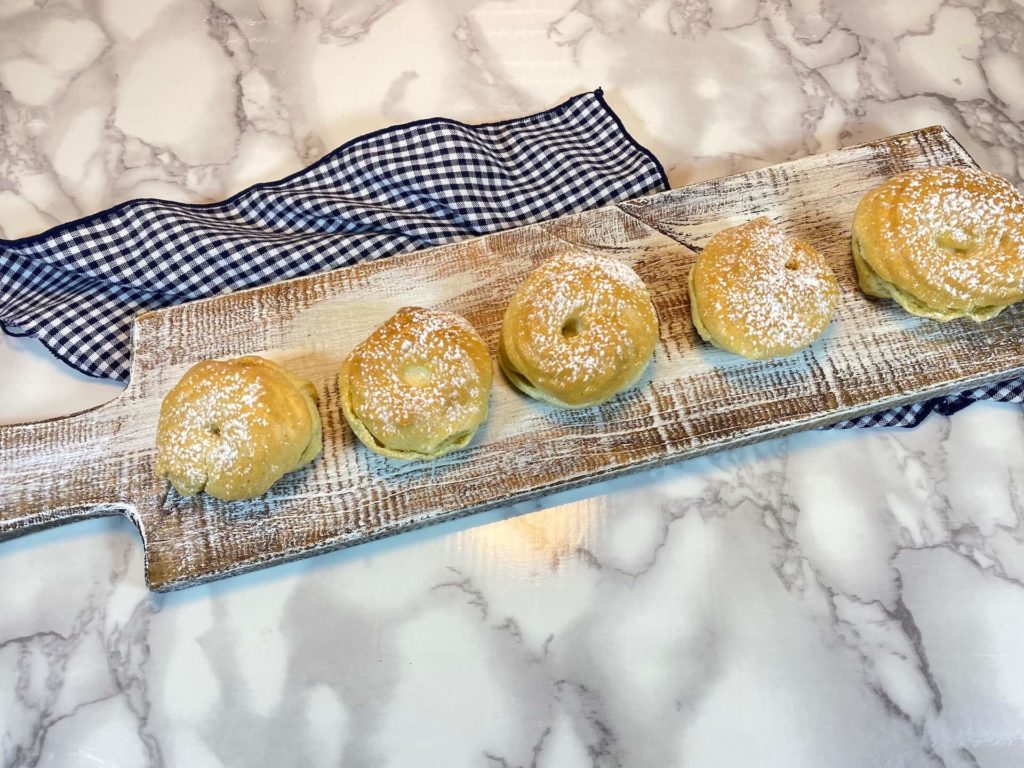
Venecek – Wreath is a circular shape pastry filled with yolk/pudding filling in the middle and sandwiched together. The Top is dipped in a lovely and sticky glaze, which makes this dessert very sweet. I prefer powdered sugar on the top.
Vetrnik – Windmill is a circular pastry without a hole in the middle. Cut in half and filed with two types of fillings. The bottom part is filled with the same egg yolk/pudding filling as Wreath, and the top is filled with caramel cream and sandwiched together. The top is drizzled with caramel glaze.

Venecek – Wreath 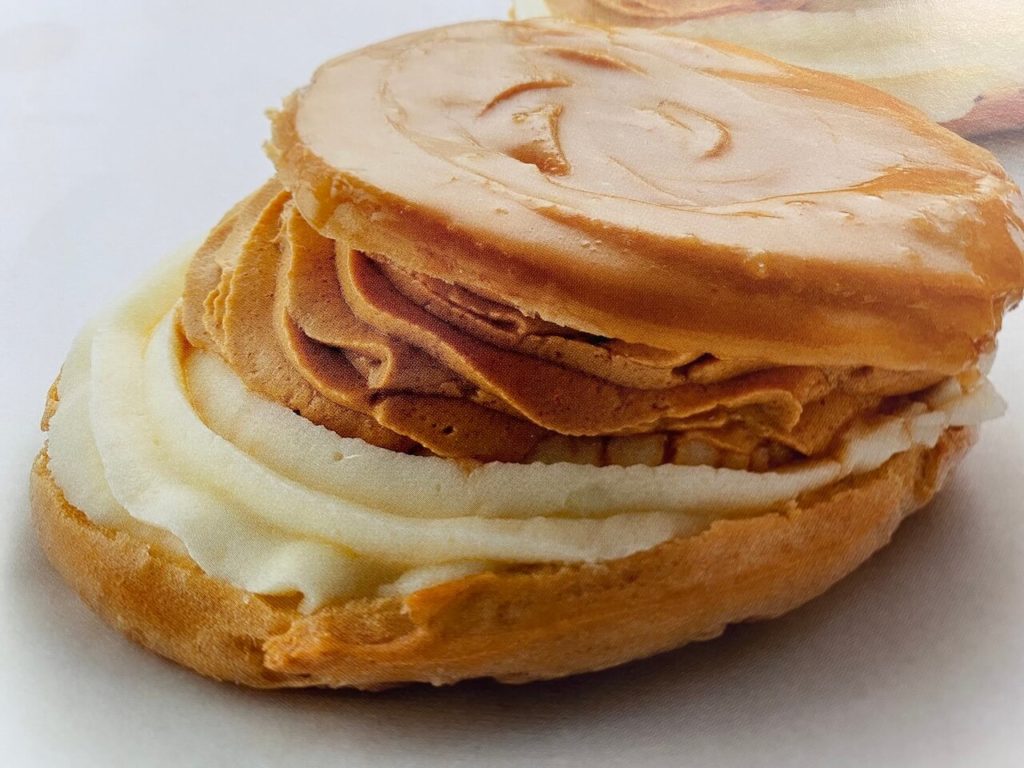
Vetrnik – Windmill
What is Choux Pastry
Choux Pastry [shoe pastry] is a delicate pastry dough used in many pastries. It contains only butter, water, flour, and eggs, in our case, Gluten-Free flour. Instead of a raising agent, it employs high moisture content to create steam during cooking to puff the pastry. The pastry is used in many European cuisines, and the Czech Republic is one of them.
Choux has a reputation for being difficult. Everything can be difficult if you are making it for the first time. Once you try a couple of times, you will see how surprisingly simple it can be. Master this easy recipe, and you can make many pastries most bakers are scared to try. If you stick to the 1 basic recipe below, the door will open to DOZENS of other pastries.
Why homemade Choux pastry
Store-bought choux pastry is almost always dry and tasteless to me. I feel like a throat-scratcher when I am eating a store-bought cream puff. Homemade choux pastry is the real deal! Crisp on the outside and airy & custard-like on the inside.
When I bake with regular flour, I considered this pastry super easy to make as long as I followed simple rules. Then I started to bake Gluten-Free and came across some problems. I kept trying and tweaking and finally was able to make my favorite treat. It makes me so happy for my daughter because now she can enjoy this treat as well.
Let’s get baking
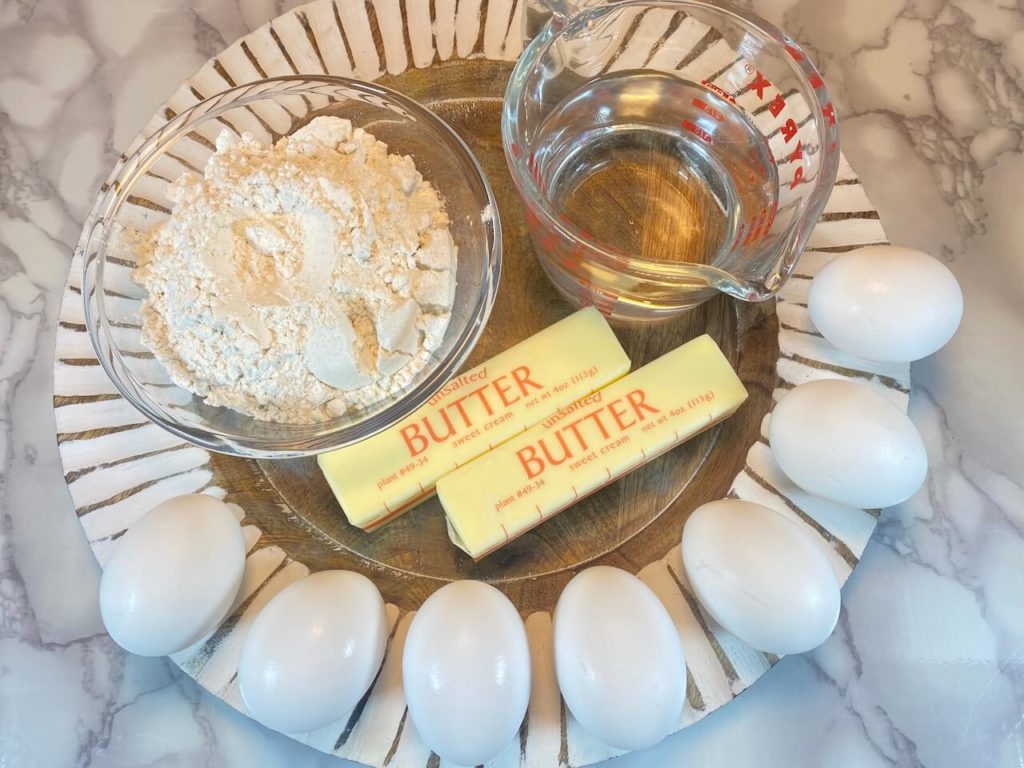
The 5 ingredients are staples that you likely have in the kitchen right now: butter, water, salt, Gluten-Free flour, and eggs. Some recipes use water and milk, but I have never tried that method. The bulk of the pastry dough is eggs. Eggs provide some leavening, allowing the pastries to puff up when baked. The centers are soft, light, and airy, and the exterior is golden and crisp. A beautiful marriage of textures!!
- 500ml of water
- 130g of unsalted butter
- 250g of Gluten-free-Free flour
How to Cook the Choux dough
Choux pastry is unique, and it requires the dough to be cooked first! This step results in a really sturdy pastry shell that also has a custard-like texture on the inside.
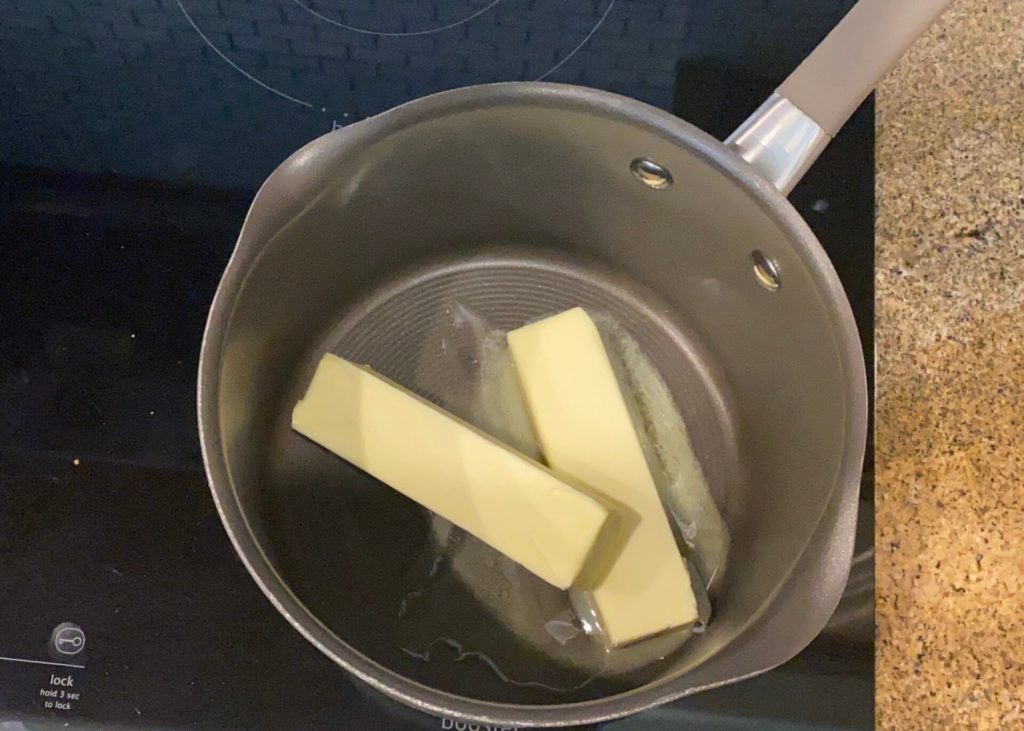
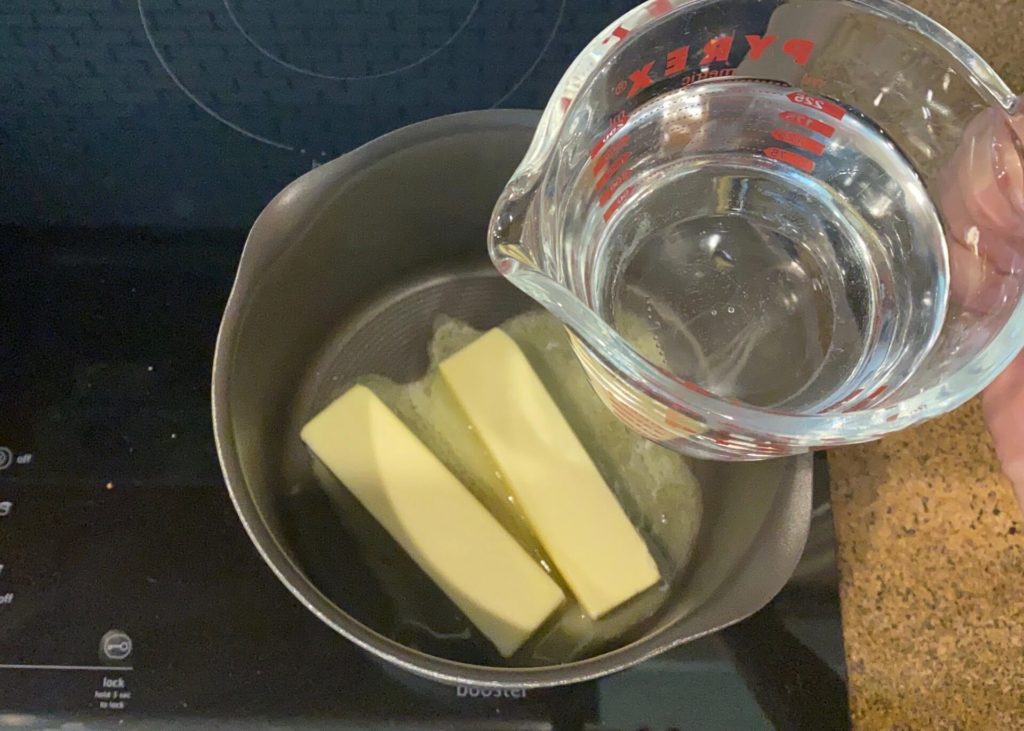
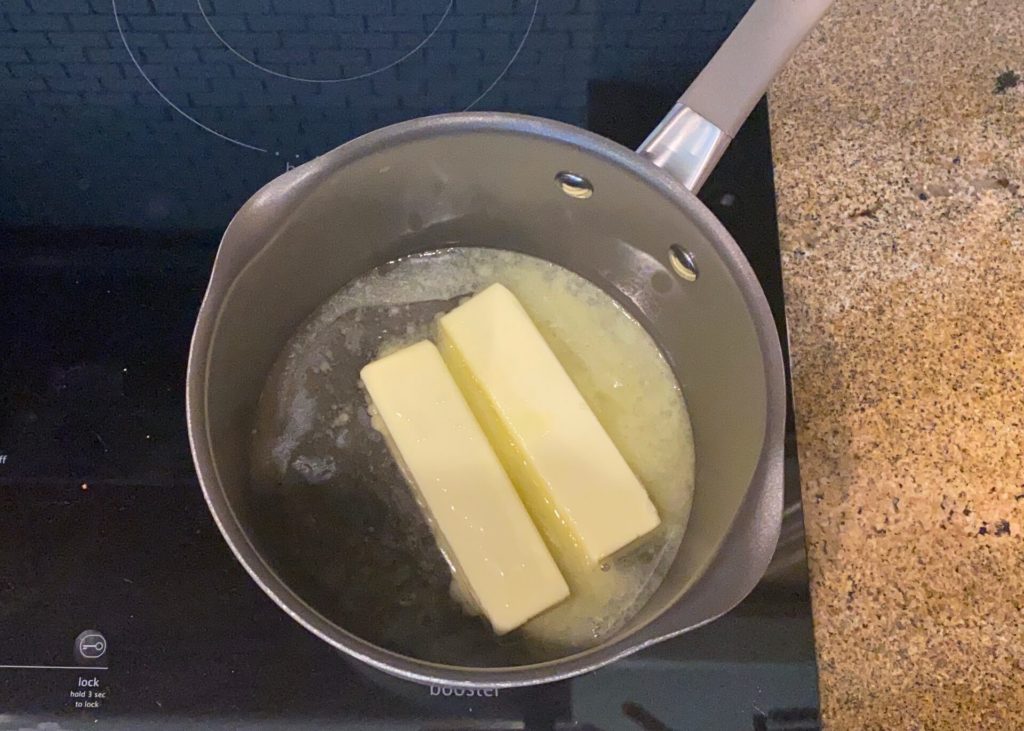
Start with melting the butter, add cold water, and melt slowly on low heat. Do not let the water boil. Instead, stirring the water frequently while it warms up, the butter melts before the water comes to a boil.
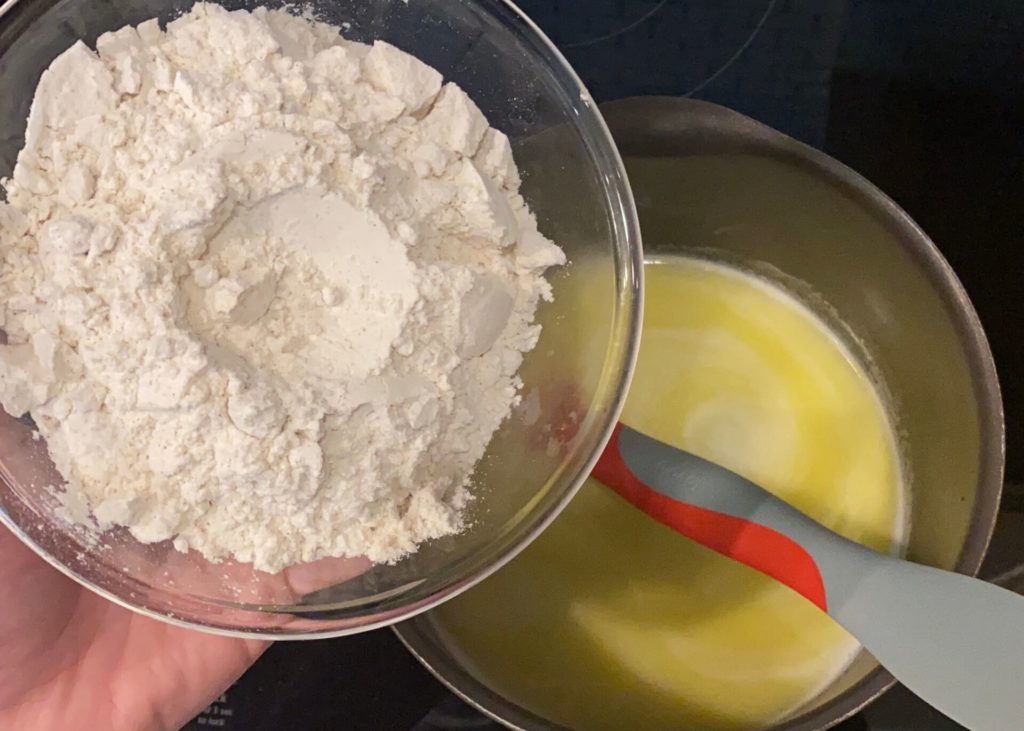
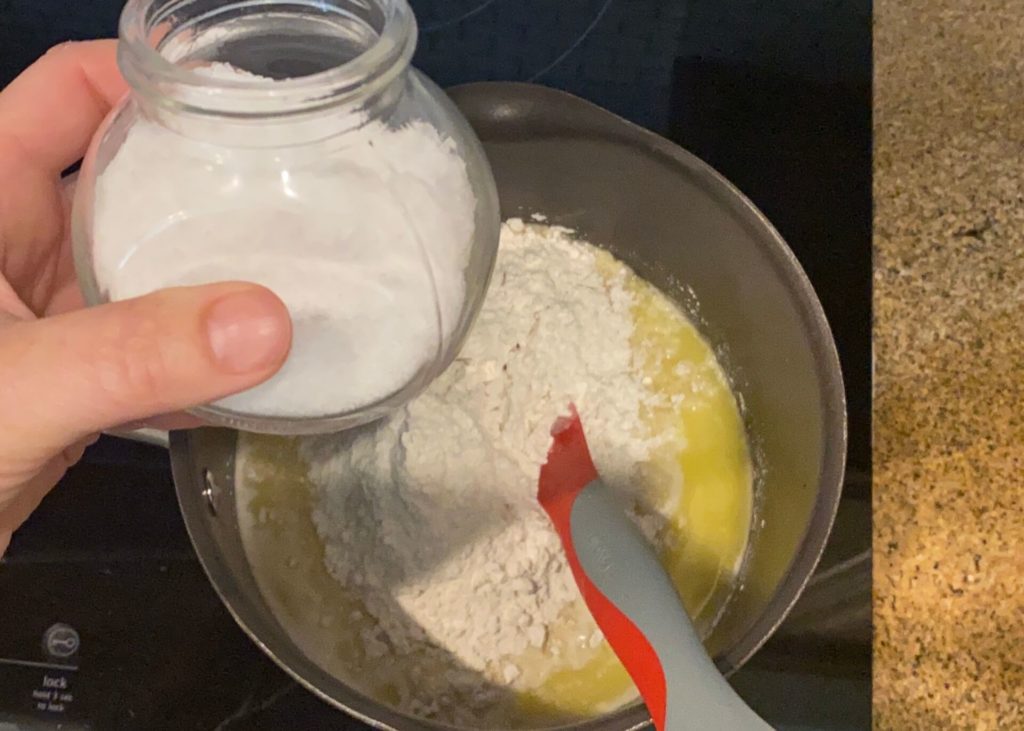
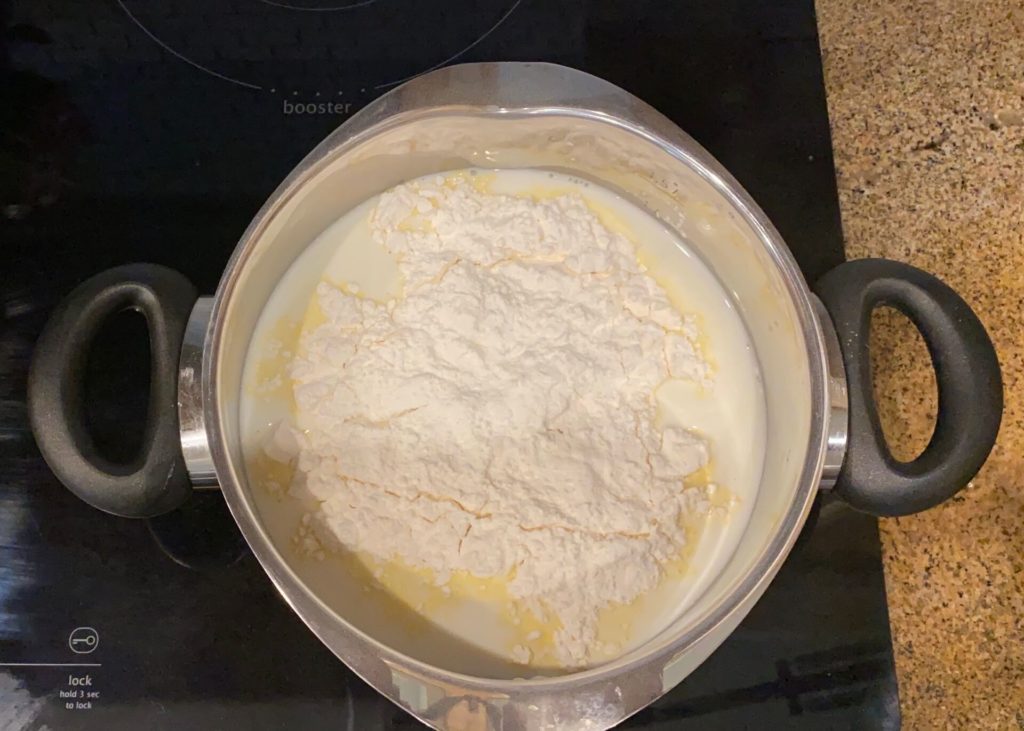
As soon as the water mix comes to a boil, please remove it from the heat (but don’t turn off the stove). Add ALL THE FLOUR/SALT IN ONE GO. Mix immediately for about one minute to make sure there are absolutely no lumps. This is important because you need to mix the flour well (flour needs to absorb all the moisture of the butter-water mix), and having a smooth dough means that you won’t have cracked shells later. Then, return to the stove and cook further.
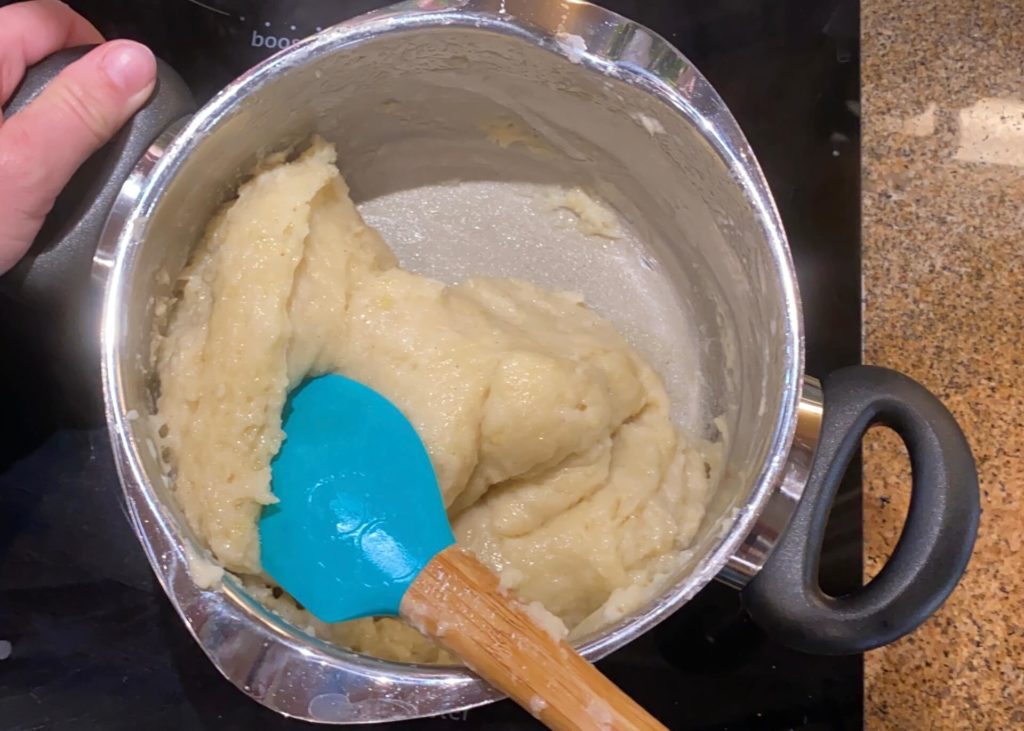
How to know the dough is cooked
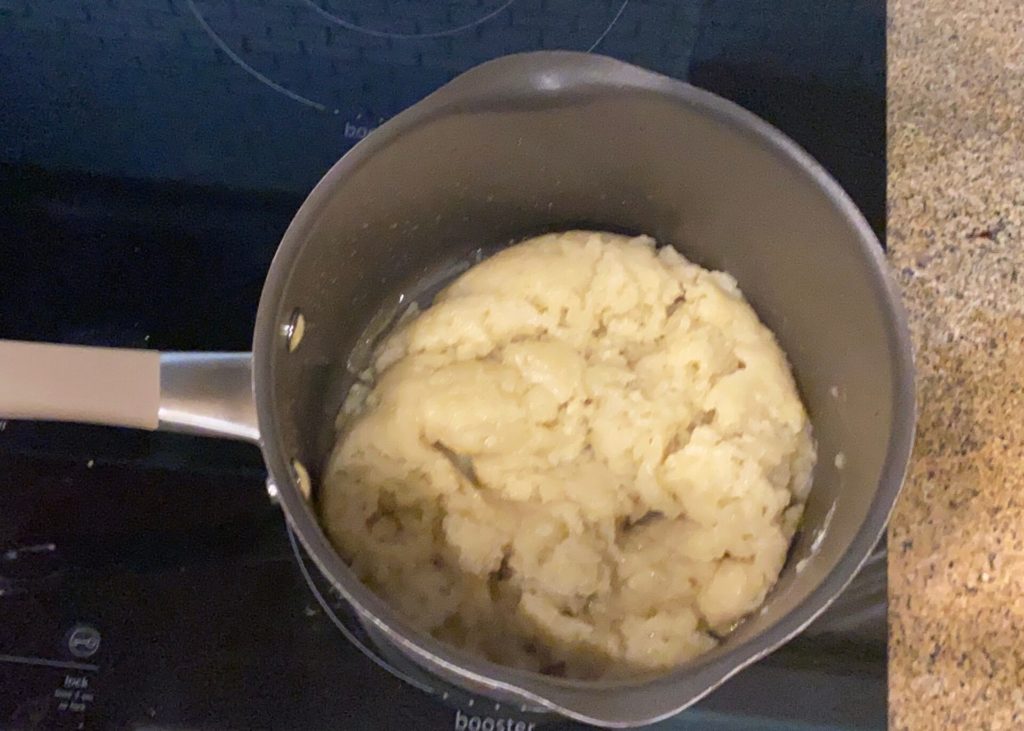
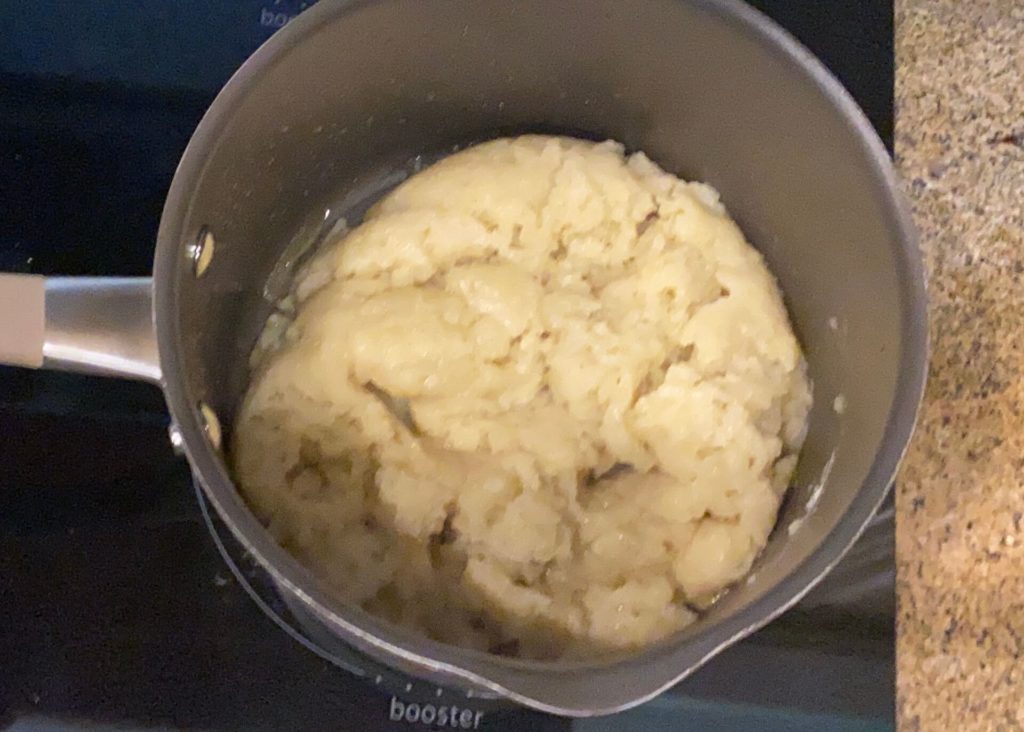
Cook the dough further on the stove so that enough moisture evaporates to get a good dough. Many recipes will talk of different signs to look for when cooking the dough. Growing up and making this with my mom, she always looked for a film of dough on the bottom of the pan and dough not sticking to a pan. But this rule goes for stainless pots only. If you have a nonstick, you should look for oil droplets forming on the bottom of the pan. Personally, I prefer to use stainless pot for cooking my choux dough.
Bottom line – cook dough for 10-15 minutes to make sure it’s all cooked.
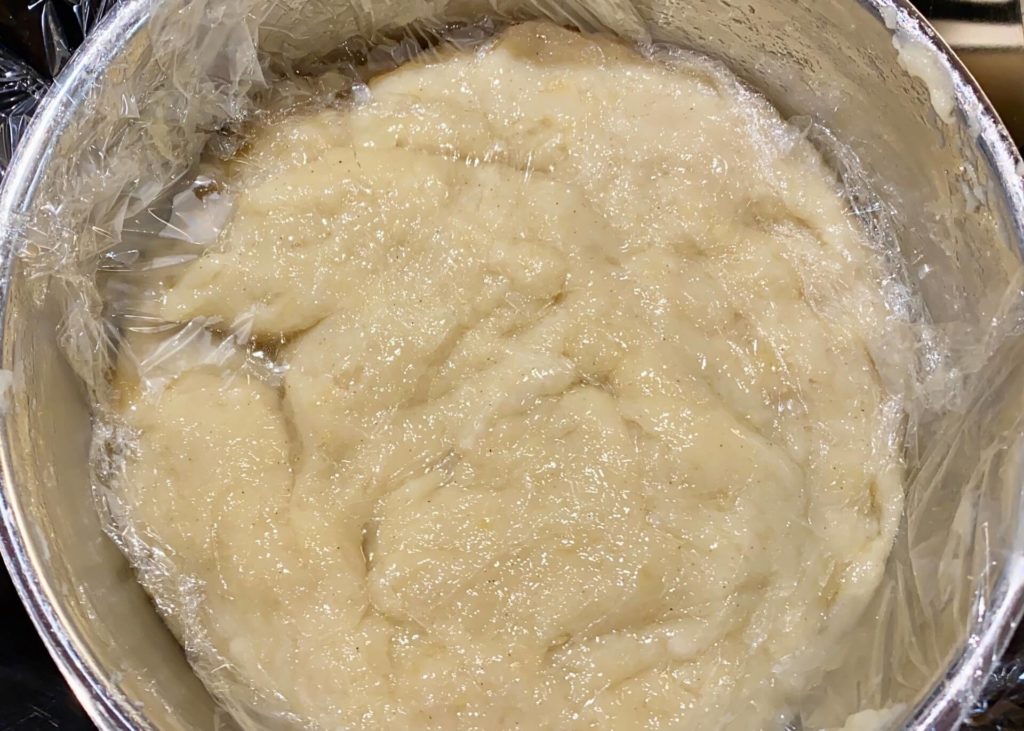
Cooling down the Choux dough
Cooling the dough is important because you don’t want to add the eggs while the dough is too hot.
I prefer to cool down my dough by flattening the top as much as possible and cover it with foil to ensure the top won’t get crusty. That would cause clogging of your piping bag at the end. You can even leave this overnight to cool down completely if you do not have time to wait, but at least an hour will do and take the hot edge off.
Some recipes call for mixing the dough in a stand mixer for a couple of minutes to cool down. This is fine too, but make sure you’re only mixing it on low speed and no longer than 2 – 3 minutes. Agitating the dough too much can cause the butter to split from the dough, and then you’ll get a really oily-looking dough.
Adding the eggs to Choux dough
The number of eggs added depends on the size of the egg. My recipe from Czech asks for 7, but I learned that 6 is plenty, and sometimes even 5 is a good amount. Of course, eggs need to be at room temperature as well.
You can have all the eggs whisked well in a jug first before adding it to the dough, as it is important to add it little by little. I add one egg at a time and whisk well each egg. Check the consistency of the dough as you go, and make sure you don’t add too much egg.
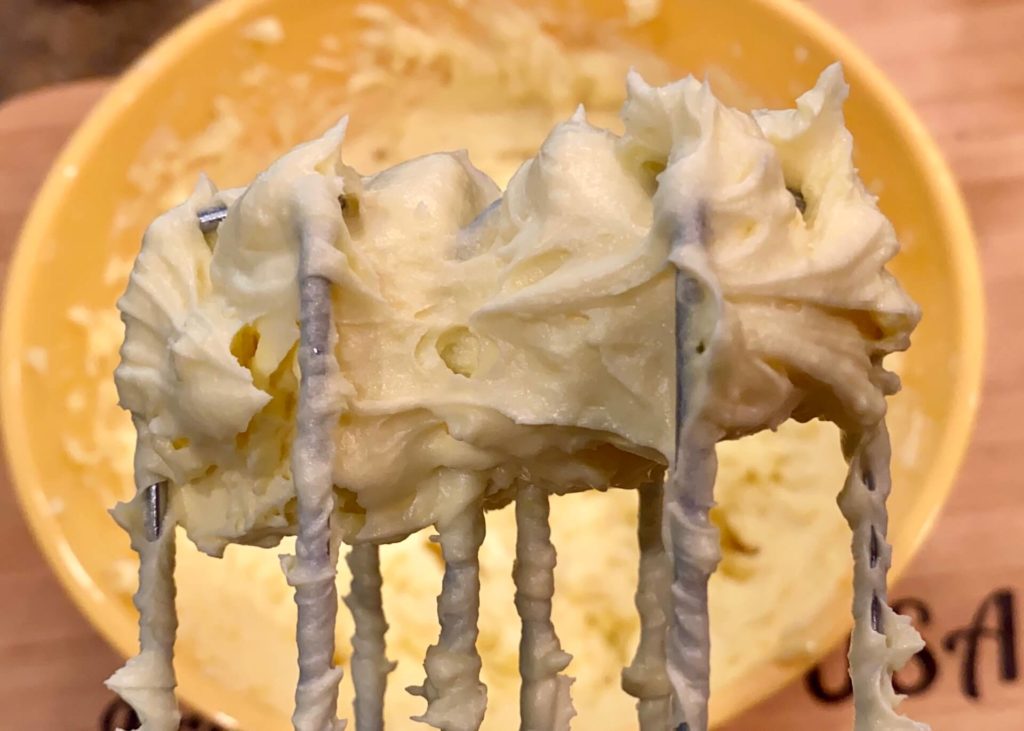
How to check for the right consistency
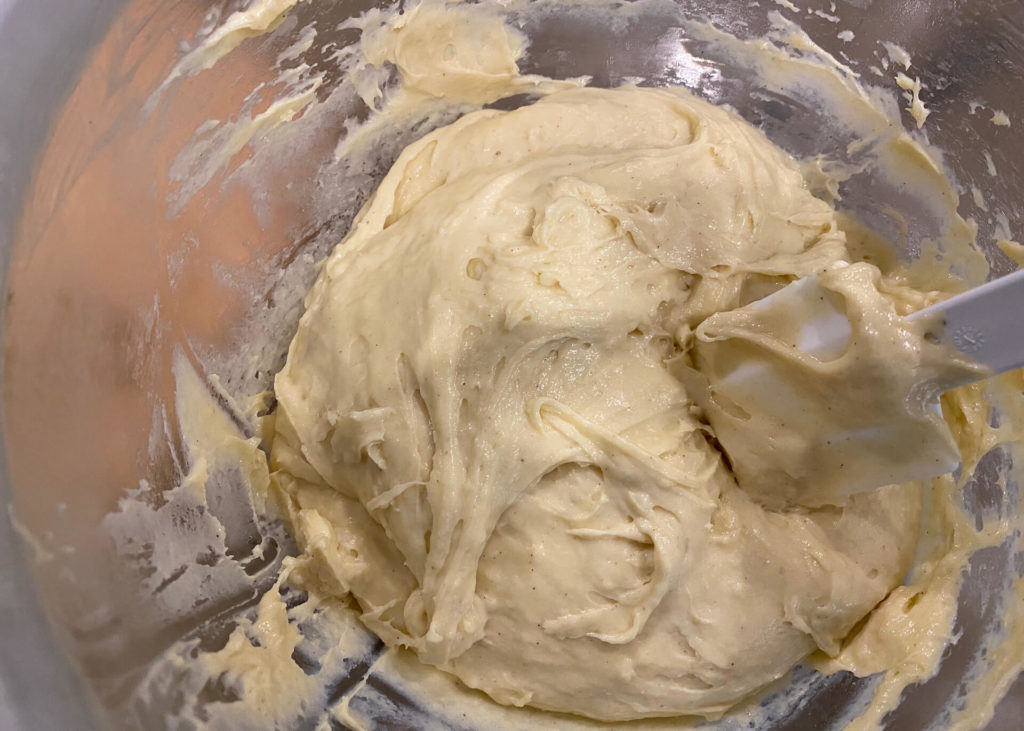
The dough should look glossy but still thick, can hold its shape, and is pipeable. If I added all of the 7th egg, then my dough would lose the stiffness I need. If that happens, the dough won’t hold its shape when piped, leading to flat choux pastry.
The finger test – Drag your finger along the surface of the choux pastry dough to create a trough. The sides of this trough should stay upright and not collapse into the dough. If they do, it’s because the dough is too runny. If the sides of the trough stay up, then it’s the right consistency. Make sure the dough has a nice sheen when you do this test too.
- up to 5 eggs
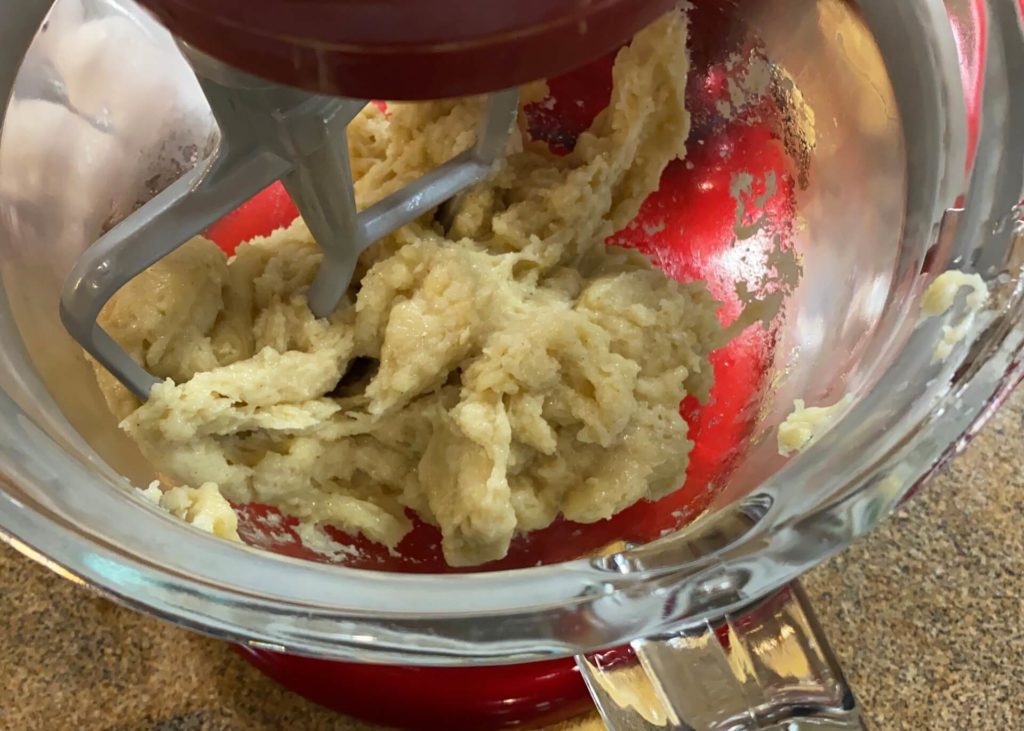
Dough before adding eggs 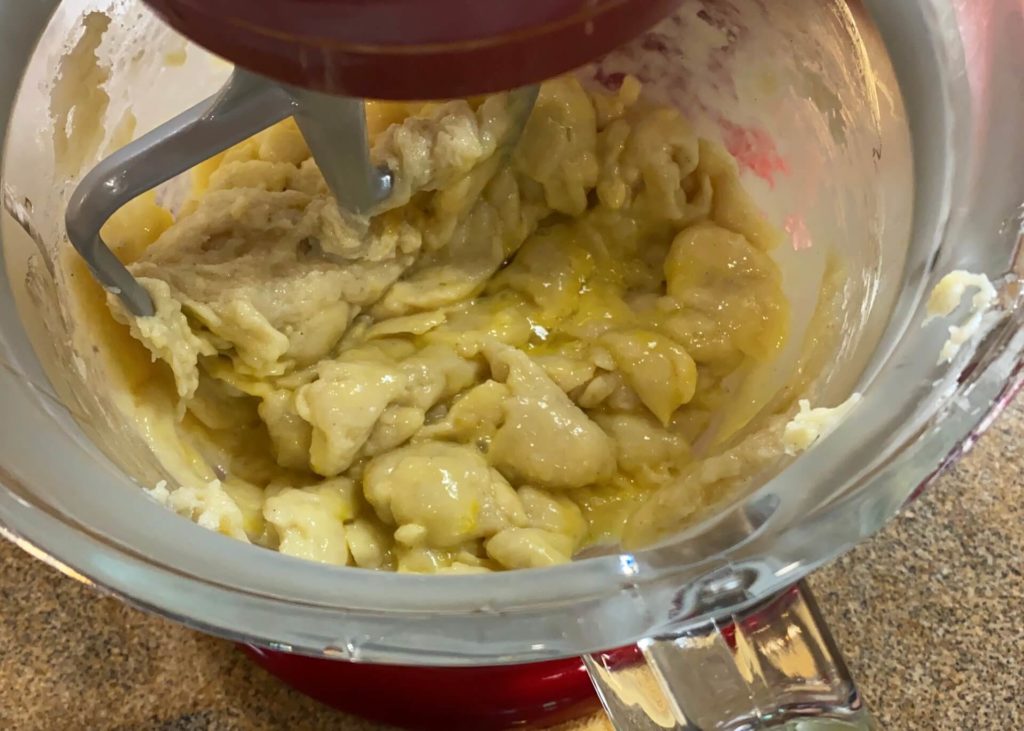
Dough after adding one egg 
Dough after adding 6 eggs
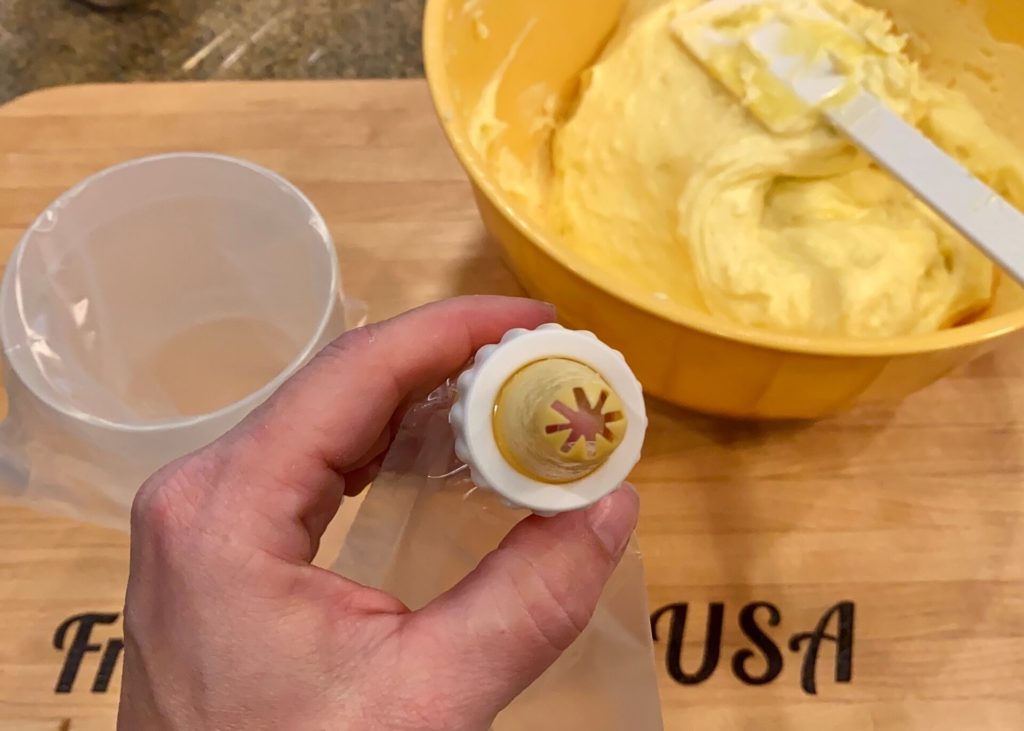
Piping the dough
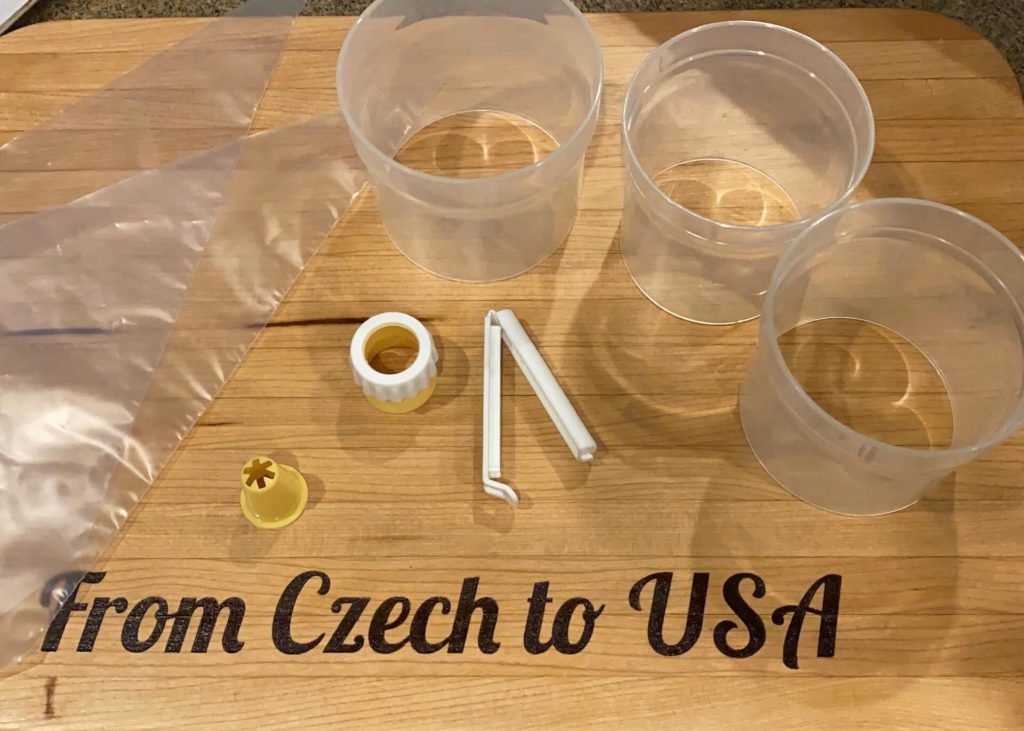
I got myself into a habit to double bag every time I pipe my desserts or frosting. It is less messy when filling a piping bag.
When piping wreath shells, I make double circles as we like them tall, but one circle will do it as well. Once you have piped choux dough on one tray, keep the remaining dough in the pastry bag until you’re ready to bake the next batch. The dough will even keep well in the fridge as long as it’s wrapped inside a pastry bag or an air-tight container. If you do not keep it covered, it creates a crusty top, and the dough will become lumpy; when piping, it will get stuck in the piping tip and get uneven.

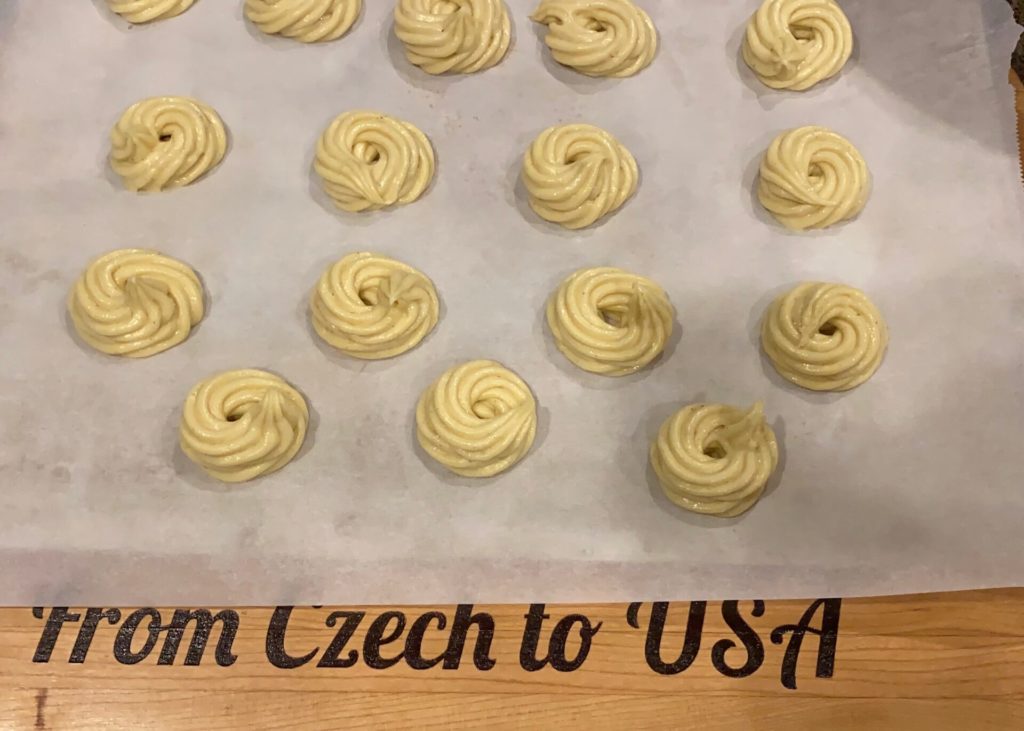
Double circle 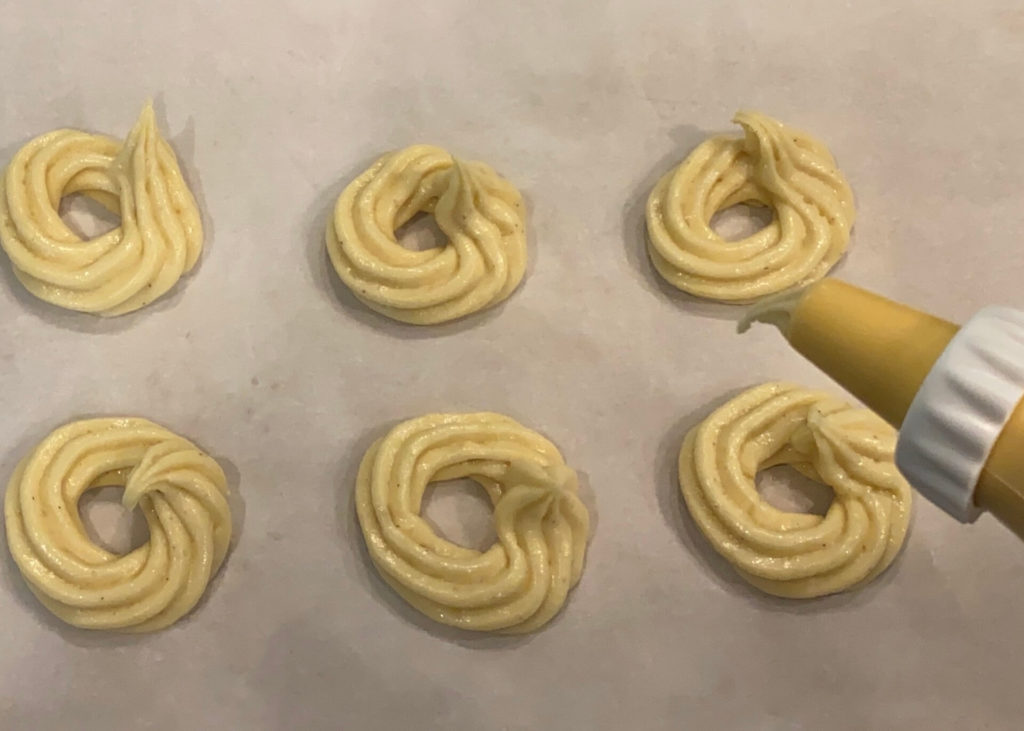
cingle circle
How to Bake the choux pastry
Since choux pastry relies on steam to expand while baking, it’s essential not to open the oven door until the choux pastry shells have set properly, this means you should never open the door during the first 20 minutes of baking. Instead, I wait till the shells are golden-colored before opening the door. This prevents steam from escaping too early, which will cause the shells to collapse.
DON’T OPEN THE OVEN DOOR UNTIL YOUR CHOUX PASTRY SHELLS HAVE SET PROPERLY
Bake Choux pastry at 390F for 40 minutes, and without opening the oven. Your oven might need extra 5 minutes or less. After 30 minutes of baking, keep an eye on your pastries. They are done when they have a golden color. At this point, you can open the door and even check how they feel on touch, and if they are hard and shallow sounding, they should be done. If you cut one open, they need to be dry inside.
Note: If Choux pastry deflates after pulling out from the oven. You need to add more time for baking.
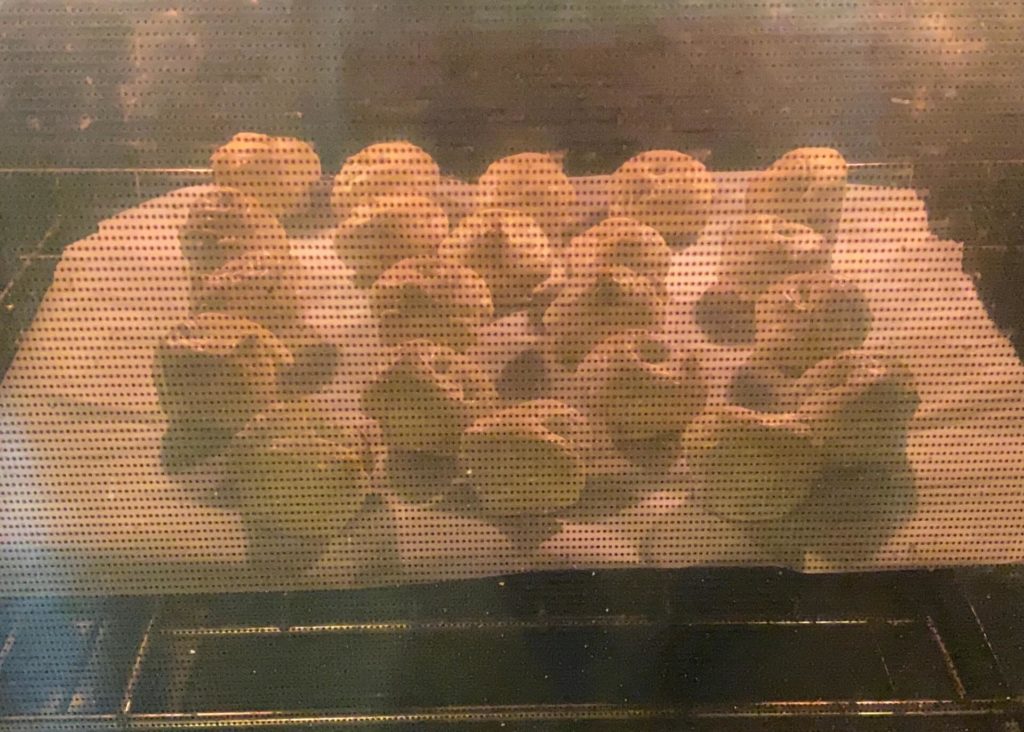
Puffing up in the oven 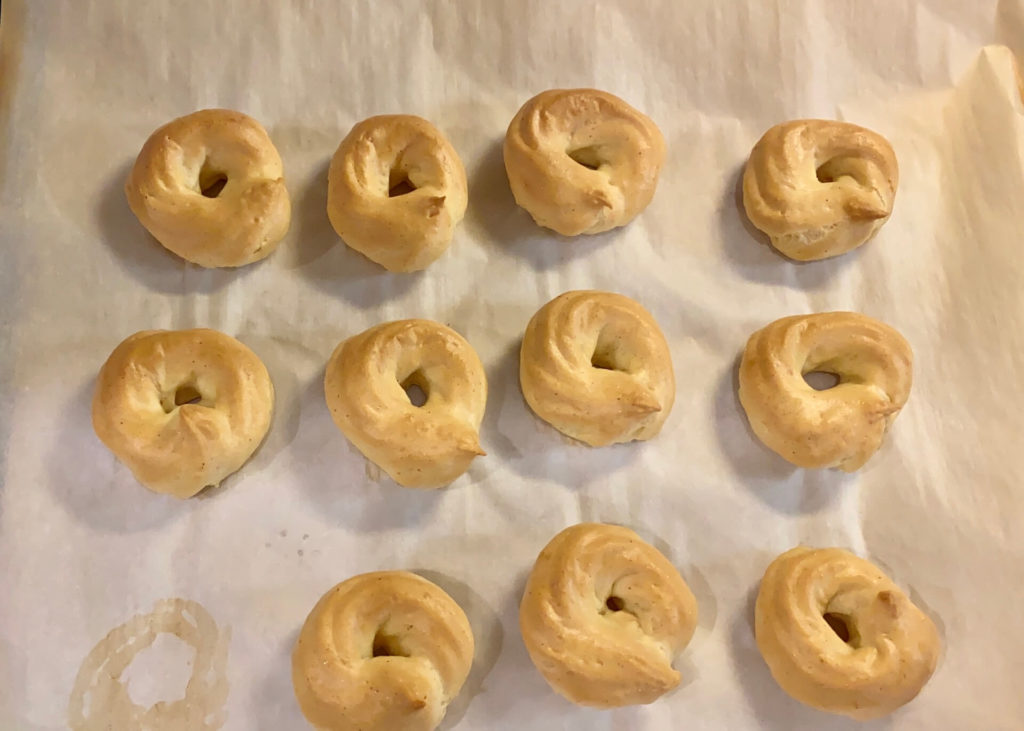
one circle piped 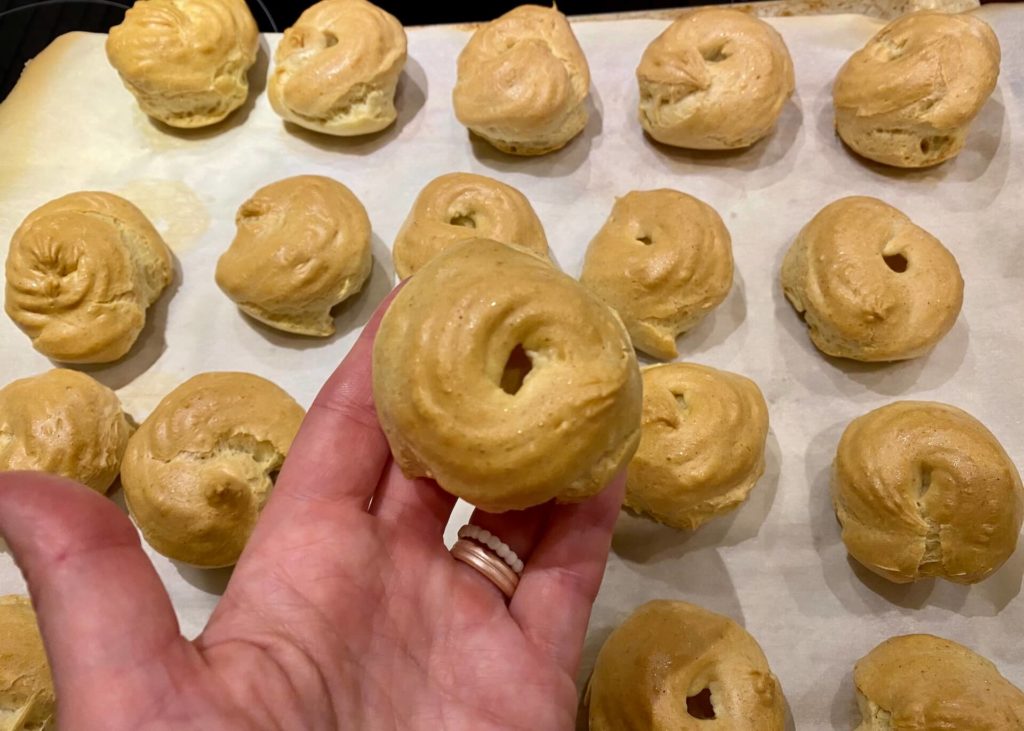
double circle piped
Chilling the baked pastry
Pipe your next sheet pan with more pastries. Put the next sheet pan in the oven.
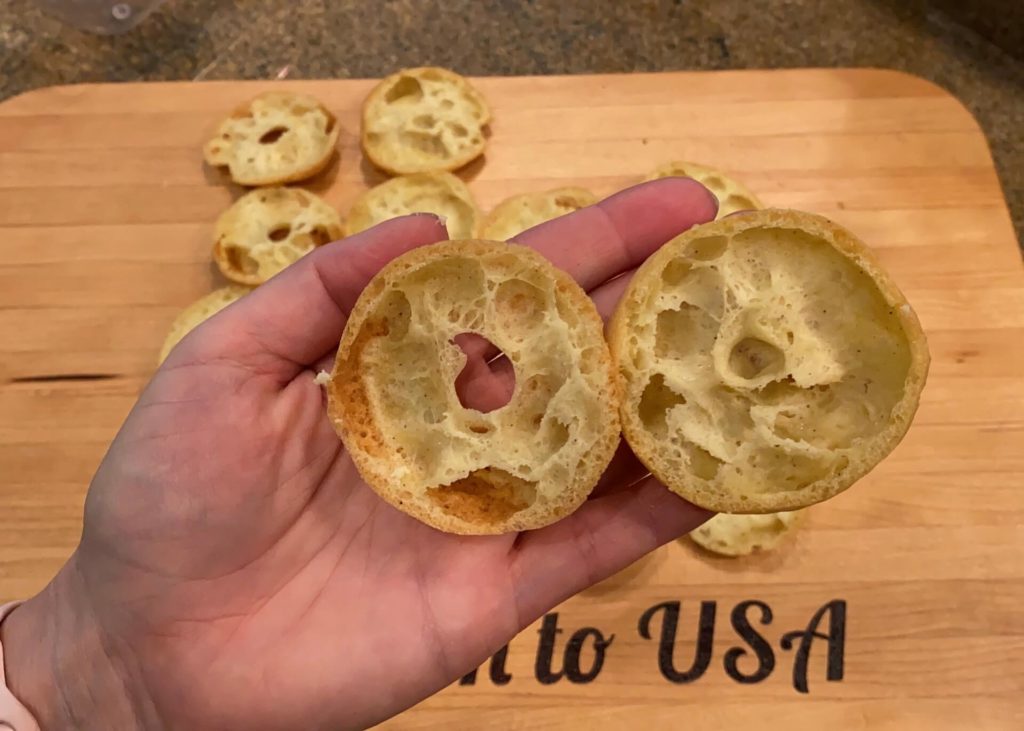
While still warm, cut the baked pastries open, and make sure you do not mix or lose pieces belonging to each other. Cutting pastries while still hot will allow the steam to escape. If steam is trapped inside of the pastry, it can fall flat.
Cut pastries, can be store in an airtight container till ready to pipe frosting.


Pudding ~ yolks Frosting
This frosting is pretty easy. Like everything else in Czech, it does have a couple of rules to follow. I use this frosting to frost cakes or other desserts. The traditional American frosting is like eating fat full of sugar with no flavor to me. I like flavors and a variety of frostings, and this one is after chocolate, my favorite.
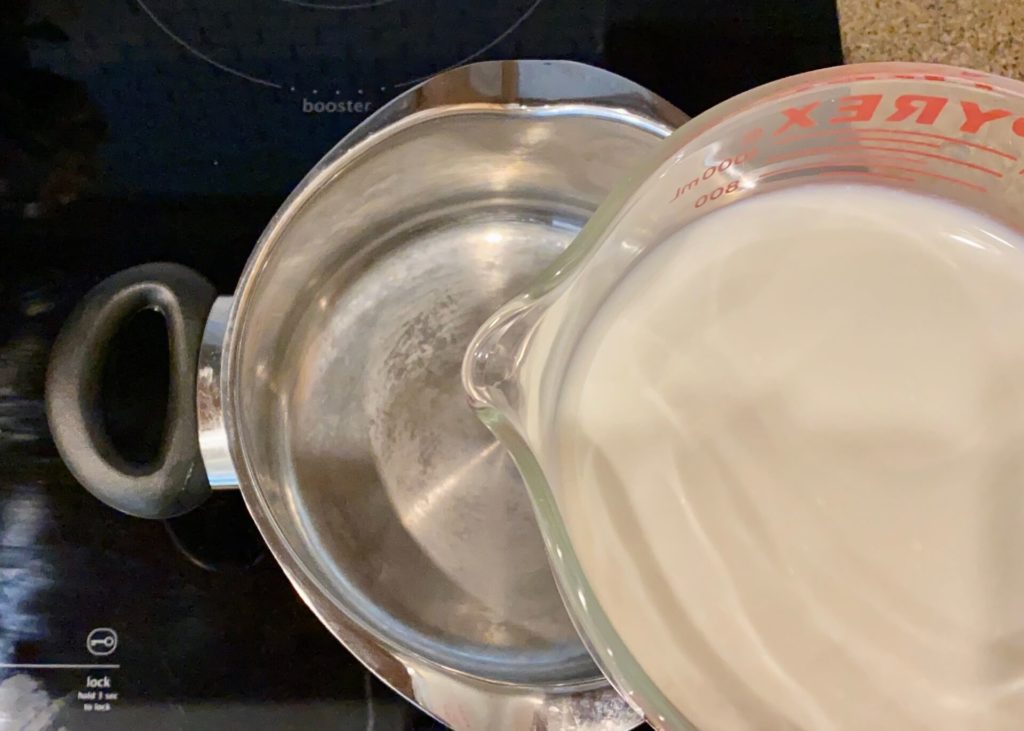
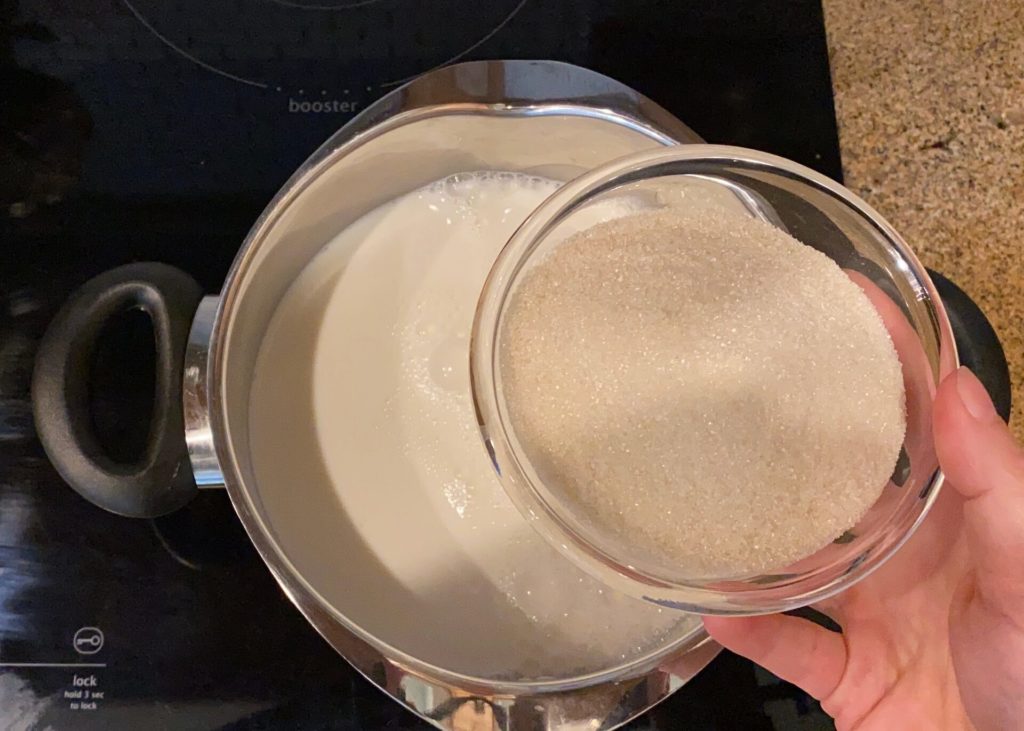
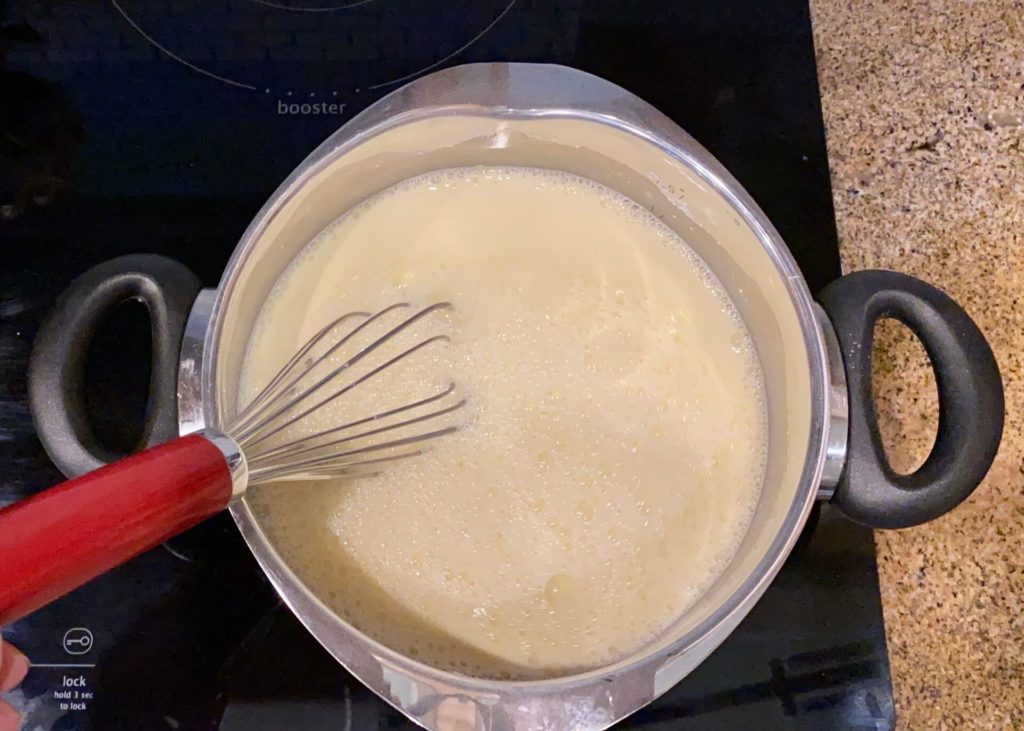
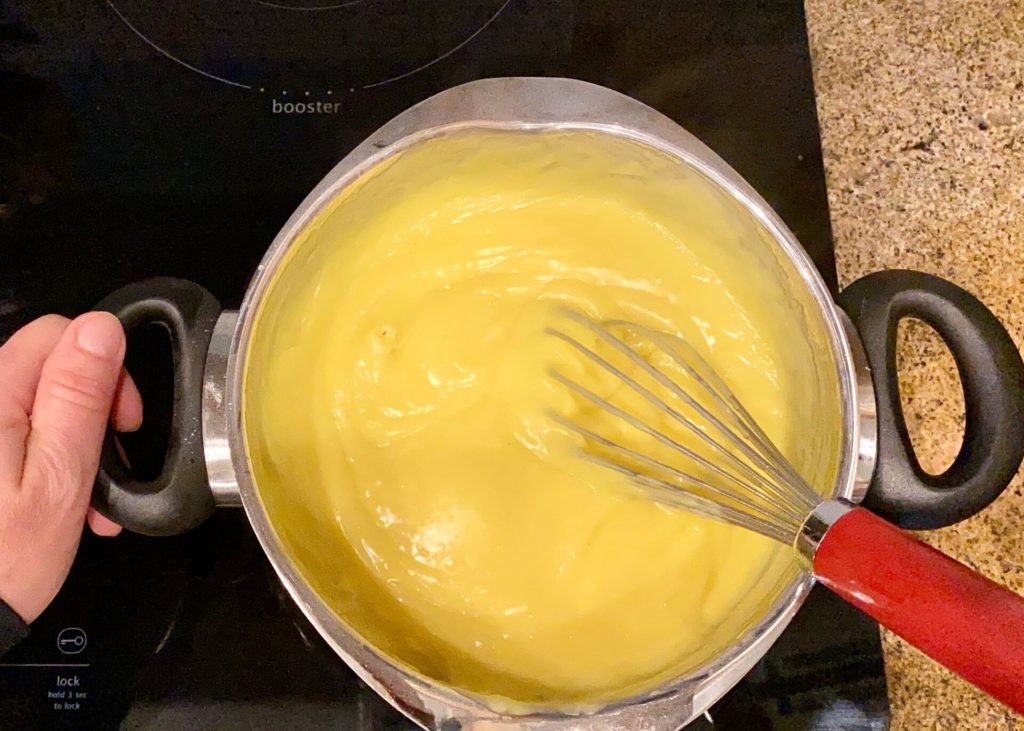
Whisk sugar and Vanilla pudding into milk till smooth liquid without lumps. Turn heat on medium-low, and while whisking, add egg yolks. Let your pudding come to a very light boil. Till you see one or two bubbles forming and turn off.
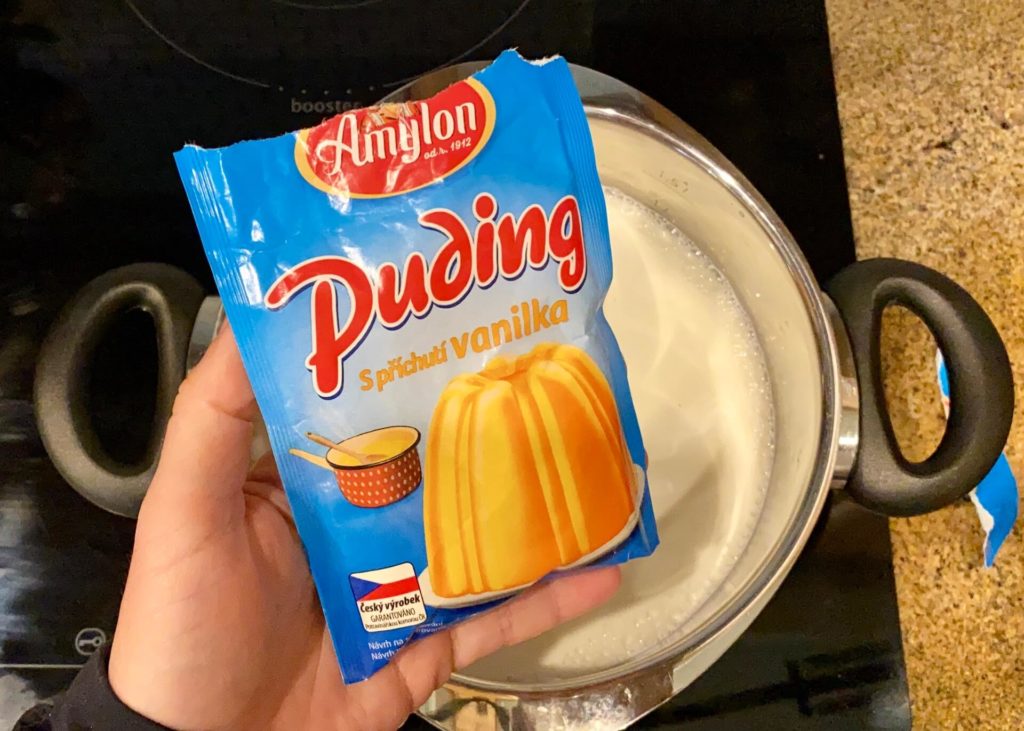
I would not recommend buying instant pudding you can get at the grocery store as it has added sugar already and could get runny, and that way, your frosting won’t be firm. But, like anything else, you can get vanilla pudding on amazon!!! Click here.
- 500 ml of milk
- 100g of sugar
- 2 vanilla puddings or 90g of plain corn starch
- 4 egg yolks

Important to know before you add butter to frosting
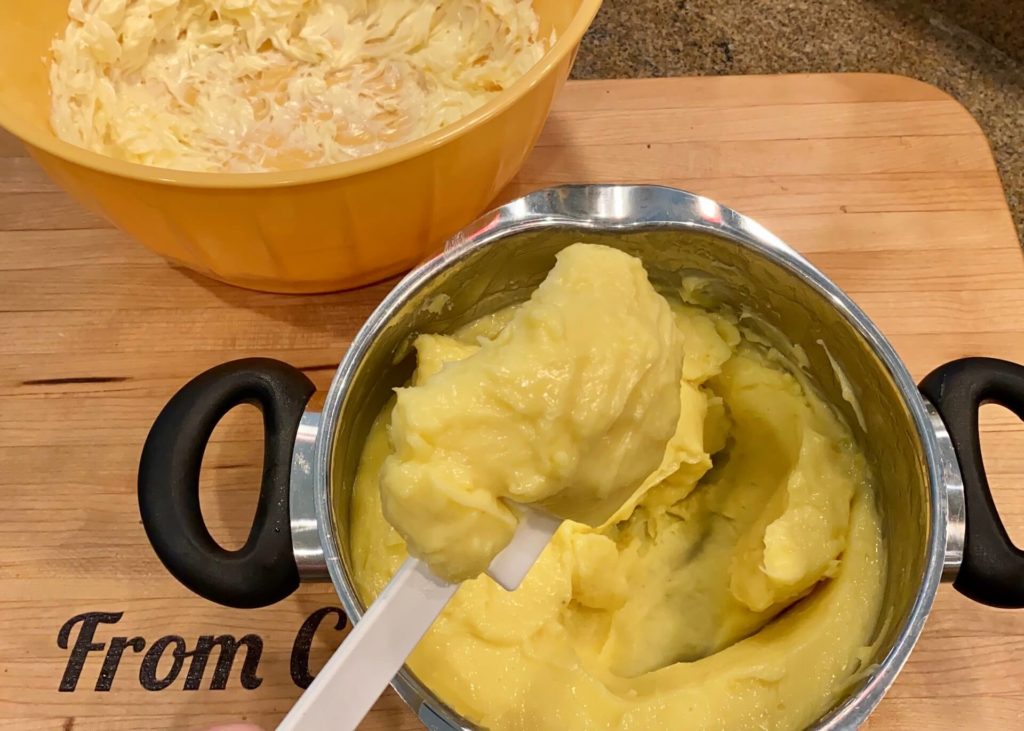
Now the IMPORTANT part of making this frosting. Before you mix butter into pudding, butter and pudding must have a similar (room) temperature. If one or the other is warmer, they will separate and won’t form a smooth and silky frosting.
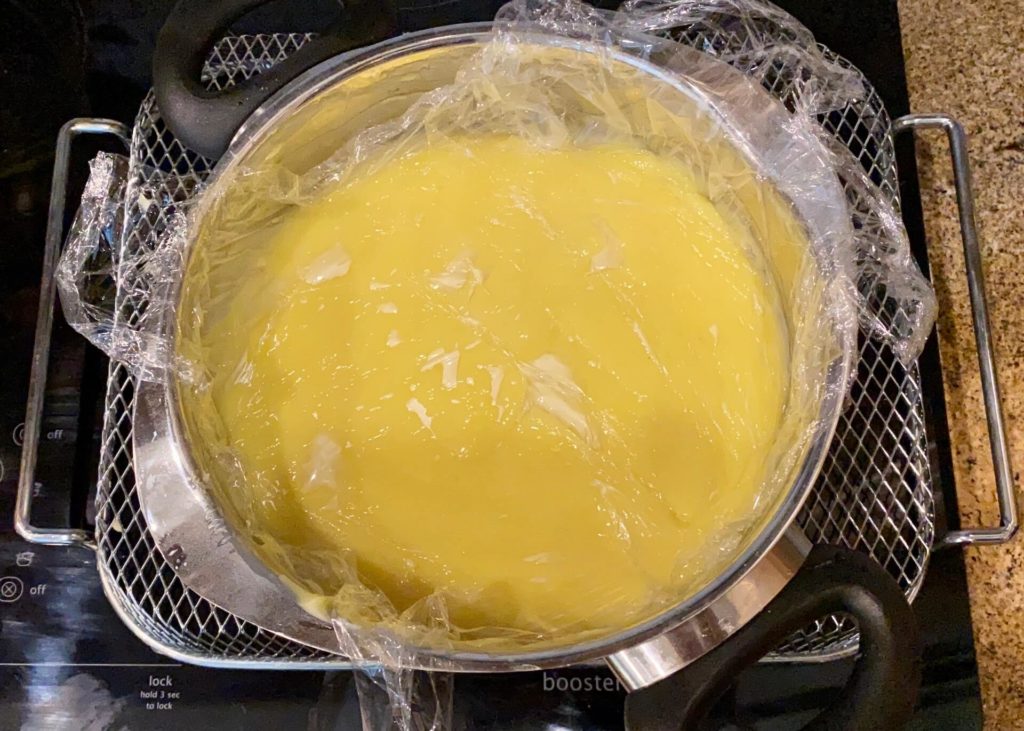
After cooking the pudding, cover with foil, set on a rack, and sit till cool down. Keep butter outside of the fridge to have it room temperature as well. Putting foil over hot pudding is to make sure crusty top from cooling won’t happen. If you get the crusty top and mix it into a frosting, it will create lumps, and those lumps will get stuck inside the piping tip. (Do not ask how I know)
Sometimes I plan to cook my pudding in the evening and store it in the fridge till the next day. I pull it out of the fridge the first thing in the morning along with butter and let it sit on the counter till both get to room temperature.
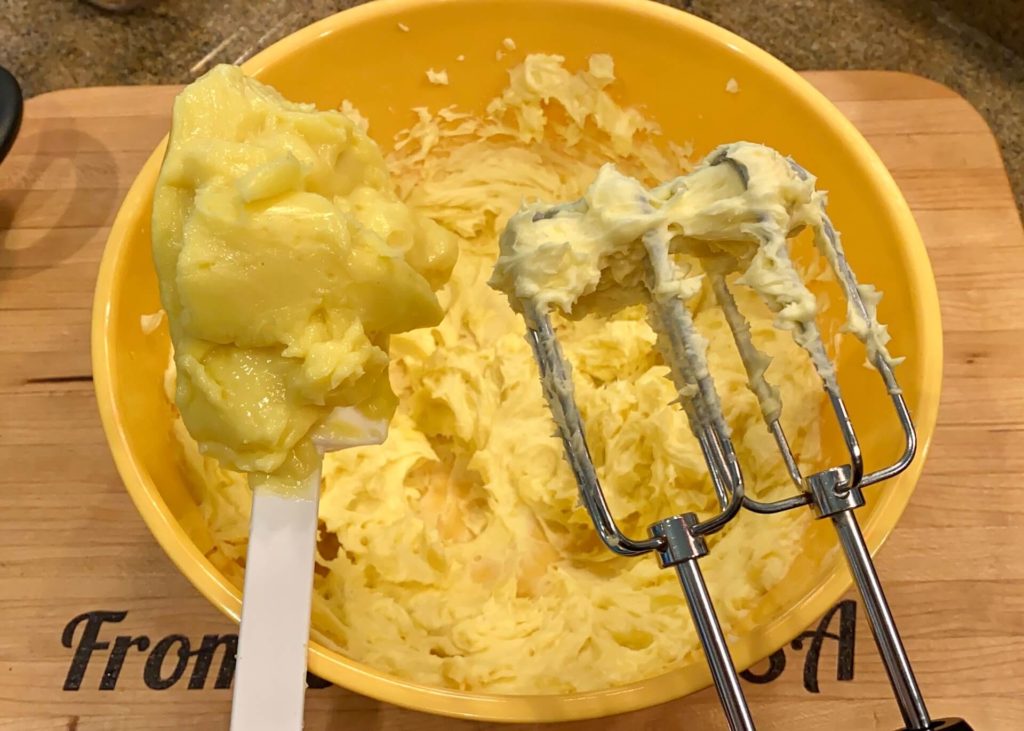
Combining pudding and butter to make a frosting
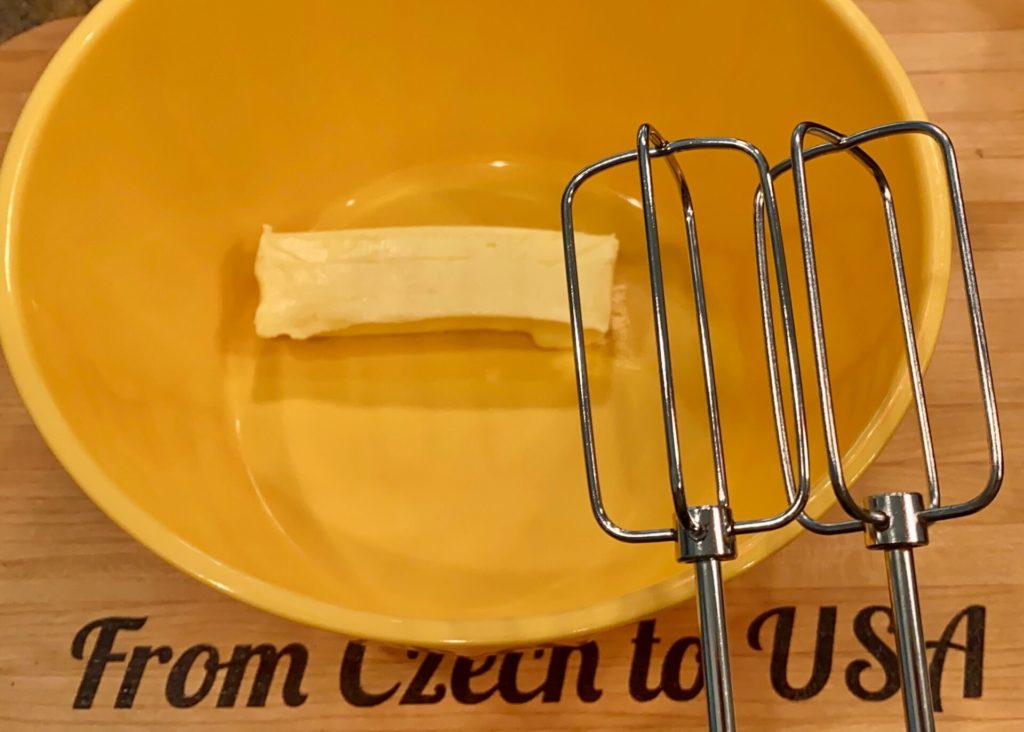
When pudding and butter are at the same temperature and ready to be combined, cream butter is first. Then, slowly add pudding to butter and whisk well. This method is called tempering. Adding spoonfuls of frosting at the time ensures the butter will come to the same temperature as pudding if there is a couple of degrees difference. The frosting should be smooth and glossy without any lumps at the end.
- one stick of unsalted butter (115g)
How to frost and store “Venecky” Wreath pastry
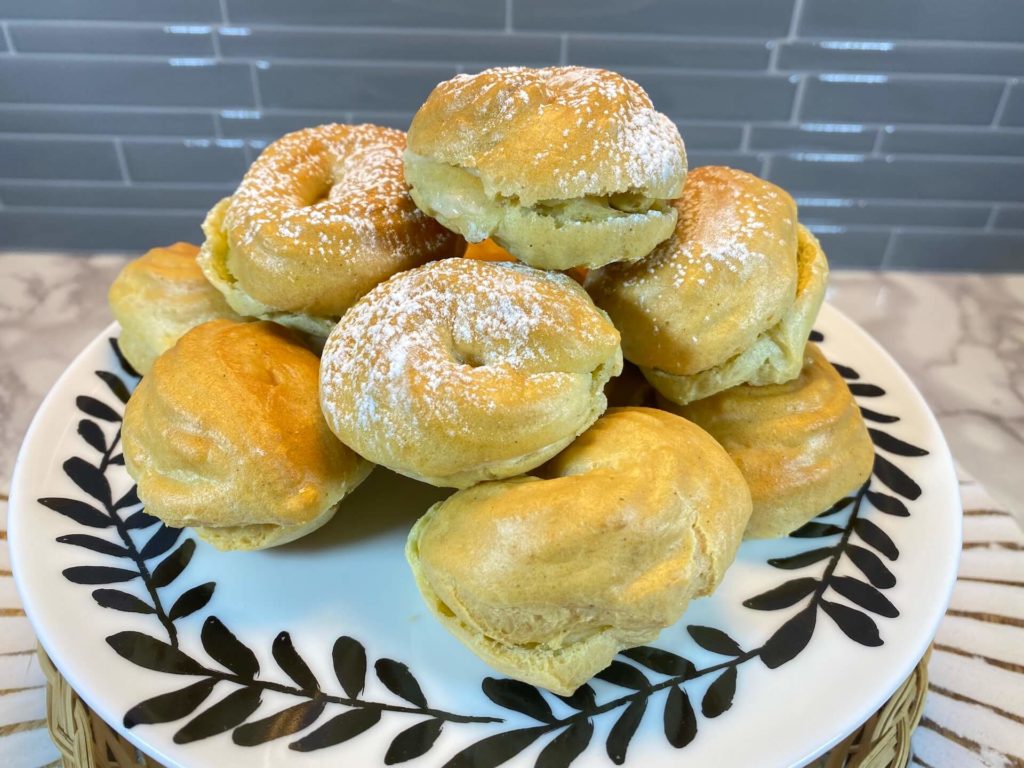
Ready to frost and serve? Line Choux pastry in rows, fill a piping bag with frosting and put as much or as little as you want. Sometimes I add frosting to both halves, and sometimes, I add to just one half and sandwich them together.
The traditional Wreath should have a glazed top. To me, the glaze is too sweet and a sticky mess. I prefer just powdered sugar for its simplicity after spending a whole day of baking. When you are using powder sugar, sprinkle only before serving, not when storing treats.
Store Wreaths in air-tight container in the fridge.


…and this should be all. This recipe is so complex to write, and I hope I covered everything I could remember. If you have any questions, please share them with me, and I will do my best to unswear them.
Cooking tips
- If you added too many eggs – Whatever you do, NEVER ADD EXTRA FLOUR! Make another 1/3 batch of the cooked dough with water, salt, butter, and flour (with no eggs!). Once you’ve made that part of the dough by cooking it in a saucepan and having the right consistency, let it cool down (covered). Add the cooled-down dough to the runny dough a bit at a time, mixing it into the dough well until you get the right, pipeable consistency. It always works like a charm!
- Too much moisture in the shells – If that is the case, leave them in the oven longer until the shell is a darker brown in color.
- You can bake the shells a day ahead and frost the next day with no problem. Just keep them in an airtight container.
- Once you add frosting, the shell will get moist overnight, losing its crispiness.
- You can also make pudding ahead of time and store overnight in the fridge before adding butter and assembling Choux pastry.
- I make one-day baking and cooking and next-day assembly and serving fresh.
Other dessert bar recipes to try
If you like these Strawberry Crumb Bars, be sure to try these other dessert bar recipes.
- Light Soufflé Cheesecake – Feeling adventures? Why don’t you try this delicious cheesecake?
- Czech Pancakes – Livance – Are you a fan of pancakes? You need to check these traditional Czech-style pancakes.
- Marble Bundt Cake – Babovka – This classic bundt cake is classic, very moist, unlike being dry and crumbly like many Gluten-Free desserts are.
Until next time…!
DOBROU CHUT!
© FROMCZECHTOUSA. All images & content are copyright protected. Please do not use my images without prior permission. If you want to republish this recipe, please link back to this post for the recipe.

Venecky – Wreath Choux Pastry
Ingredients
Choux Pastry
- 500 ml of water
- 130 g of unsalted butter
- 250 g of Gluten-Free flour
- 5 eggs
Pudding ~ yolks Frosting
- 500 ml of a milk
- 100 g of sugar
- 2 vanilla puddings or 90g of plain corn starch
- 4 egg yolks
Instructions
Choux dough
- Start with melting the butter, add cold water, and melt slowly on low heat. Do not let the water boil. Instead, stirring the water frequently while it warms up, the butter melts before the water comes to a boil.
- As soon as the water mix comes to a boil, please remove it from the heat (but don’t turn off the stove). Add ALL THE FLOUR/SALT IN ONE GO. Mix immediately for about one minute to make sure there are absolutely no lumps. This is important because you need to mix the flour well (flour needs to absorb all the moisture of the butter-water mix), and having a smooth dough means that you won’t have cracked shells later. Then, return to the stove and cook further.
- Cook the dough further on the stove so that enough moisture evaporates to get a good dough. Many recipes will talk of different signs to look for when cooking the dough. Growing up and making this with my mom, she always looked for a film of dough on the bottom of the pan and dough not sticking to a pan. But this rule goes for stainless pots only. If you have a nonstick, you should look for oil droplets forming on the bottom of the pan. Personally, I prefer to use stainless pot for cooking my choux dough. (10-15 min)
- Cooling the dough is important because you don’t want to add the eggs while the dough is too hot.I prefer to cool down my dough by flattening the top as much as possible and cover it with foil to ensure the top won’t get crusty. That would cause clogging of your piping bag at the end. You can even leave this overnight to cool down completely if you do not have time to wait, but at least an hour will do and take the hot edge off.
- Add 5 eggs one at a time. Of course, eggs need to be at room temperature as well.You can have all the eggs whisked well in a jug first before adding it to the dough, as it is important to add it little by little. I add one egg at a time and whisk well each egg. Check the consistency of the dough as you go, and make sure you don’t add too much egg.
- When piping wreath shells, make double circles. Once you have piped choux dough on one tray, keep the remaining dough in the pastry bag until you’re ready to bake the next batch. The dough will even keep well in the fridge as long as it’s wrapped inside a pastry bag or an air-tight container. If you do not keep it covered, it creates a crusty top, and the dough will become lumpy; when piping, it will get stuck in the piping tip and uneven.
- Since choux pastry relies on steam to expand while baking, it’s essential not to open the oven door until the choux pastry shells have set properly, this means you should never open the door during the first 20 minutes of baking. Instead, I wait till the shells are golden-colored before opening the door. This prevents steam from escaping too early, which will cause the shells to collapse.
- Bake Choux pastry at 390F for 40 minutes, and without opening the oven. Your oven might need extra 5 minutes or less. After 30 minutes of baking, keep an eye on your pastries. They are done when they have a golden color. At this point, you can open the door and even check how they feel on touch, and if they are hard and shallow sounding, they should be done. If you cut one open, they need to be dry inside.Note: If Choux pastry deflates after pulling out from the oven. You need to add more time for baking.
- Pipe your next sheet pan with more pastries. Then, put the next sheet pan in the oven.While still warm, cut the baked pastries open, and make sure you do not mix or lose pieces belonging to each other. Cutting pastries while still hot will allow the steam to escape. If steam is trapped inside of the pastry, it can fall flat.Cut pastries can be store in an airtight container till ready to pipe frosting.
Pudding ~ yolks Frosting
- Whisk sugar and Vanilla pudding into milk till smooth liquid without lumps. Turn heat on medium-low, and while whisking, add egg yolks. Let your pudding come to a very light boil. Till you see one or two bubbles forming and turn off.
- I would not recommend buying instant pudding you can get at the grocery store as it has added sugar already and could get runny, and that way, your frosting won’t be firm. But, like anything else, you can get vanilla pudding on amazon!!! Click here.
- Now the IMPORTANT part of making this frosting. Before you mix butter into pudding, butter and pudding must have a similar (room) temperature. If one or the other is warmer, they will separate and won’t form a smooth and silky frosting.
- After cooking the pudding, cover with foil, set on a rack, and sit till cool down. Keep butter outside of the fridge to have it room temperature as well. Putting foil over hot pudding is to make sure crusty top from cooling won’t happen. If you get the crusty top and mix it into a frosting, it will create lumps, and those lumps will get stuck inside the piping tip. (Do not ask how I know)
- When pudding and butter are at the same temperature and ready to be combined, cream butter is first. Then, slowly add pudding to butter and whisk well. This method is called tempering. Adding spoonfuls of frosting at the time ensures the butter will come to the same temperature as pudding if there is a couple of degrees difference. The frosting should be smooth and glossy without any lumps at the end.
- …and this should be all. This recipe is so complex to write, and I hope I covered everything I could remember. If you have any questions, please share them with me, and I will do my best to unswear them.
Notes
Cooking tips
- If you added too many eggs – Whatever you do, NEVER ADD EXTRA FLOUR! Make another 1/3 batch of the cooked dough with water, salt, butter, and flour (with no eggs!). Once you’ve made that part of the dough by cooking it in a saucepan and having the right consistency, let it cool down (covered). Add the cooled-down dough to the runny dough a bit at a time, mixing it into the dough well until you get the right, pipeable consistency. It always works like a charm!
- Too much moisture in the shells – If that is the case, leave them in the oven longer until the shell is a darker brown in color.
- You can bake the shells a day ahead and frost the next day with no problem. Just keep them in an airtight container.
- Once you add frosting, the shell will get moist overnight, losing its crispiness.
- You can also make pudding ahead of time and store overnight in the fridge before adding butter and assembling Choux pastry.
- I make one-day baking and cooking and next-day assembly and serving fresh.


